Plastic is Forever
Making Tomu's Injection-Molded Case
Sean Cross - https://xobs.io/ - @xobs
About Me
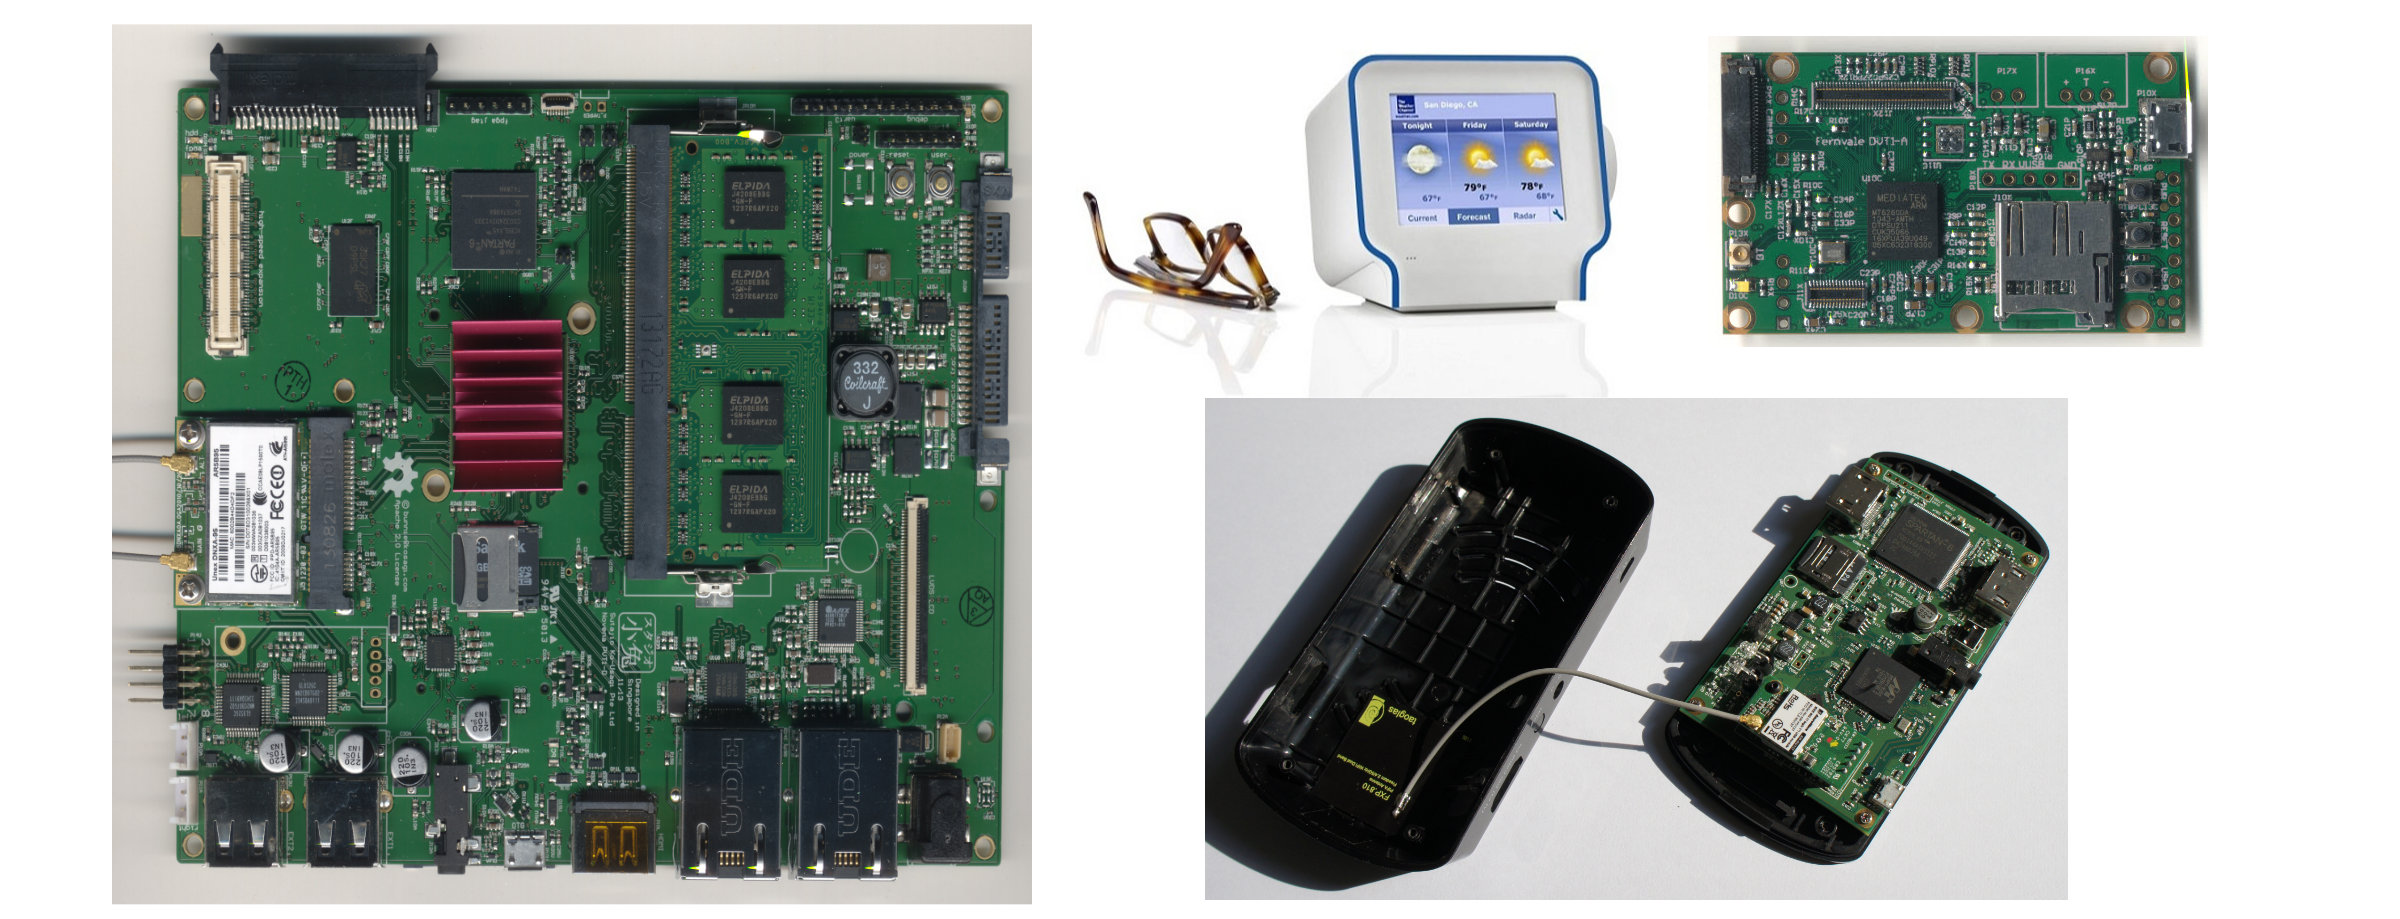
Tomu

Tomu + Case
Outline
- Manufacturing the Case
- Designing the Case
- Understanding Plastics
Factory Tour!
Front Door
![]()
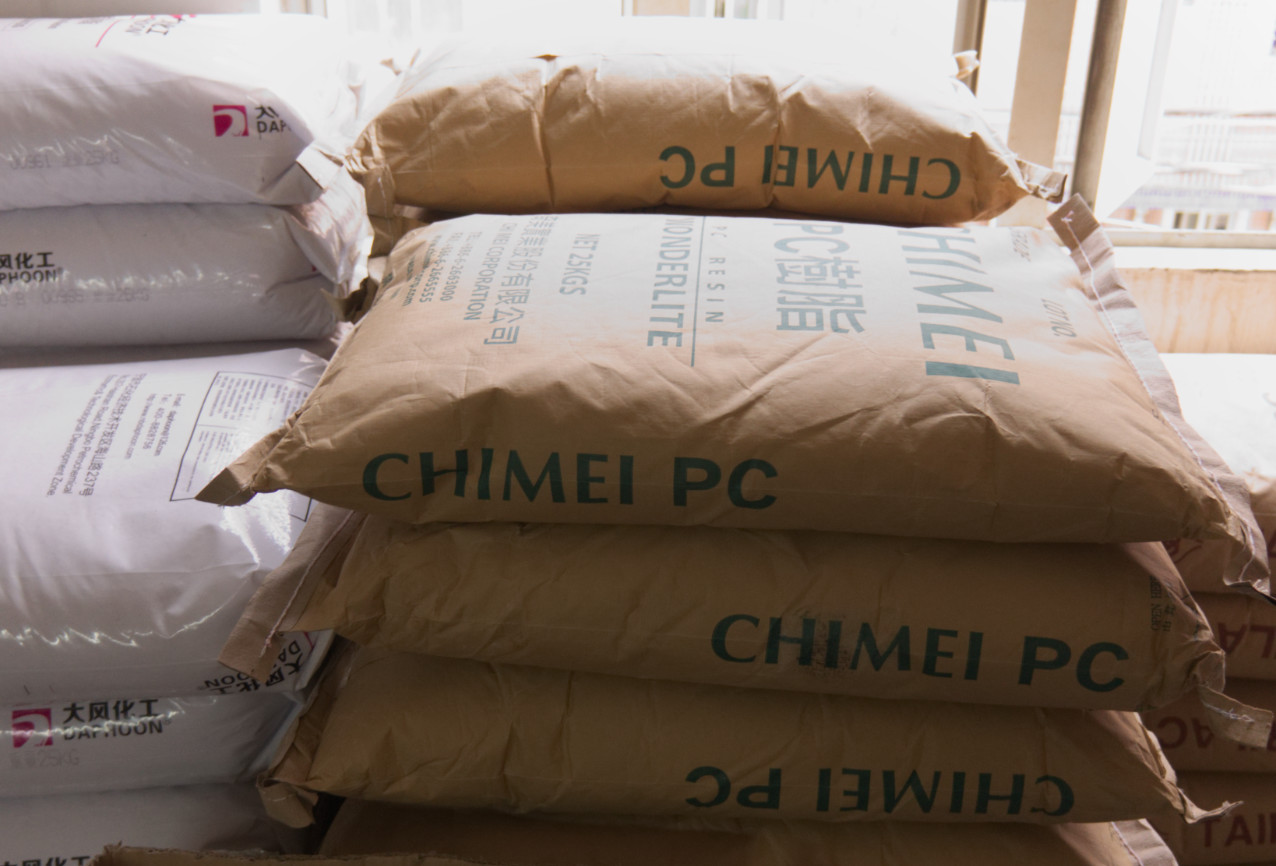
Bags of Plastic Pellets
![]()
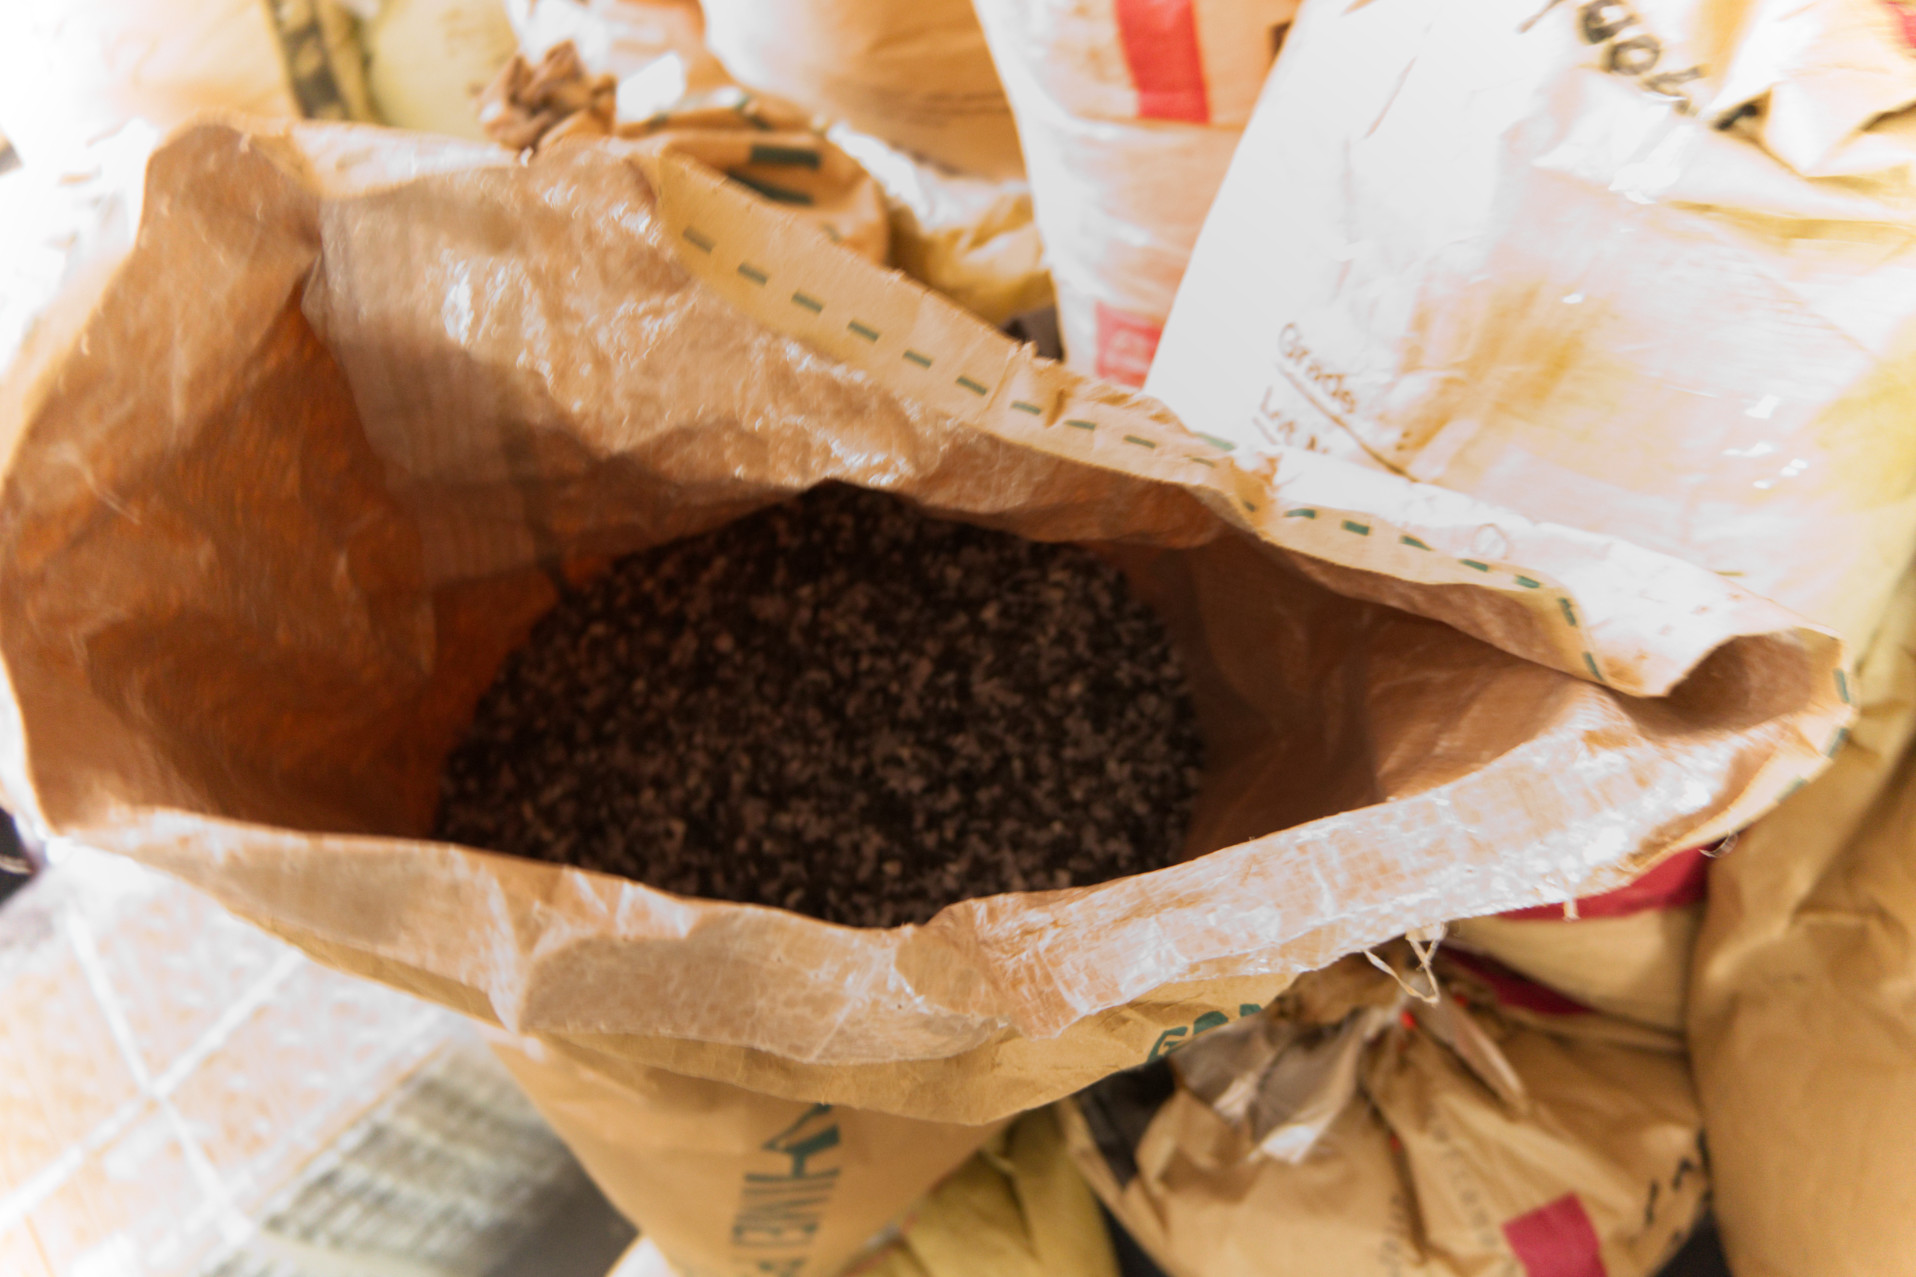
Inside the Bags
![]()
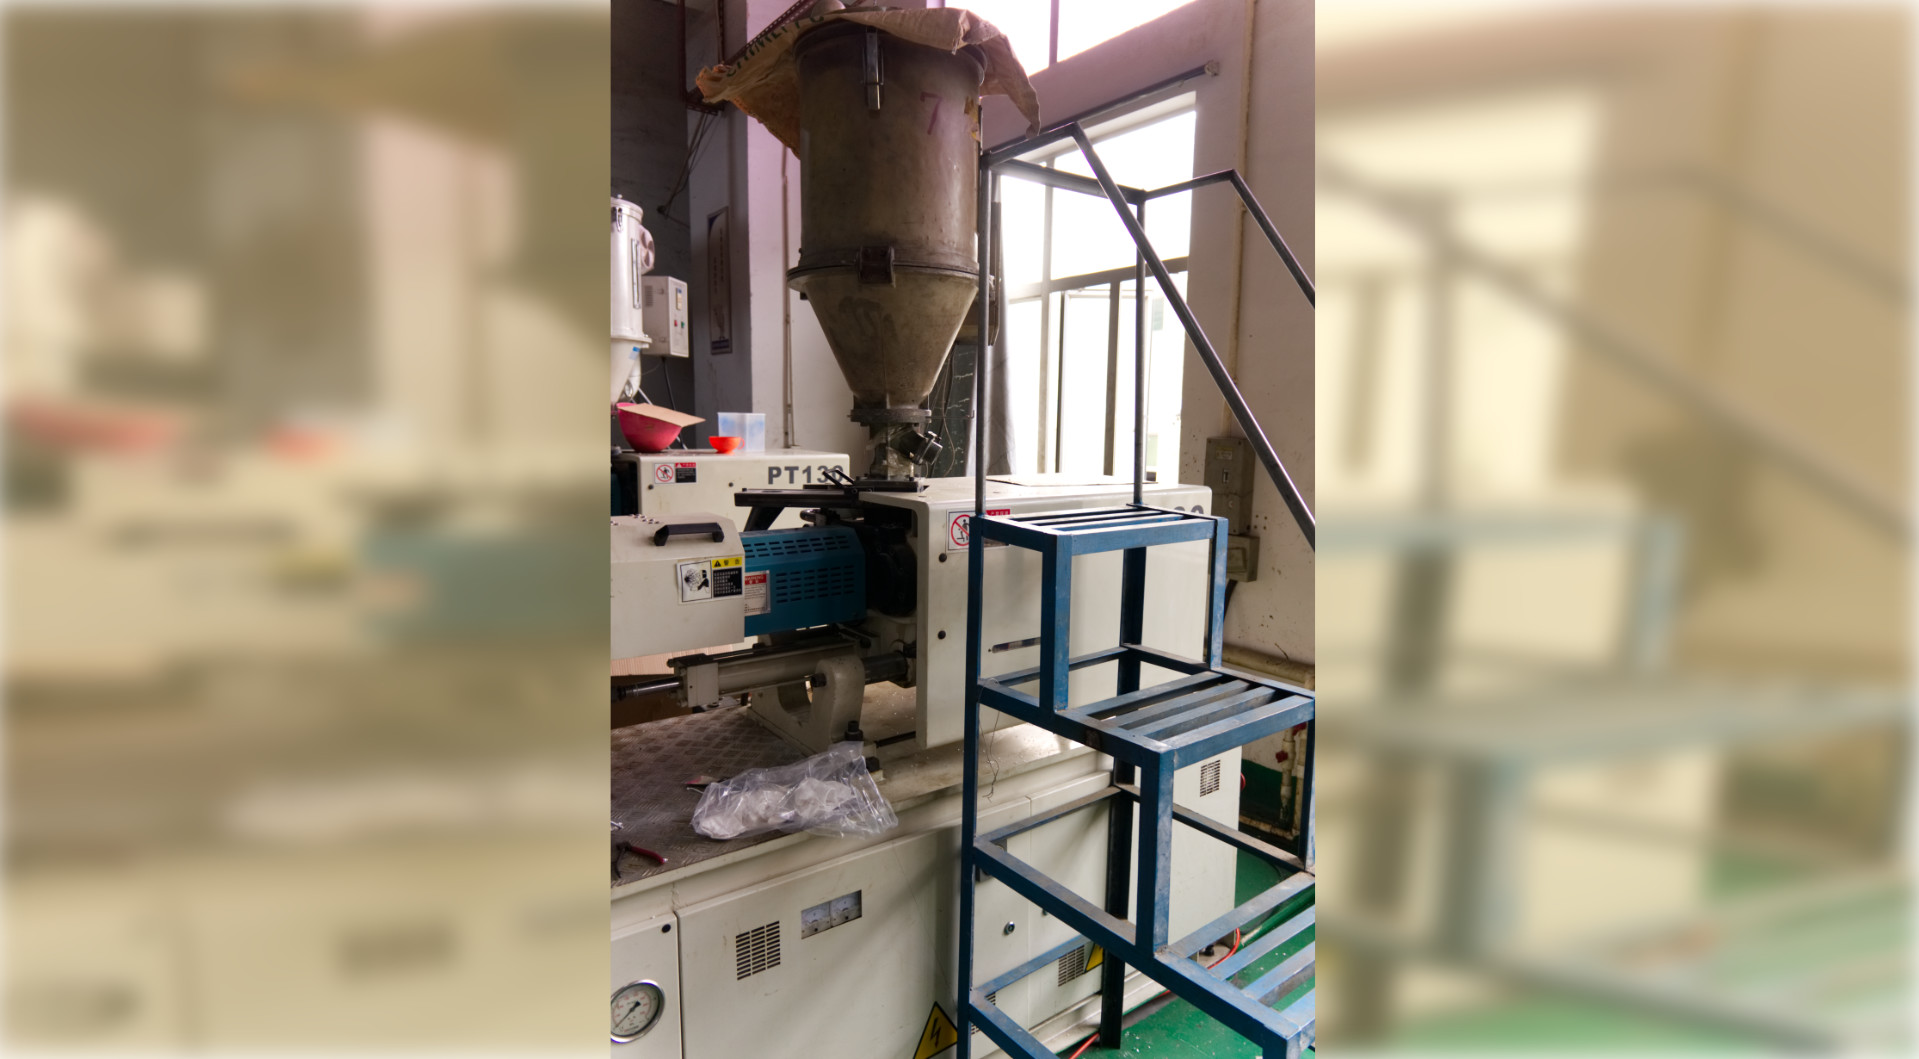
Into the Machine
![]()
Pulling a Shot
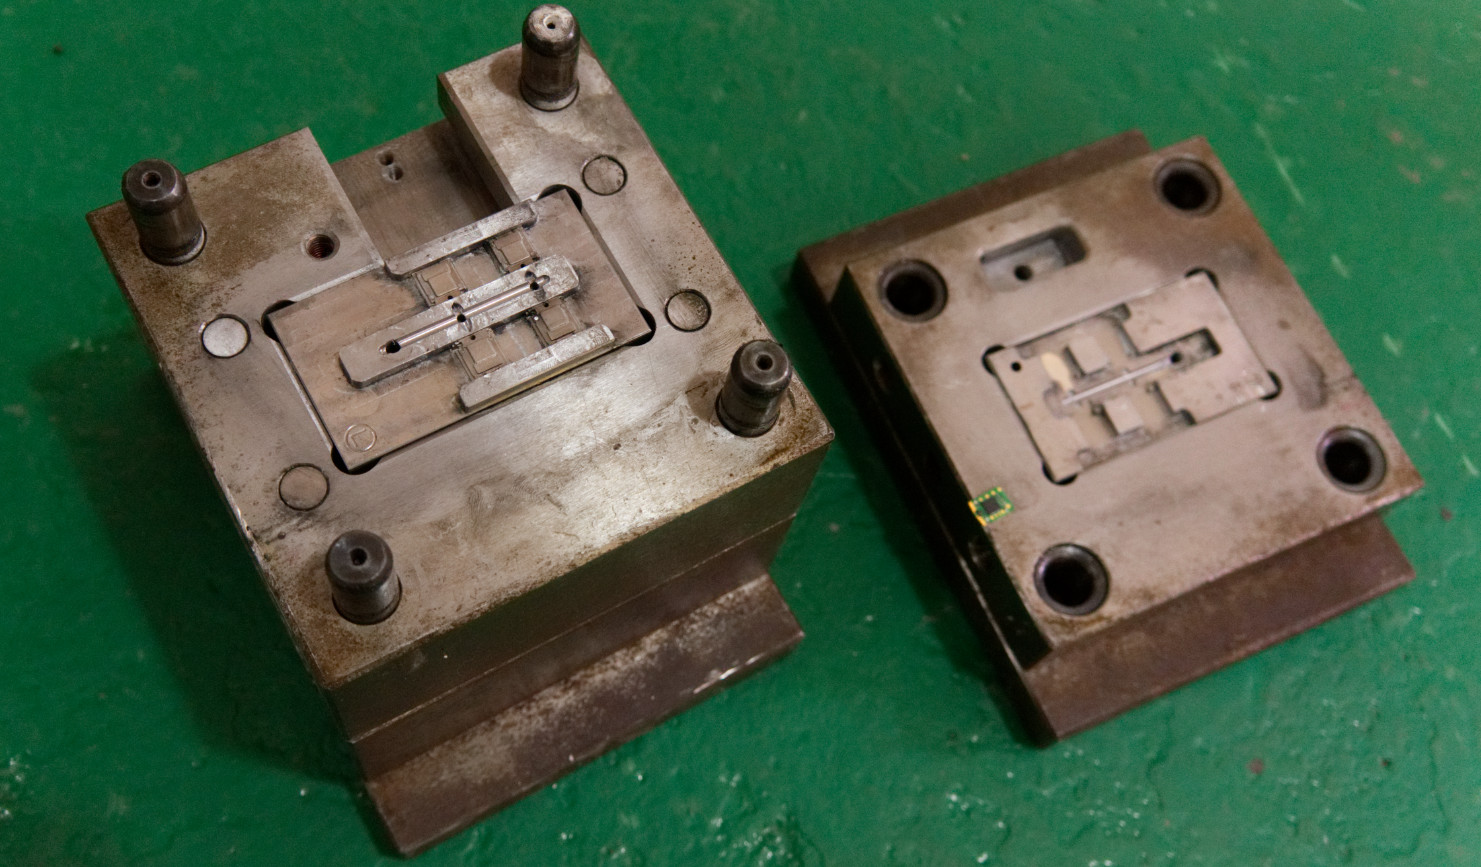
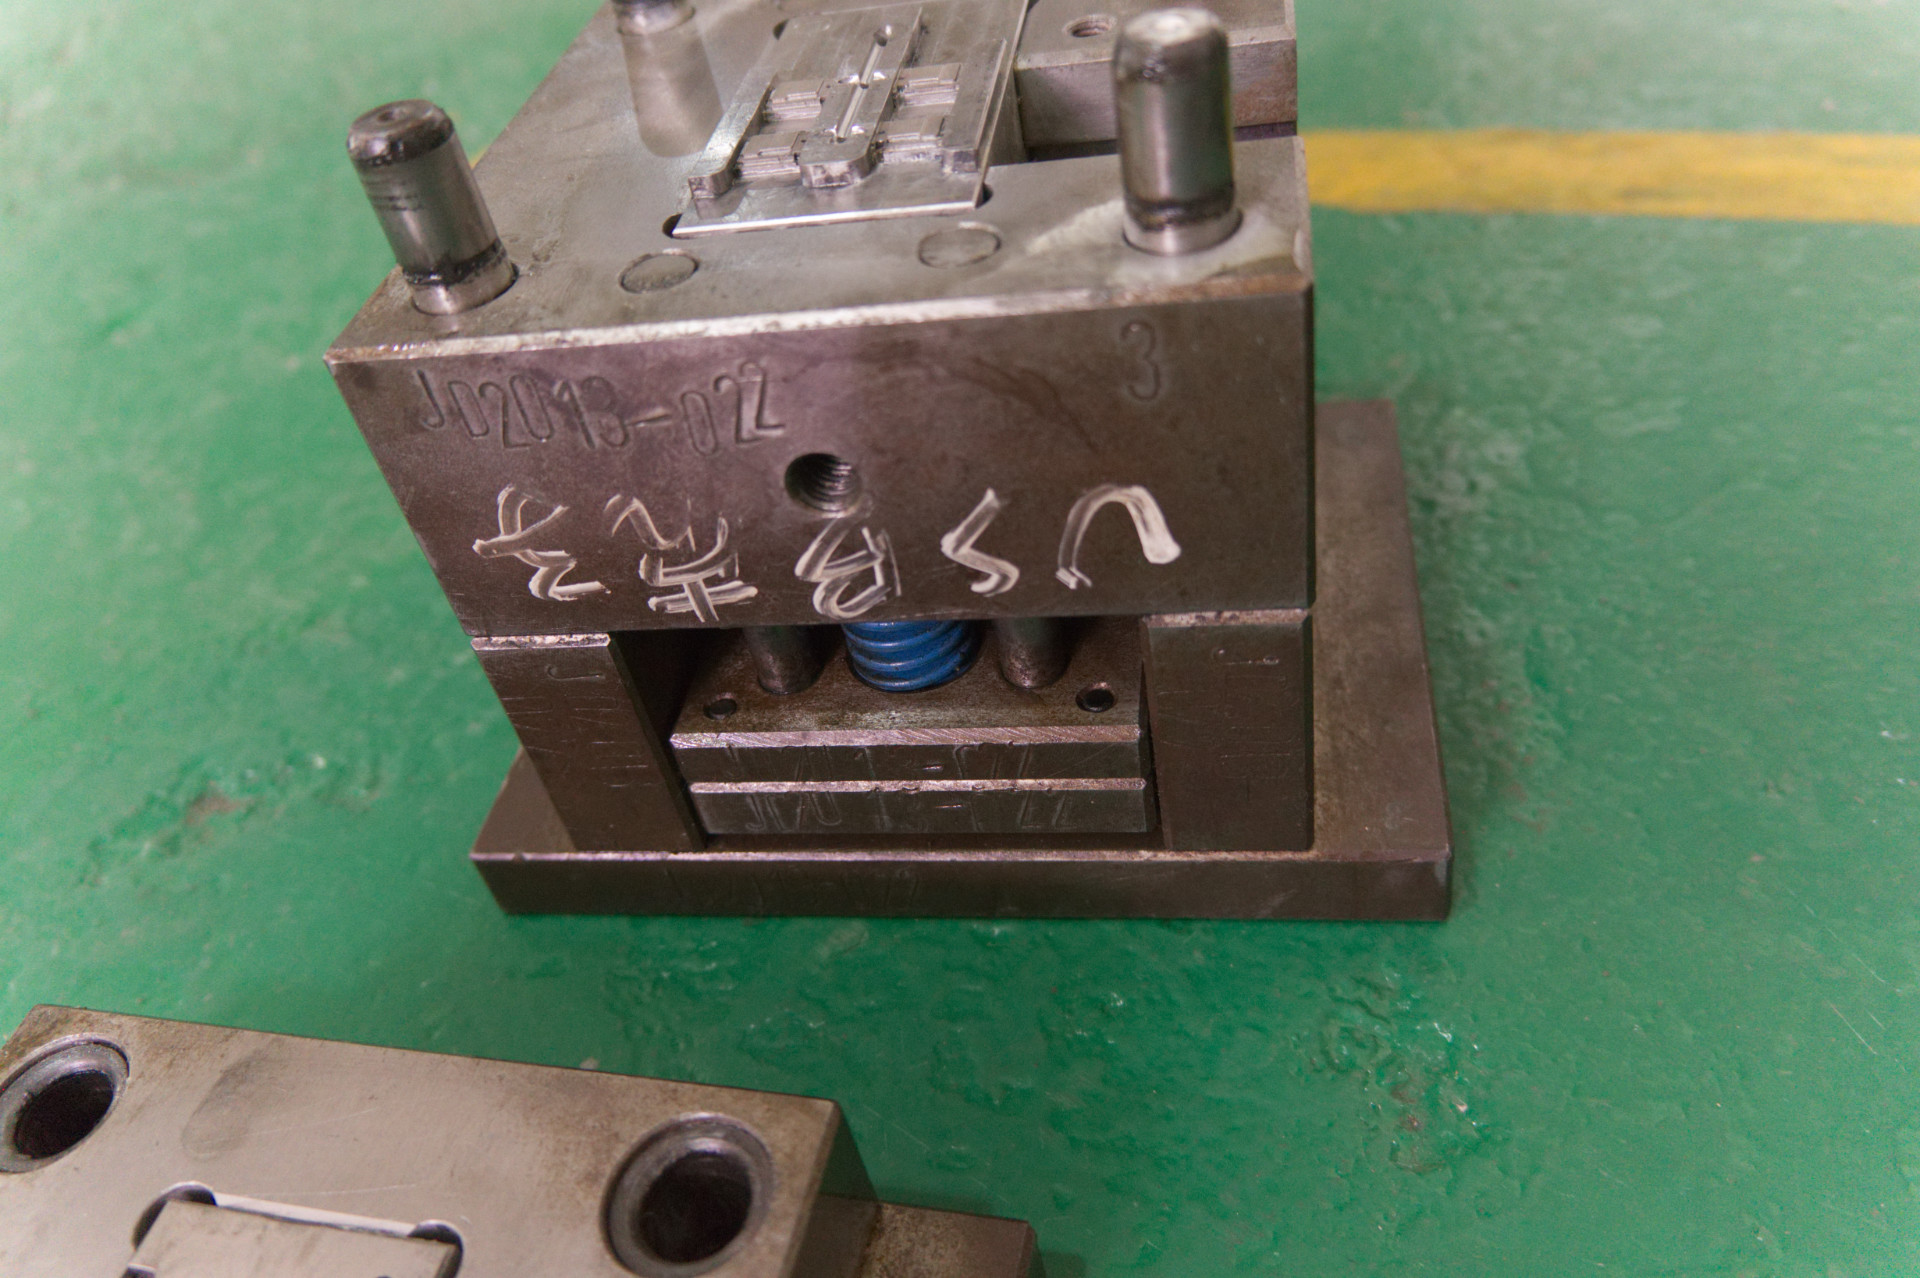
Factory Mold Bases
![]()
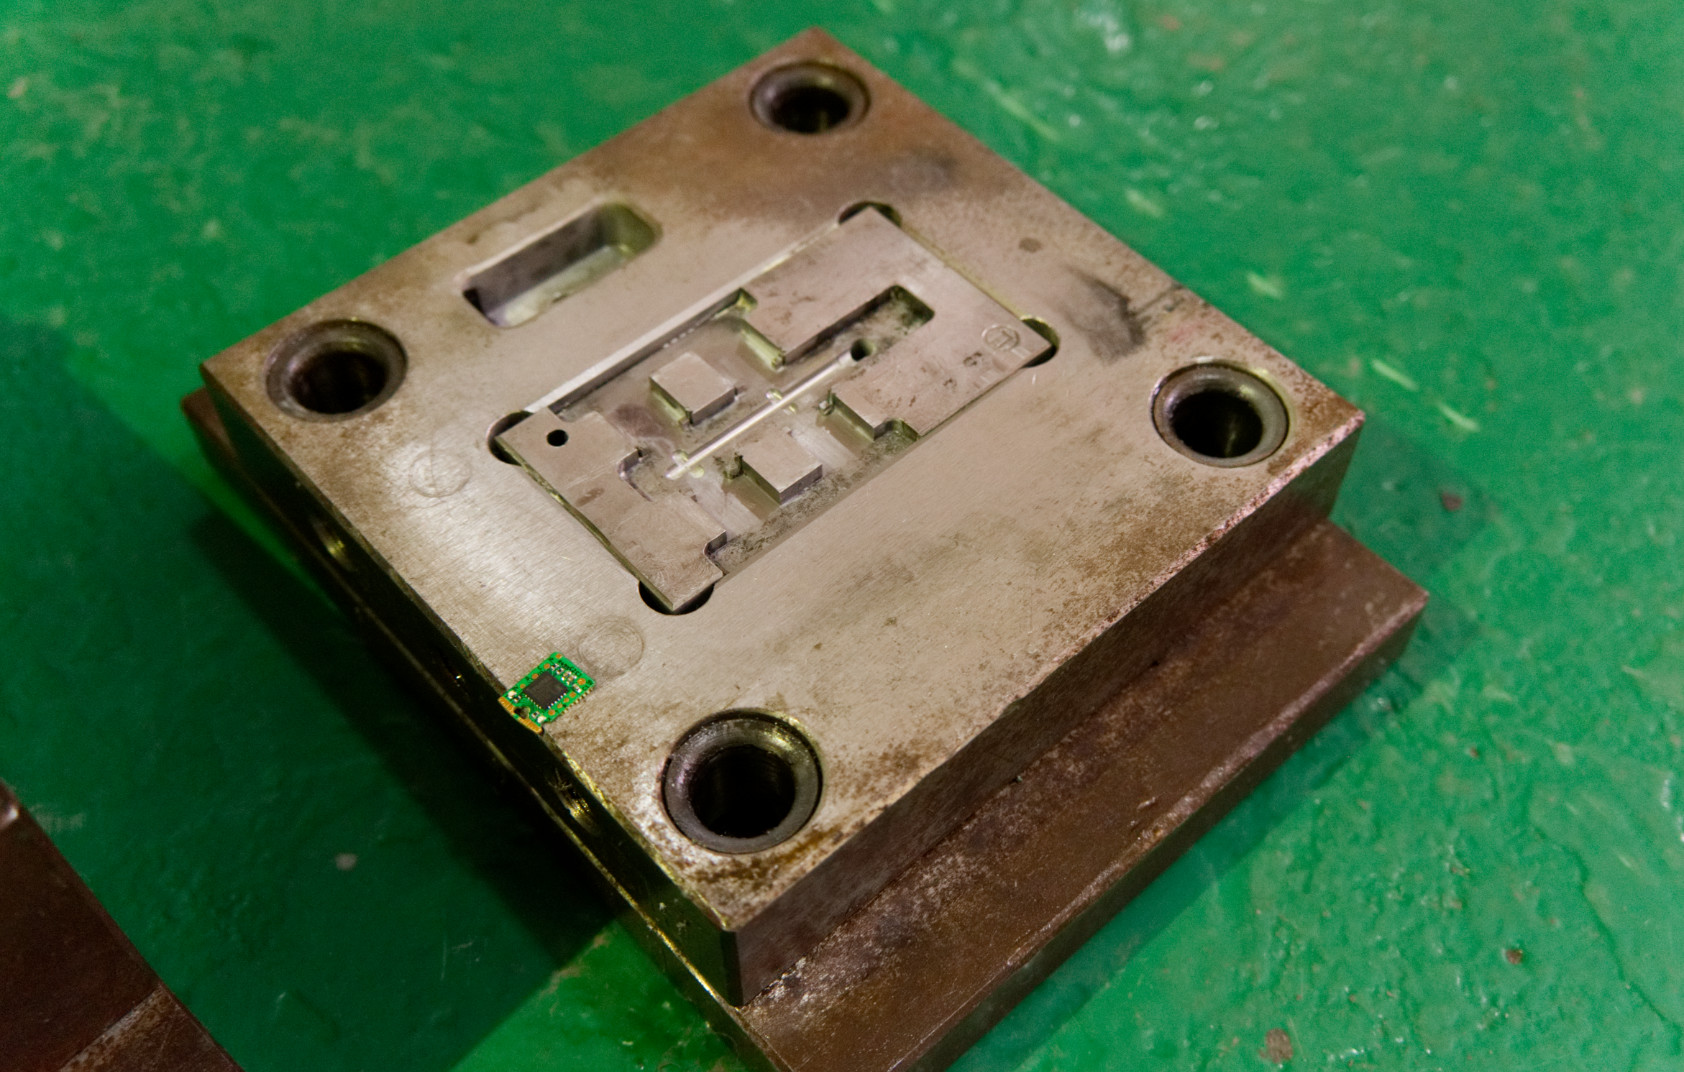
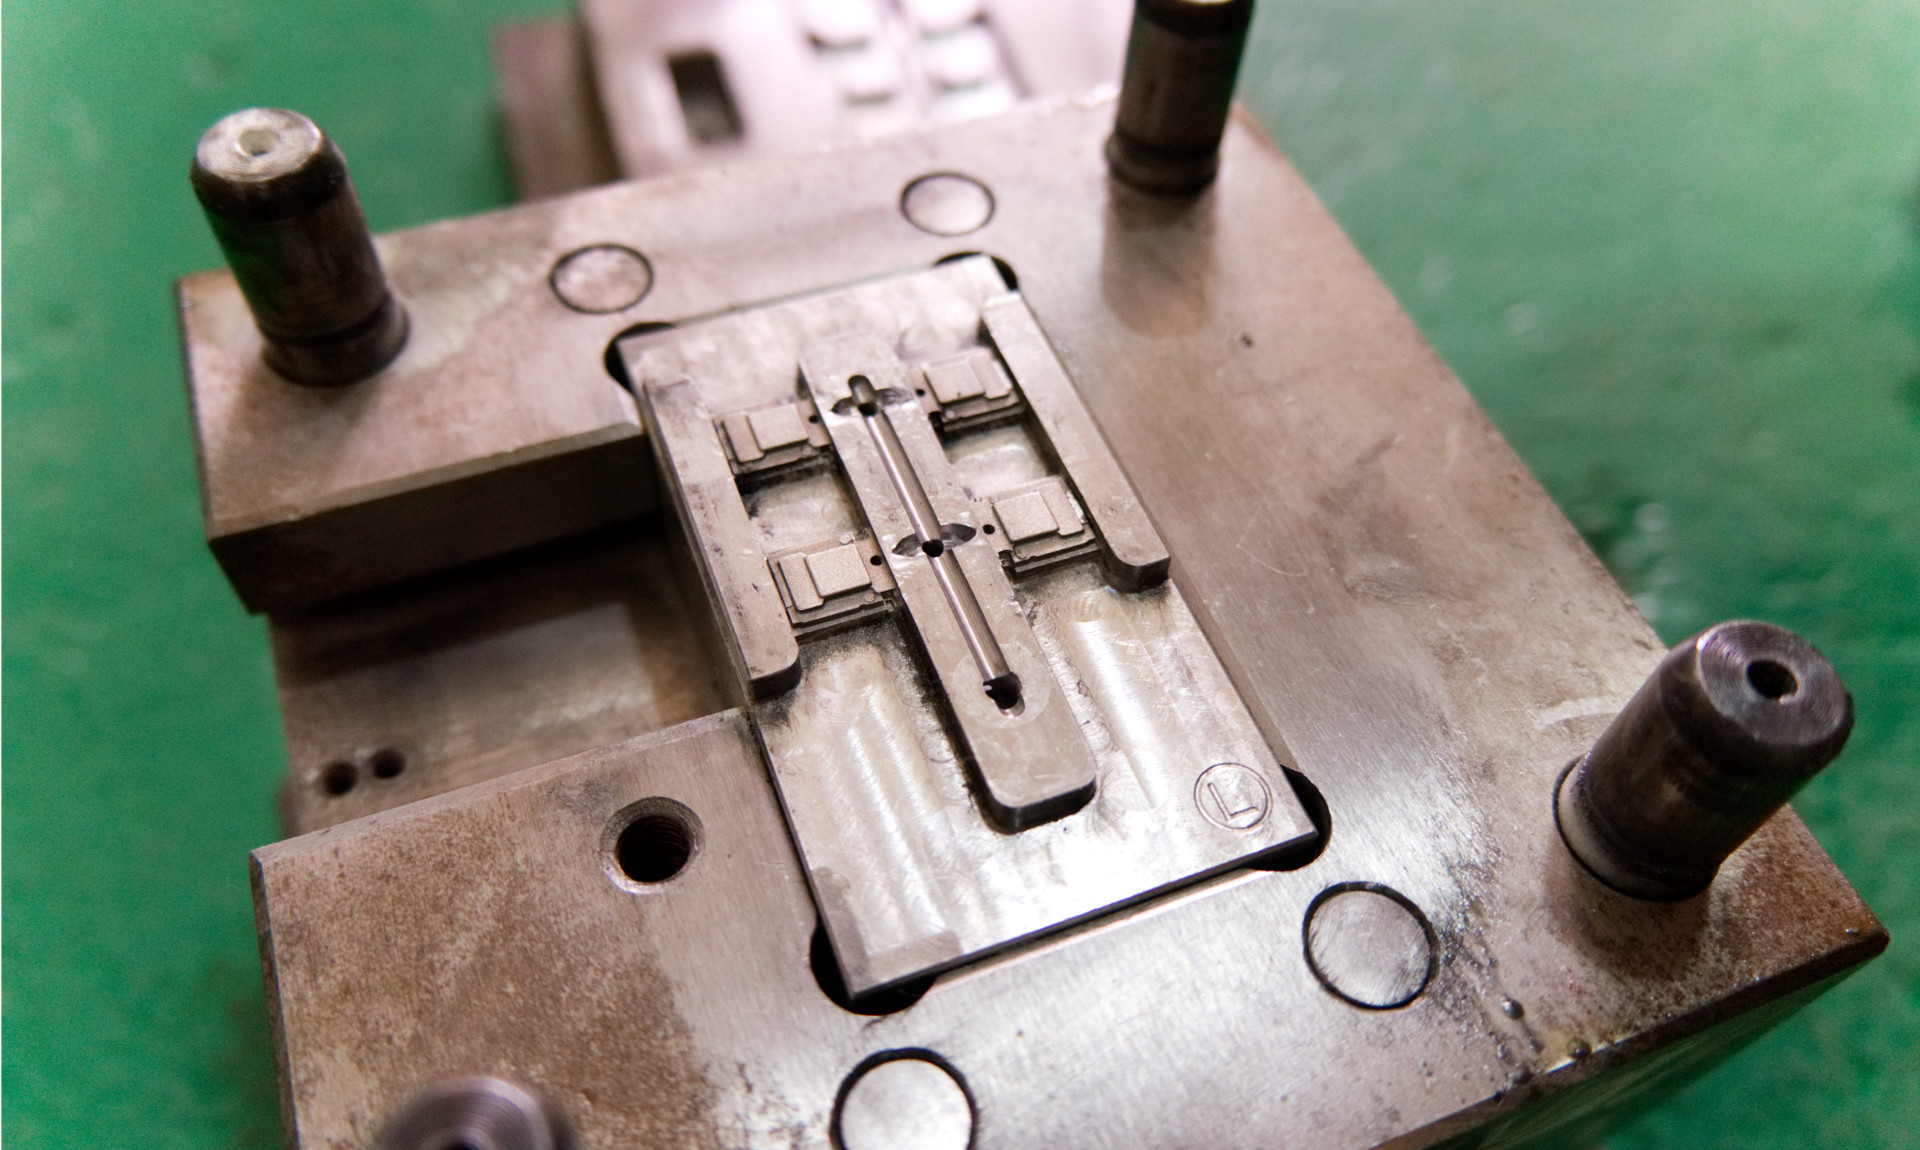
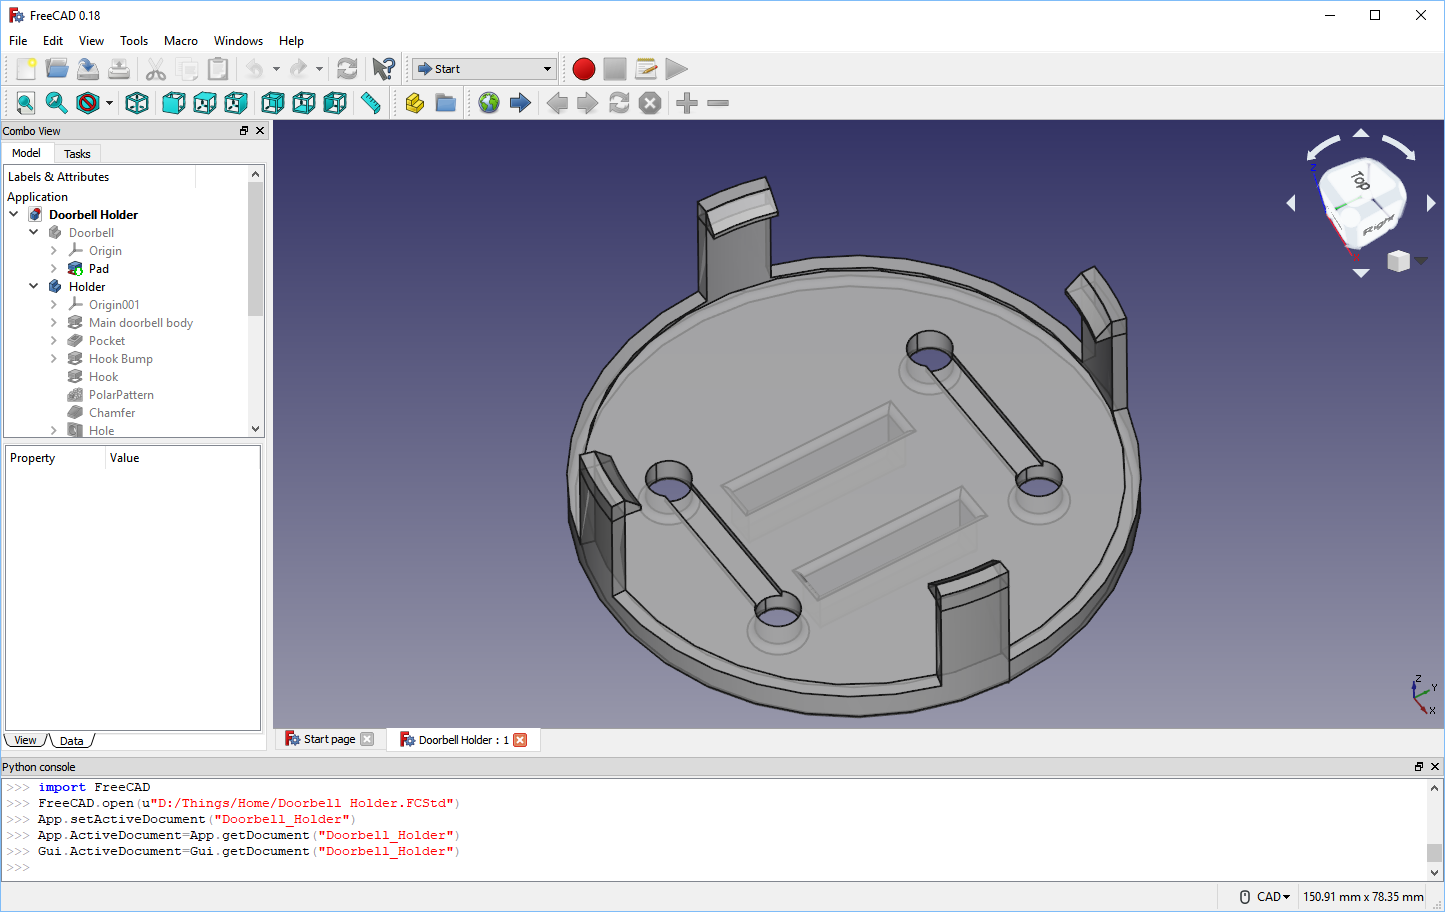
Tomu on its Mold
![]()
Both Mold Halves
![]()
Bottom Half
![]()
Ejectors
![]()
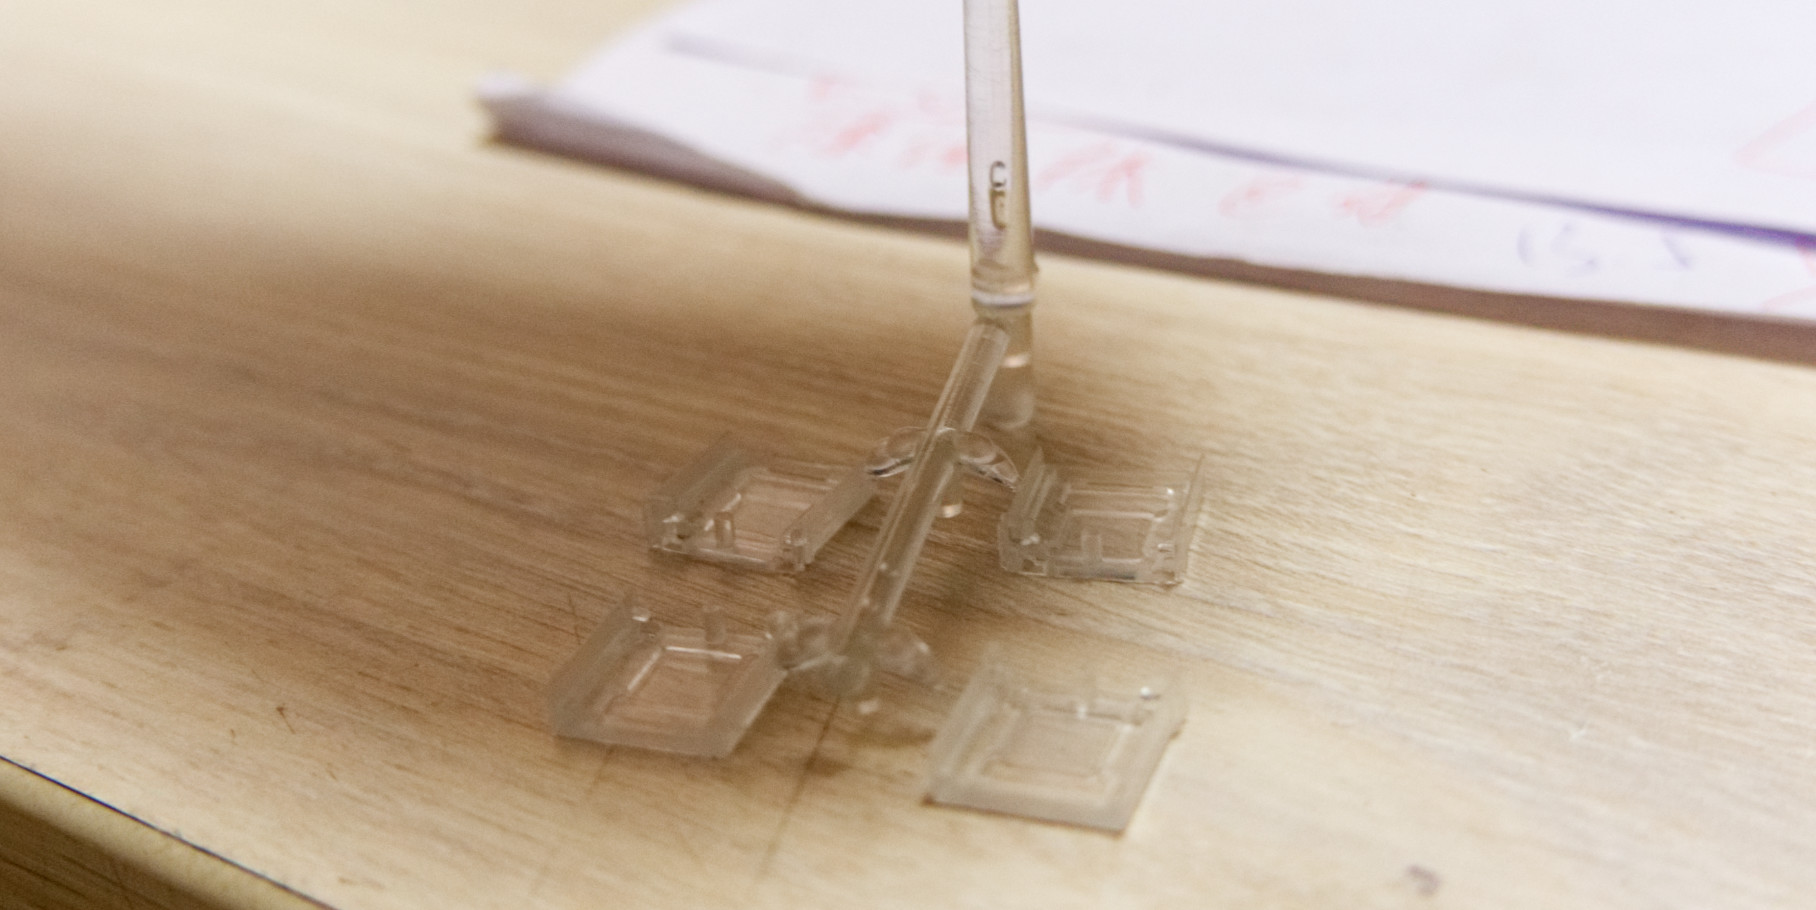
Cases on Runners
![]()
Factory Edits
![]()
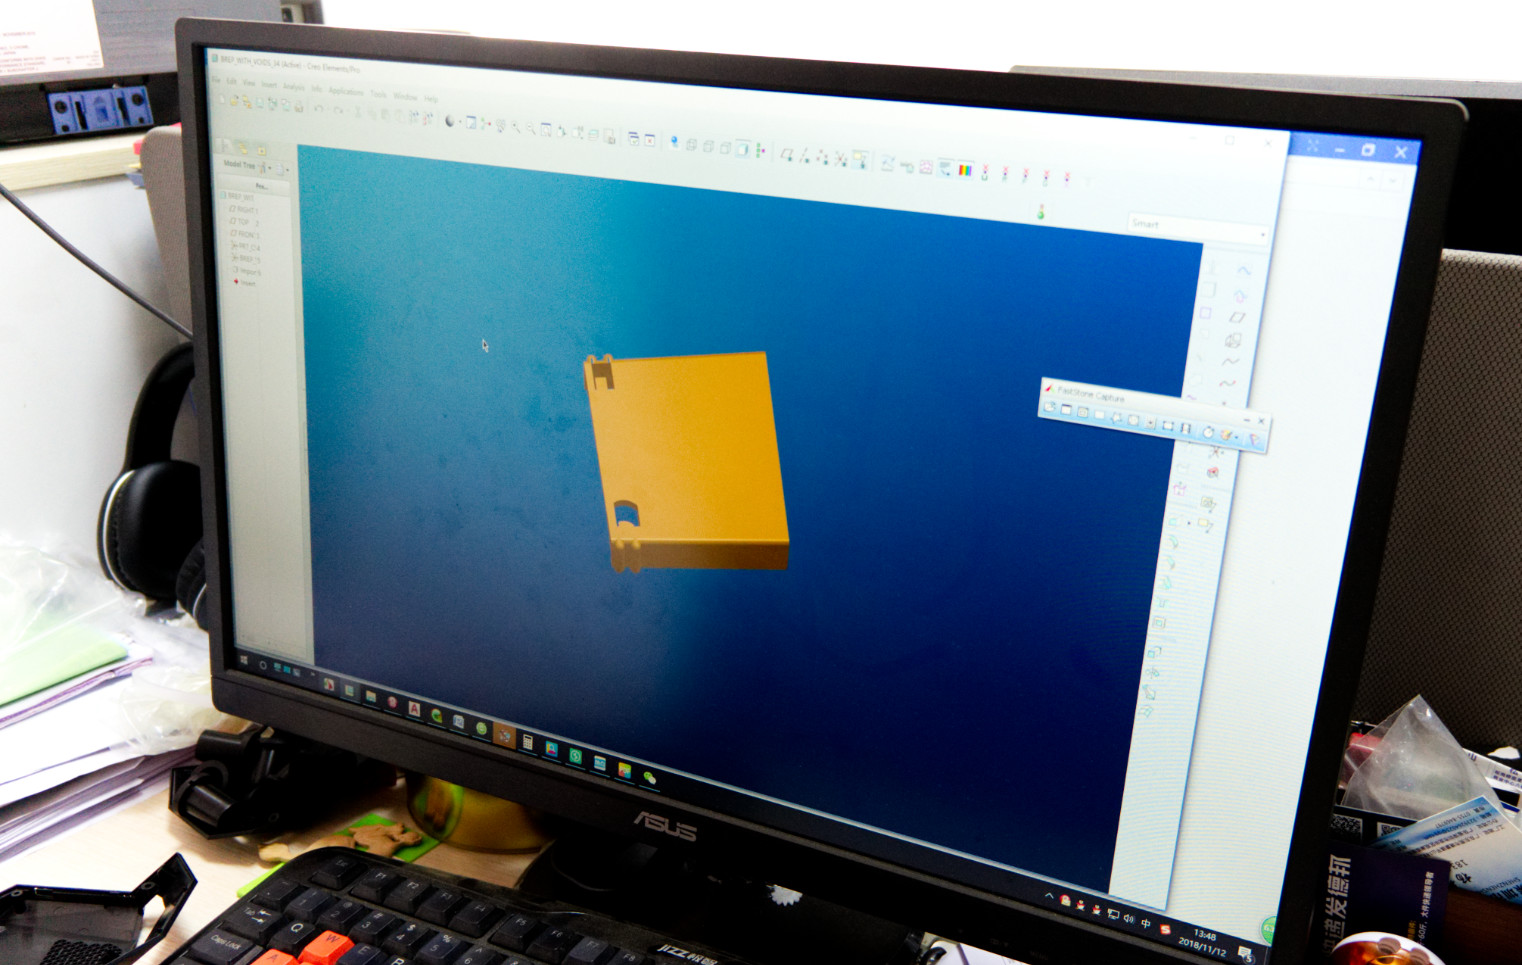
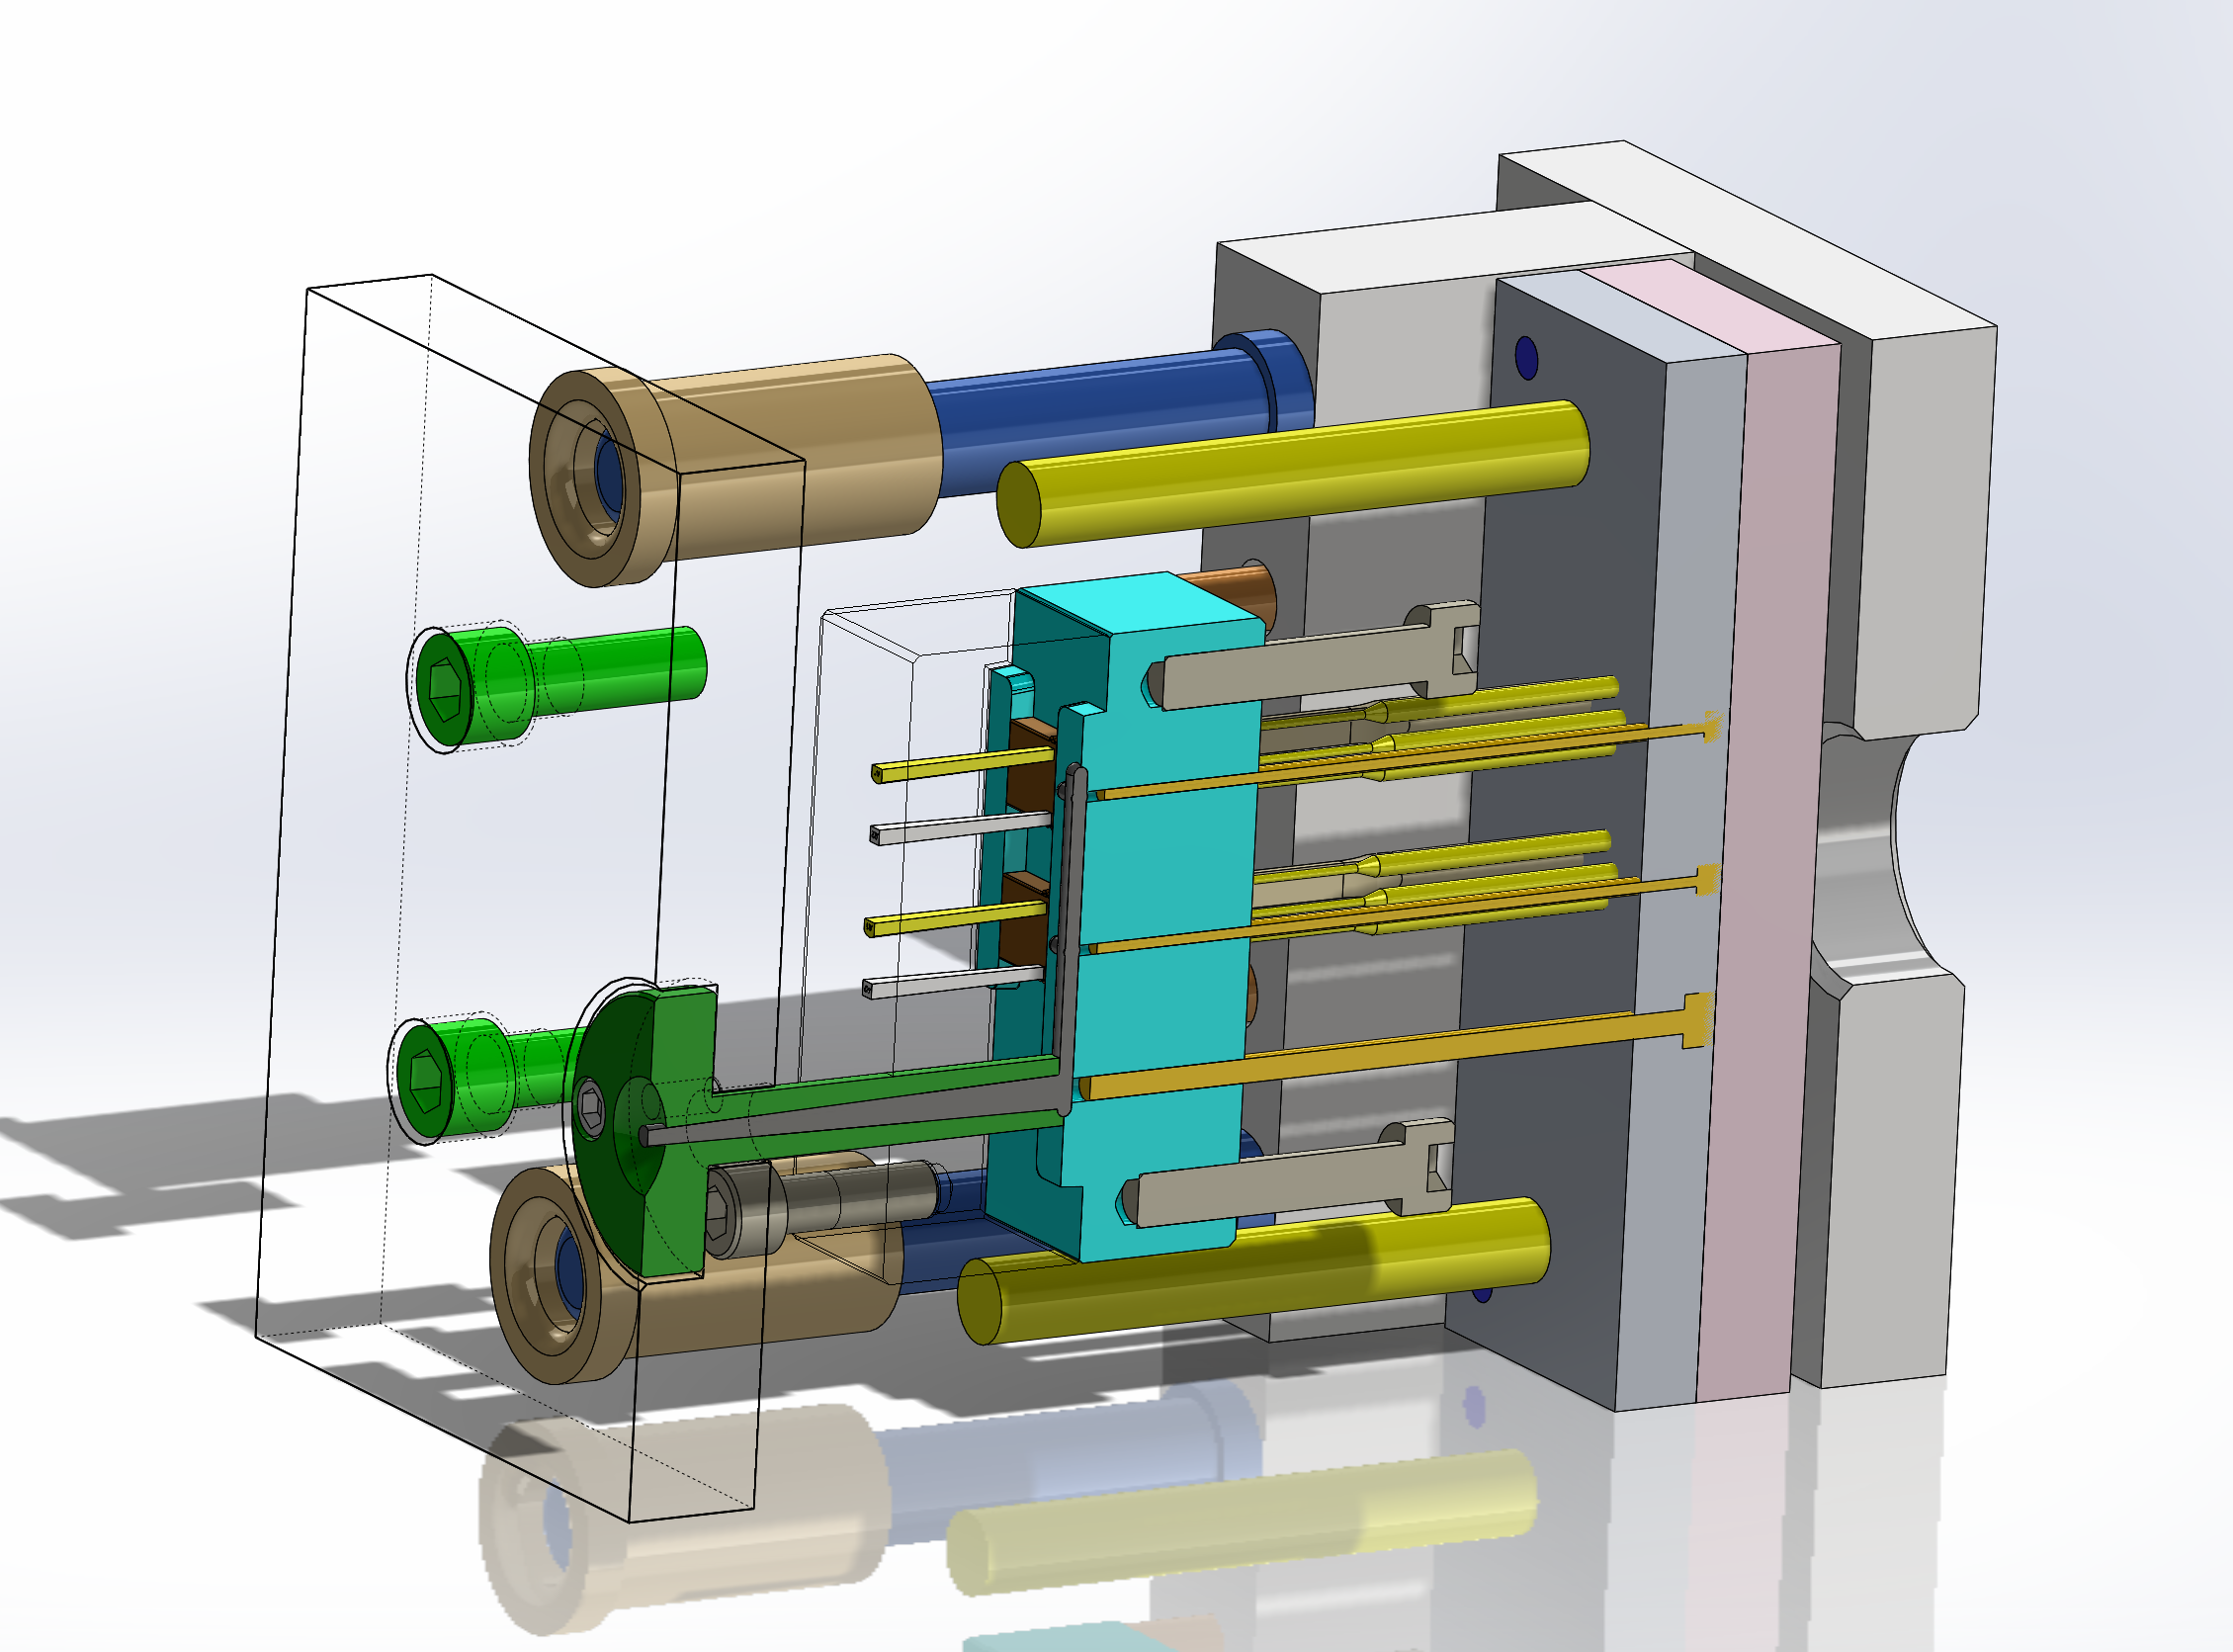
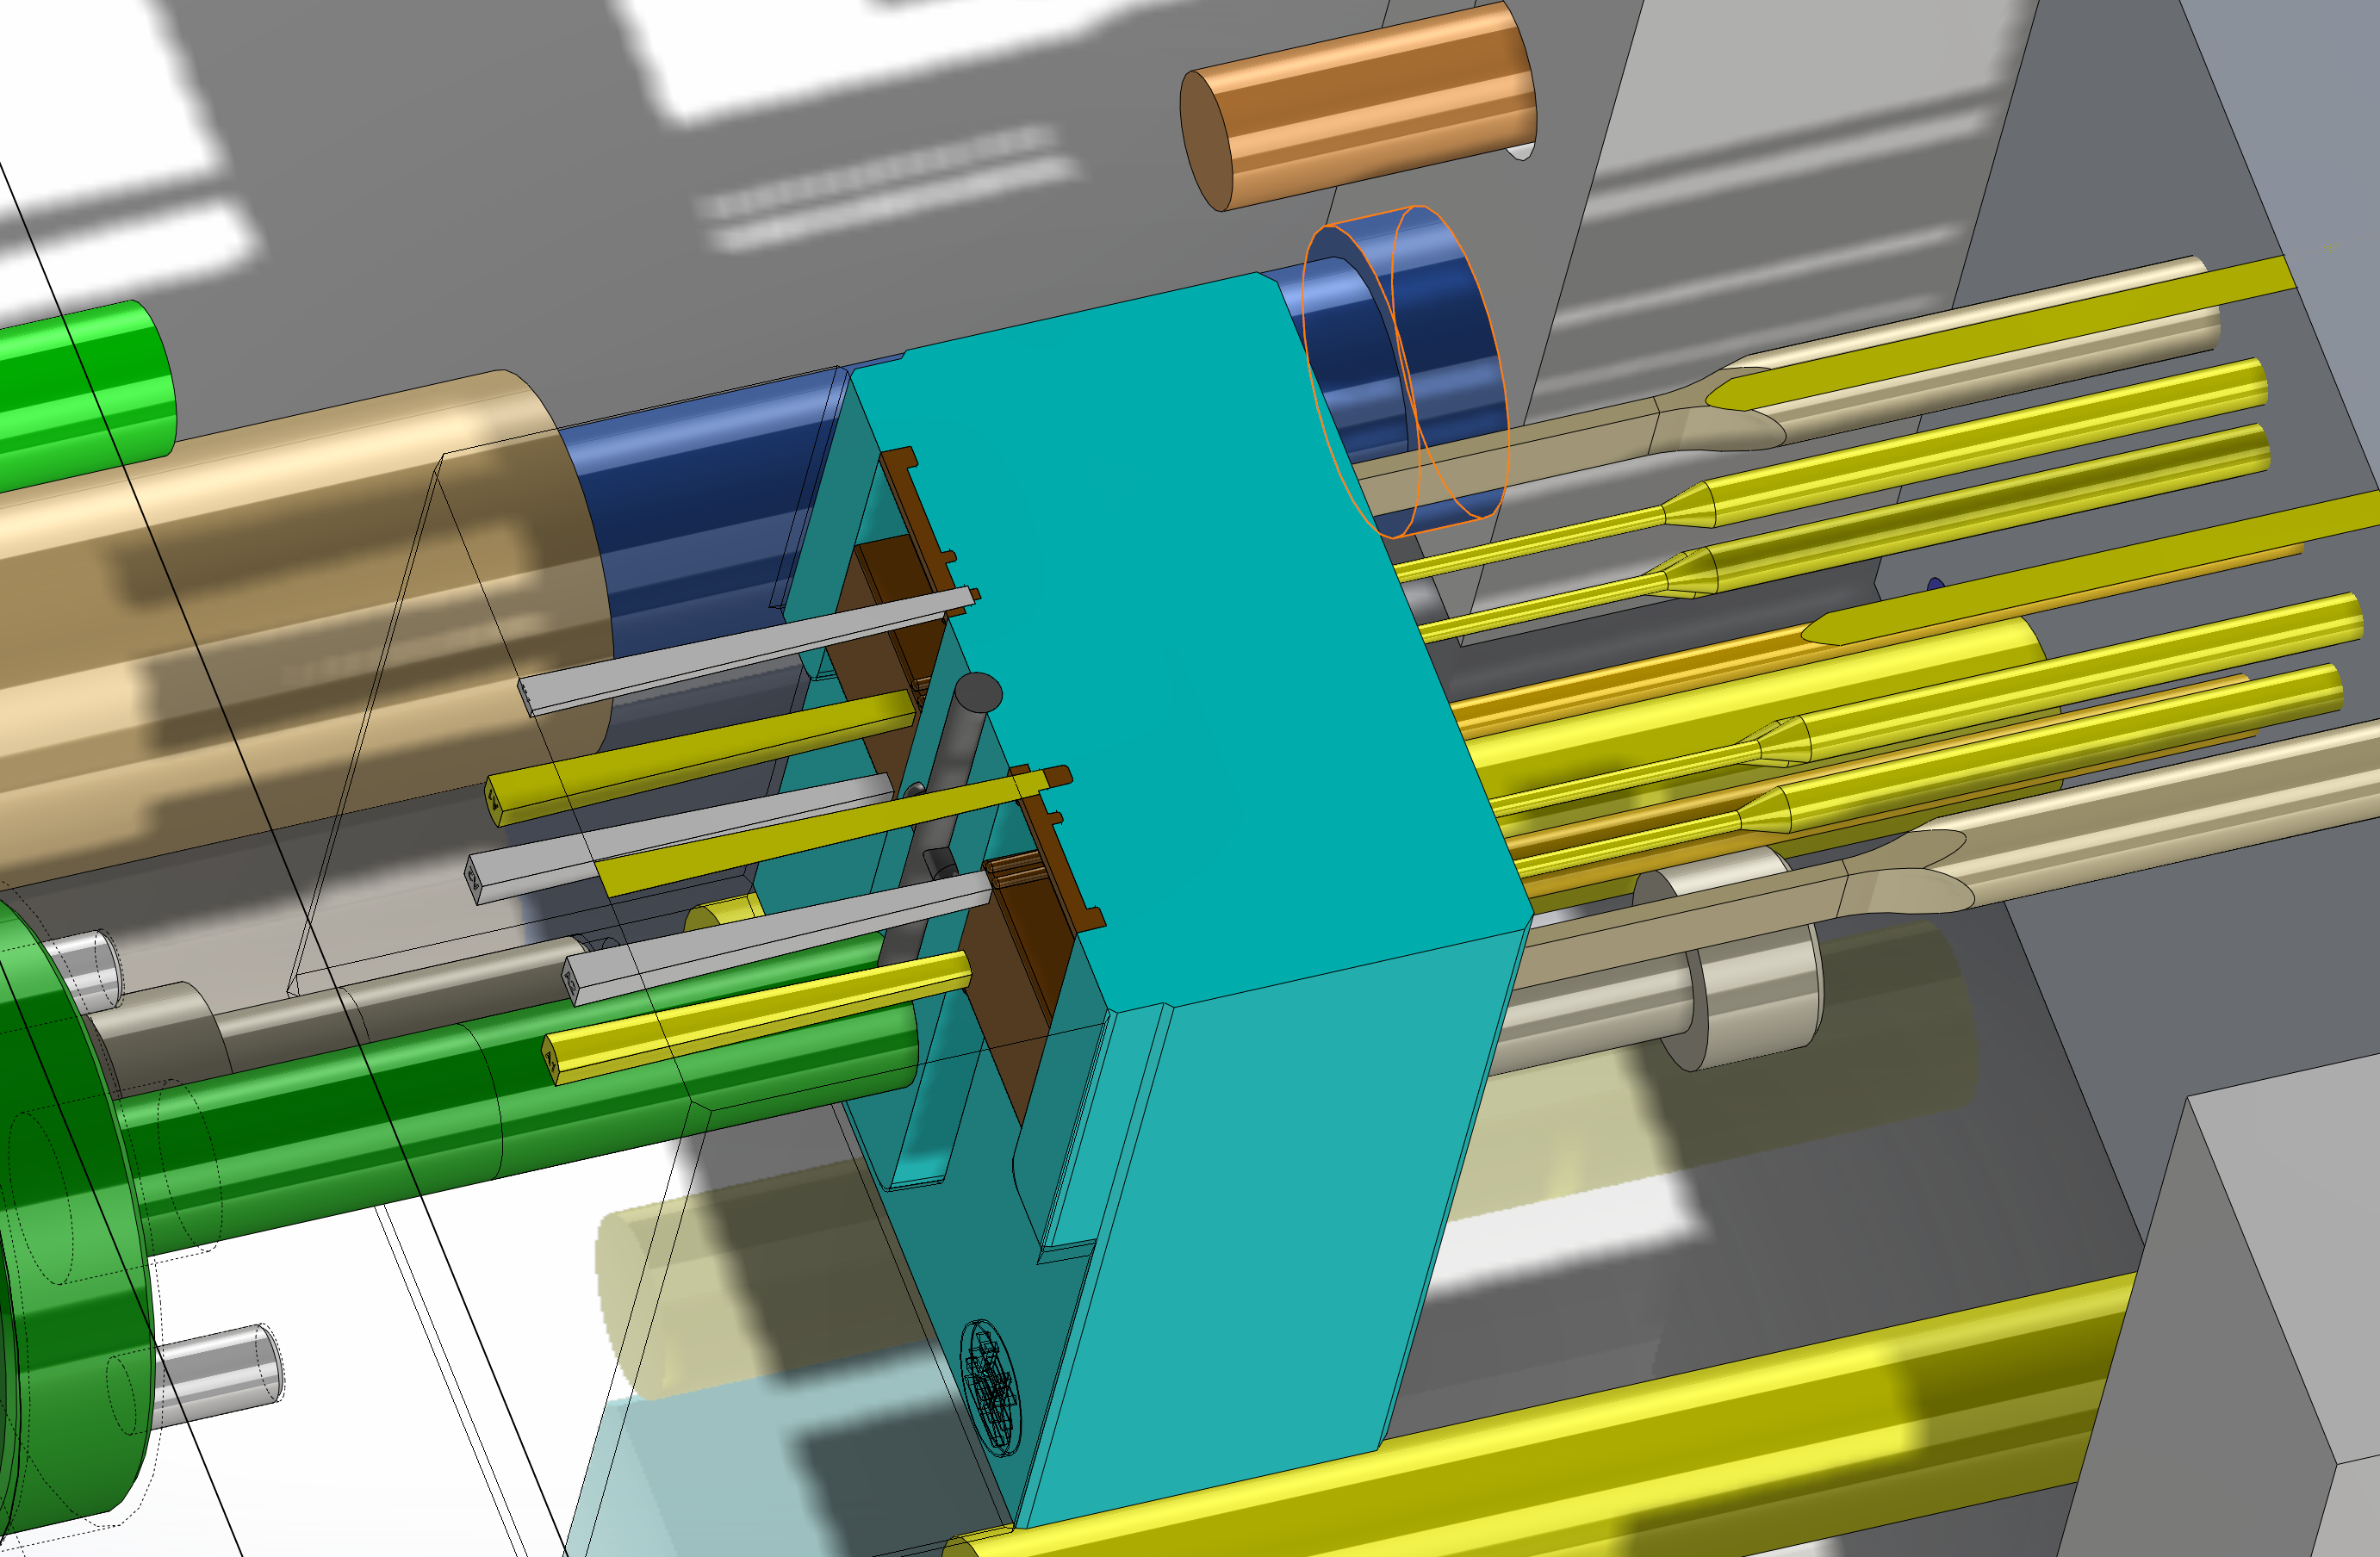
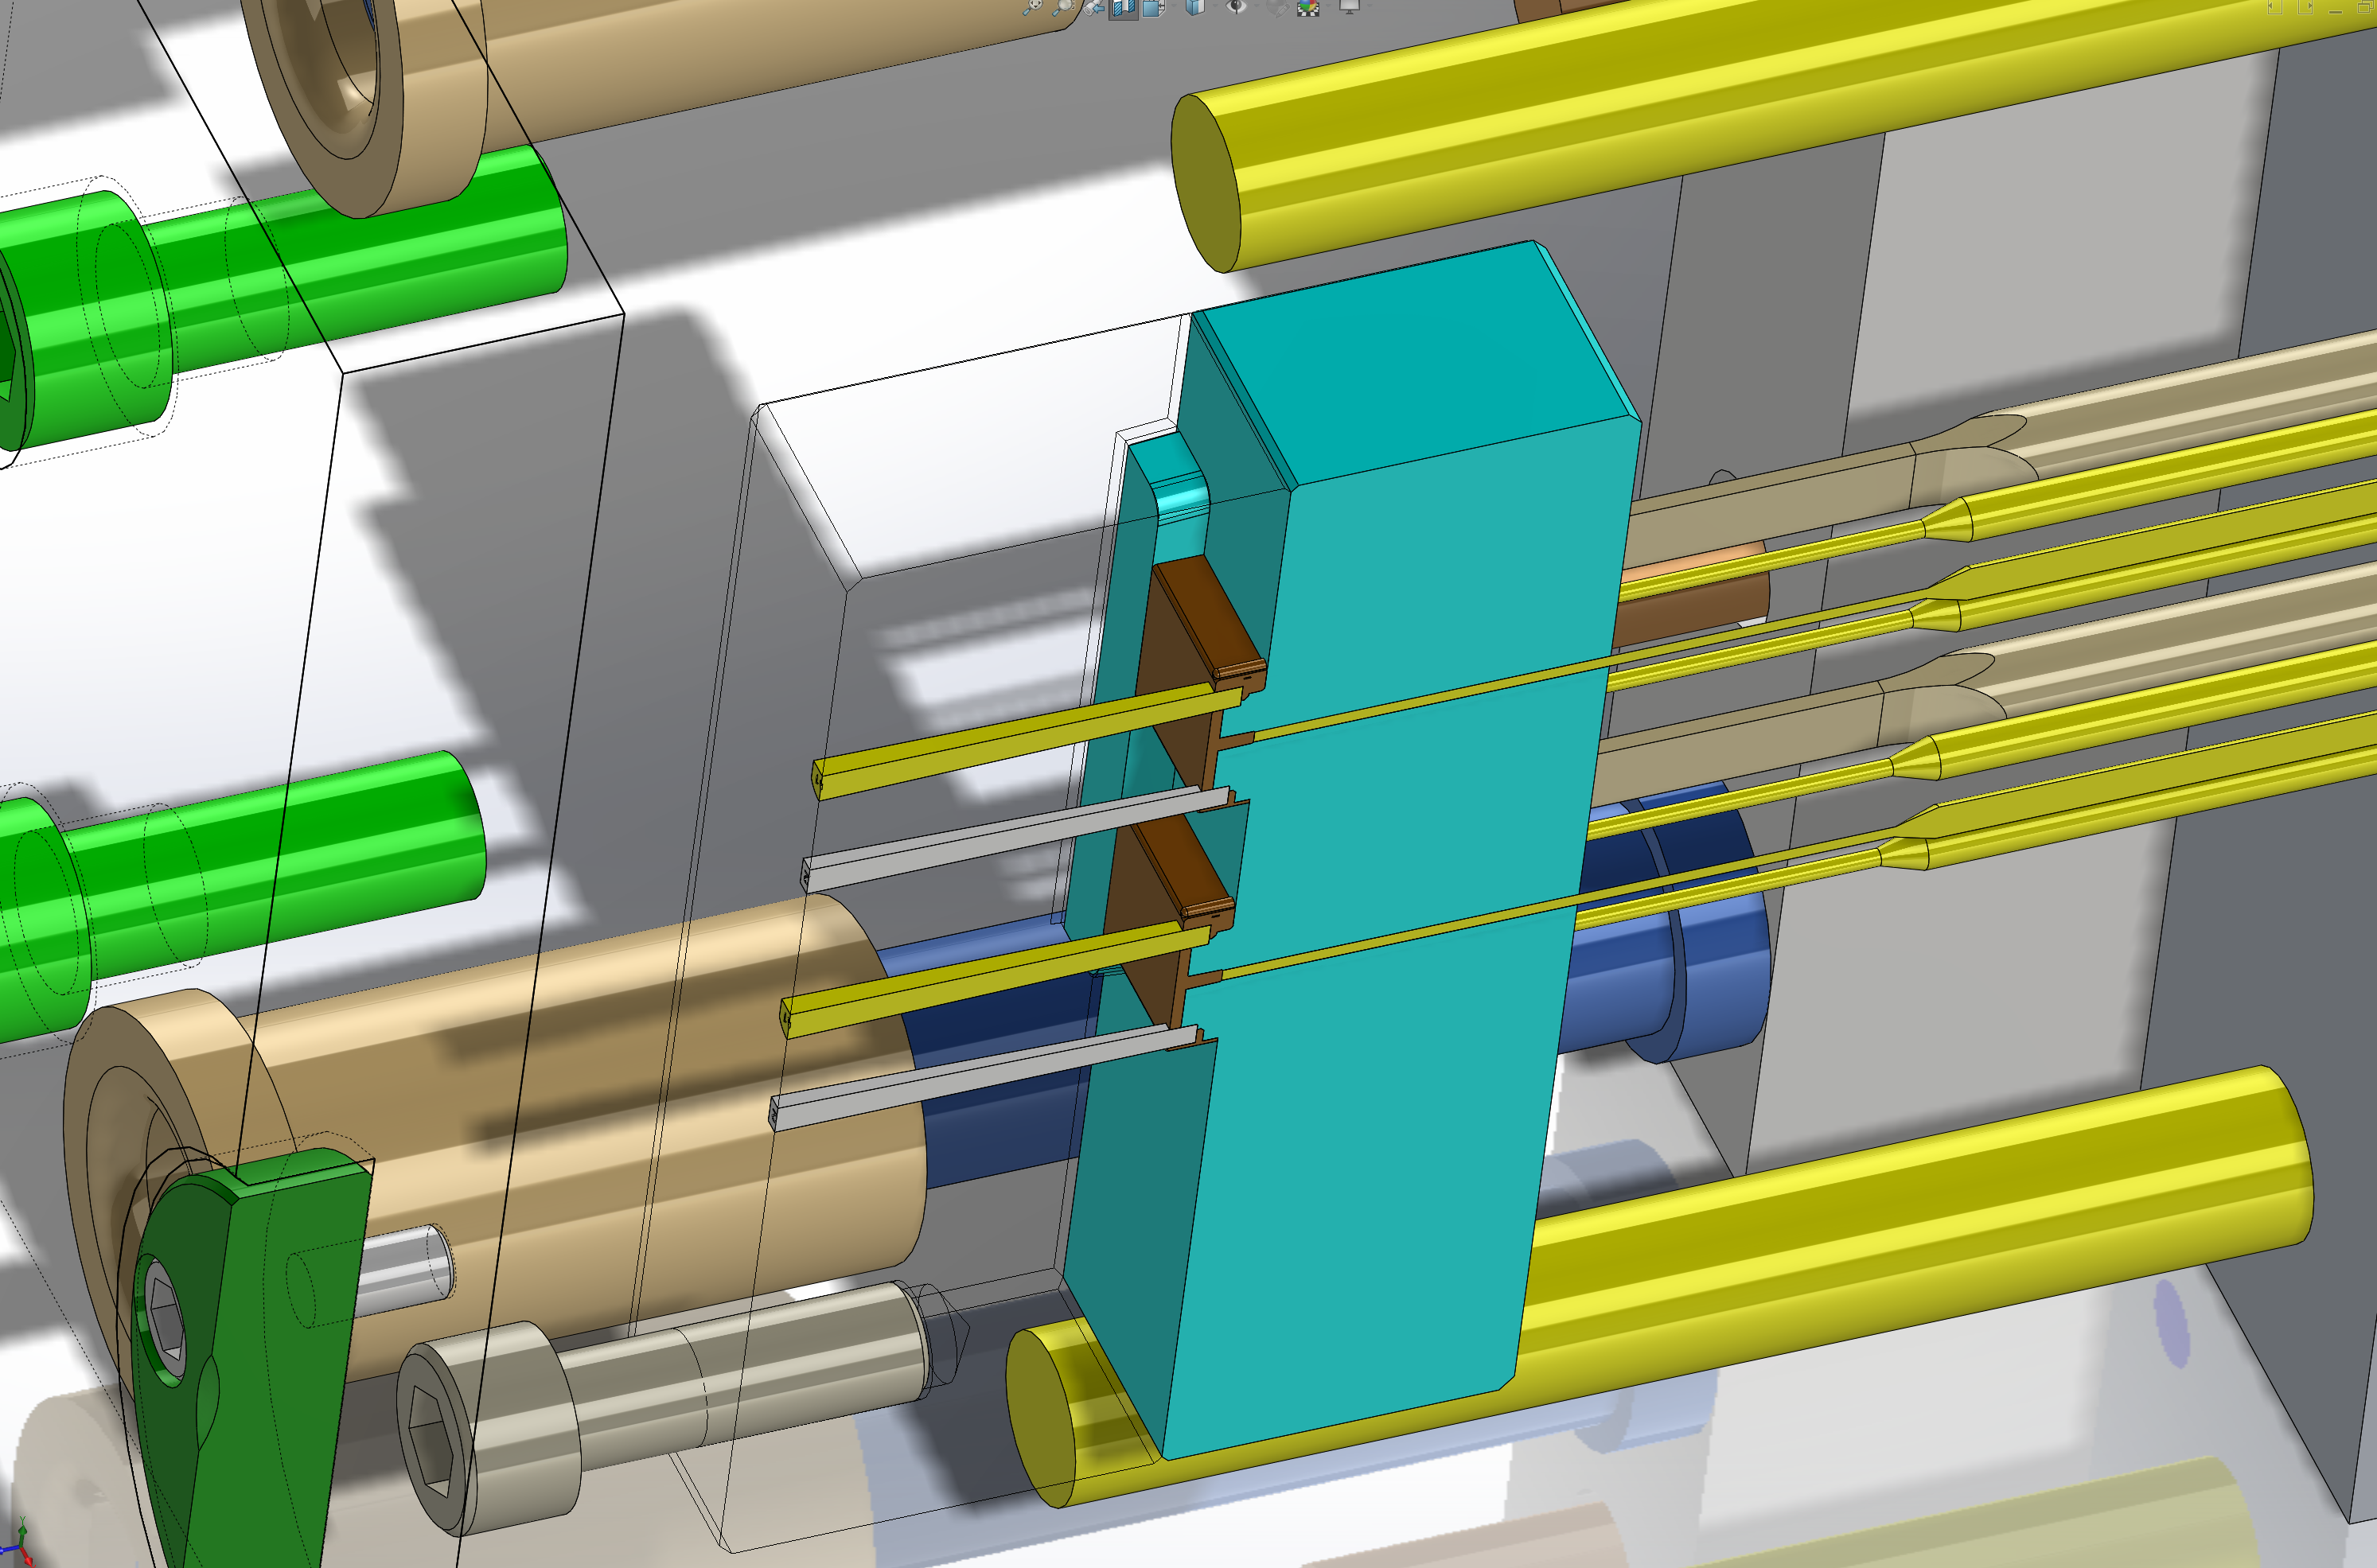
Tool Model
![]()
![]()
![]()
![]()
Designing the Case
3D Printing
Almost (but not quite) entirely unline injection molding
- STL vs STEP
- Overhangs
- Support structures
- Flow rate/lines
- Time taken
- Family molds
Hardware
Software: FreeCAD
![FreeCAD Example]()
FreeCAD can create STEP files
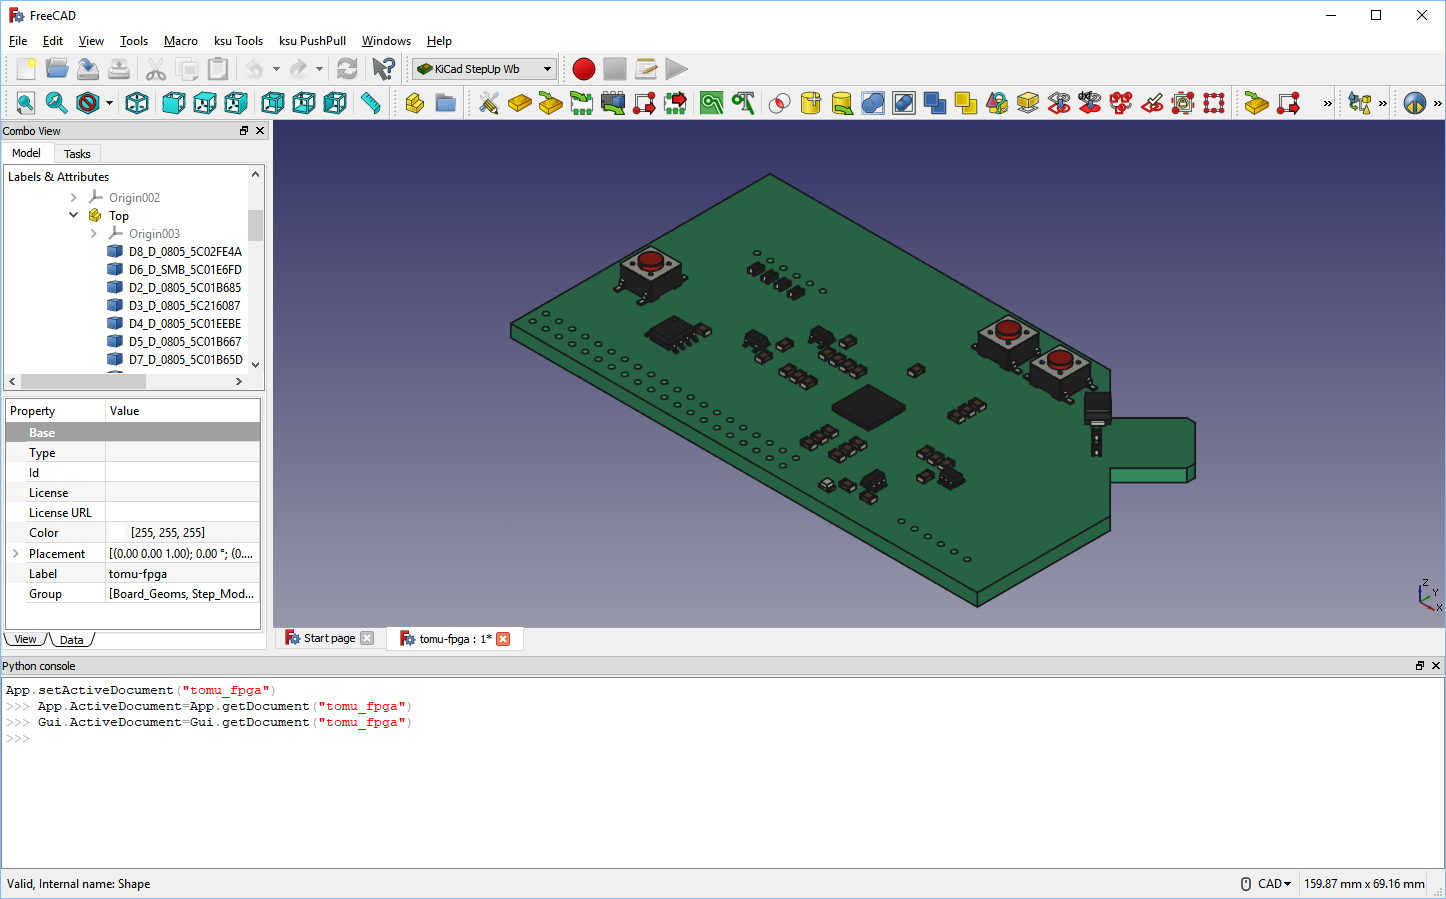
FreeCAD can read KiCad files
![KiCad PCB inside FreeCAD]()
1) Open the PCB
![First, open the PCB in FreeCAD]()
1) Open the PCB
![Click 'Create Sketch']()
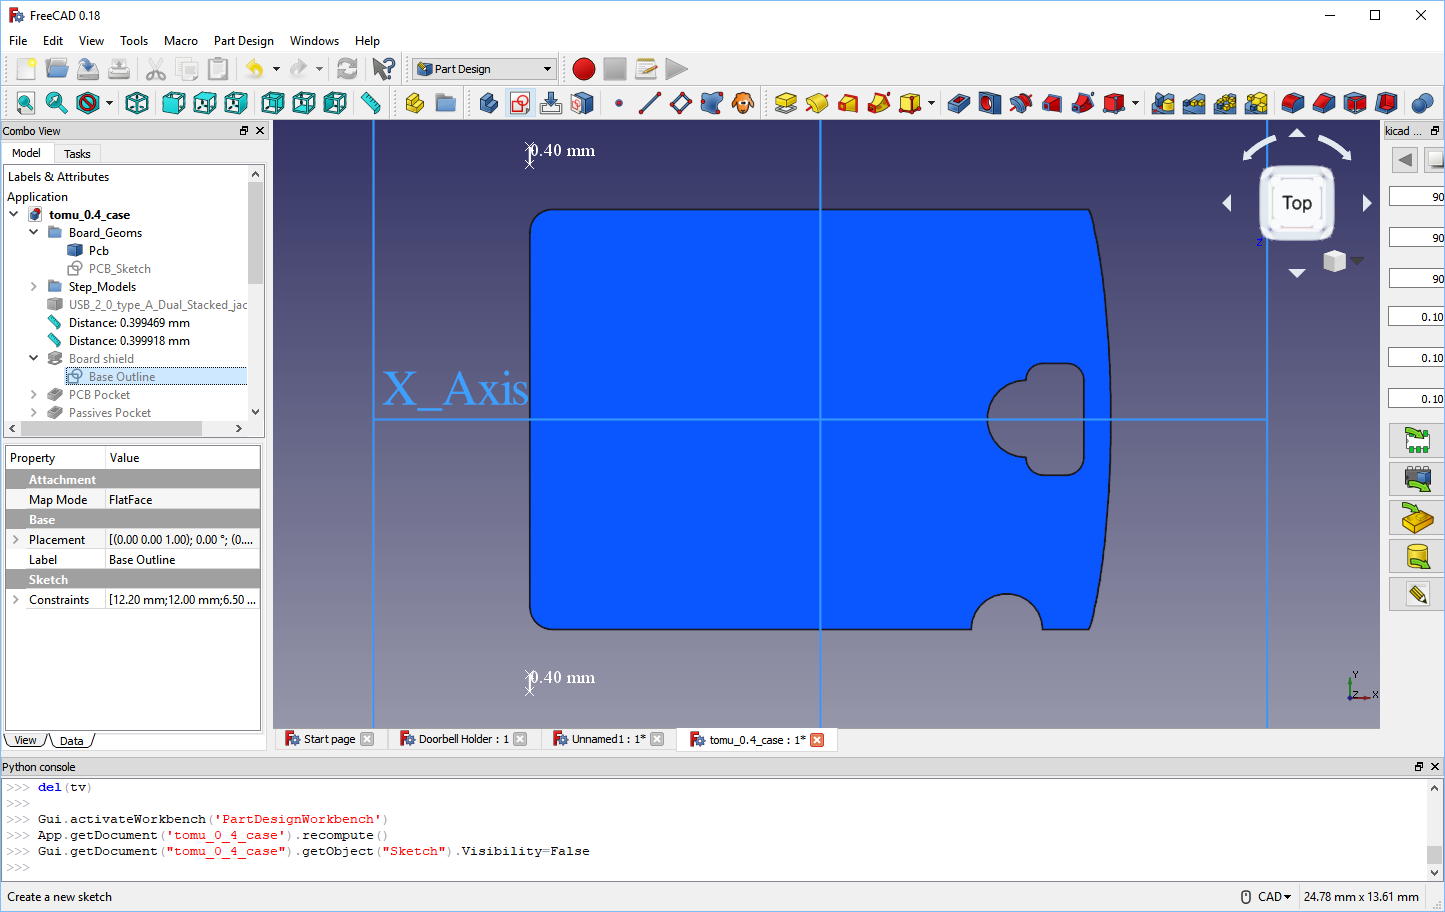
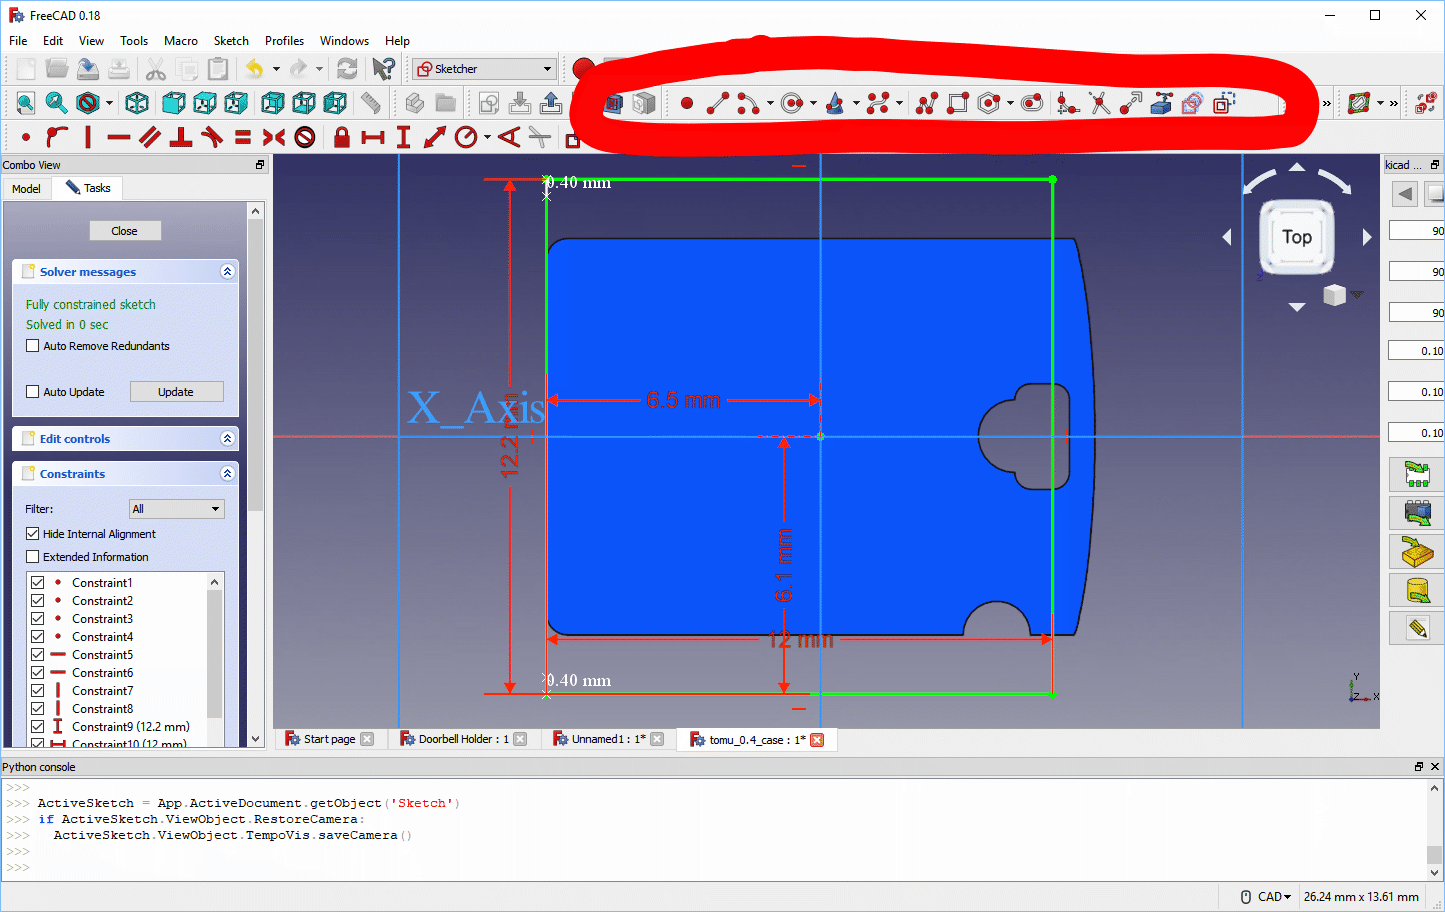
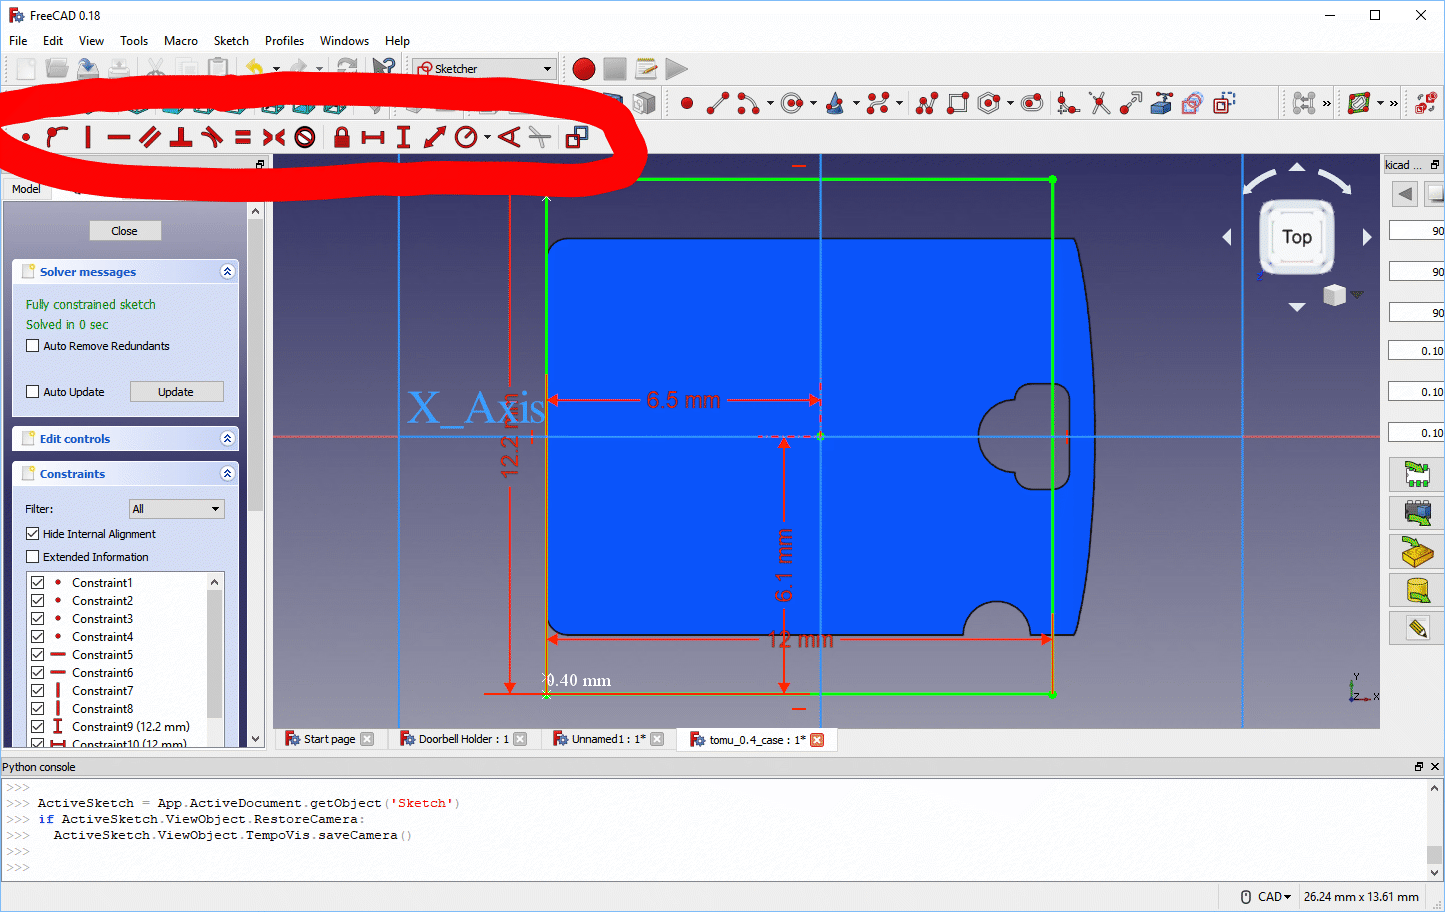
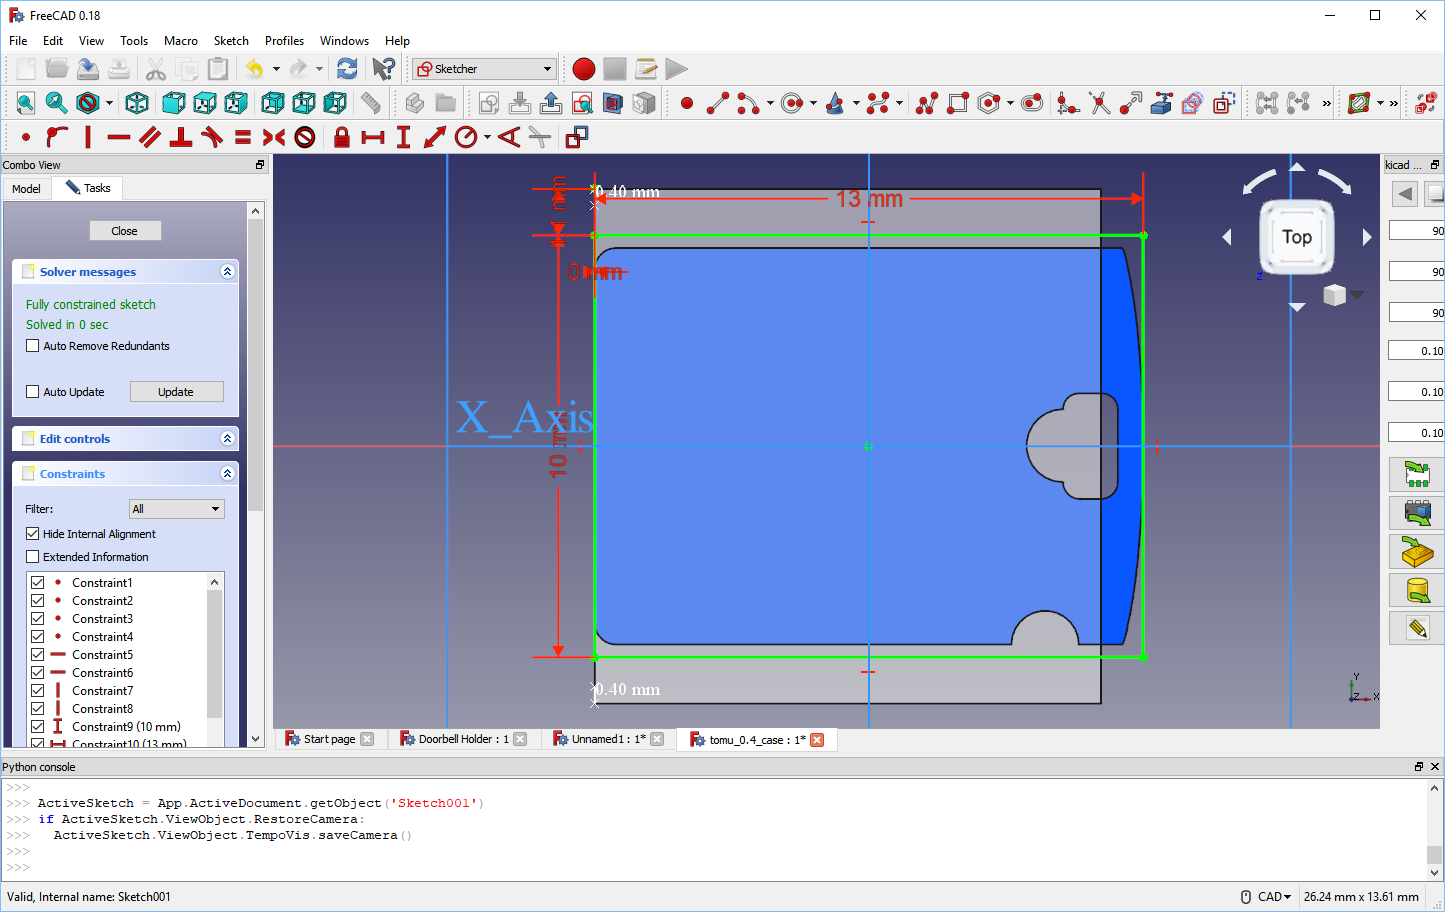
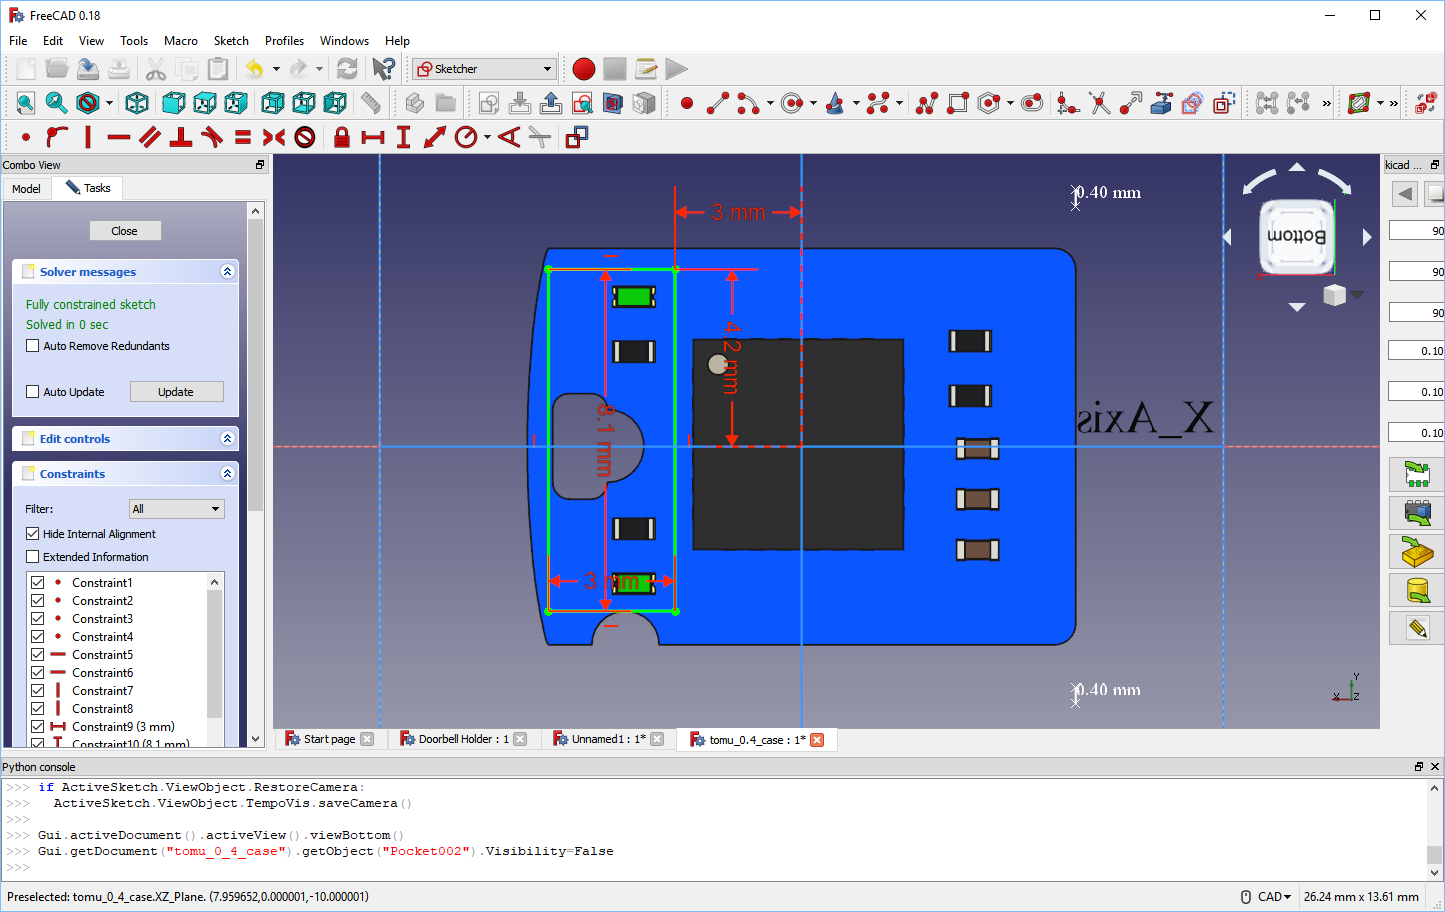
2) Create a sketch
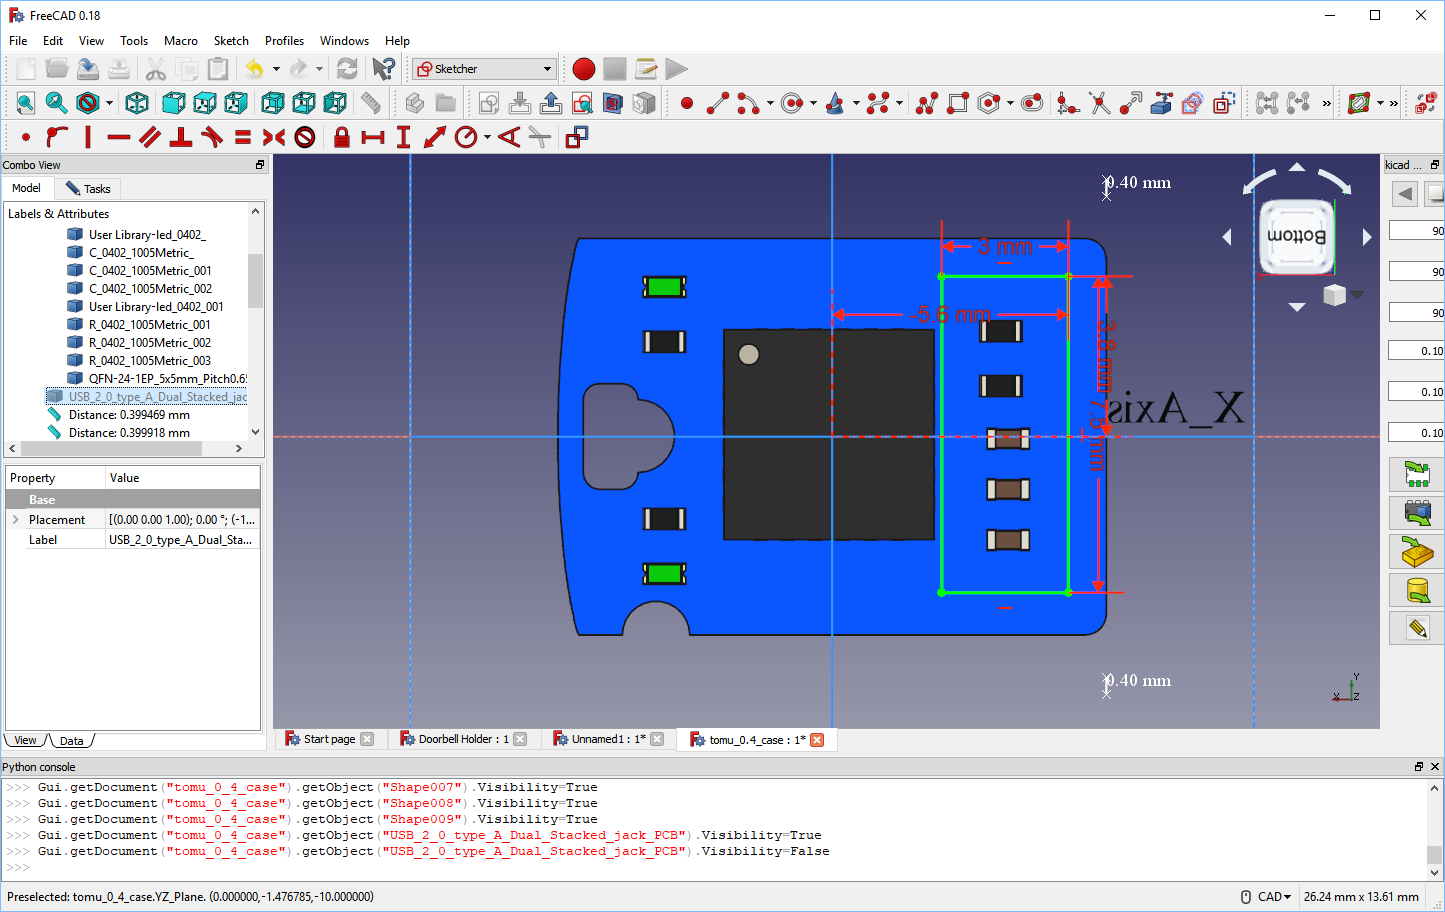
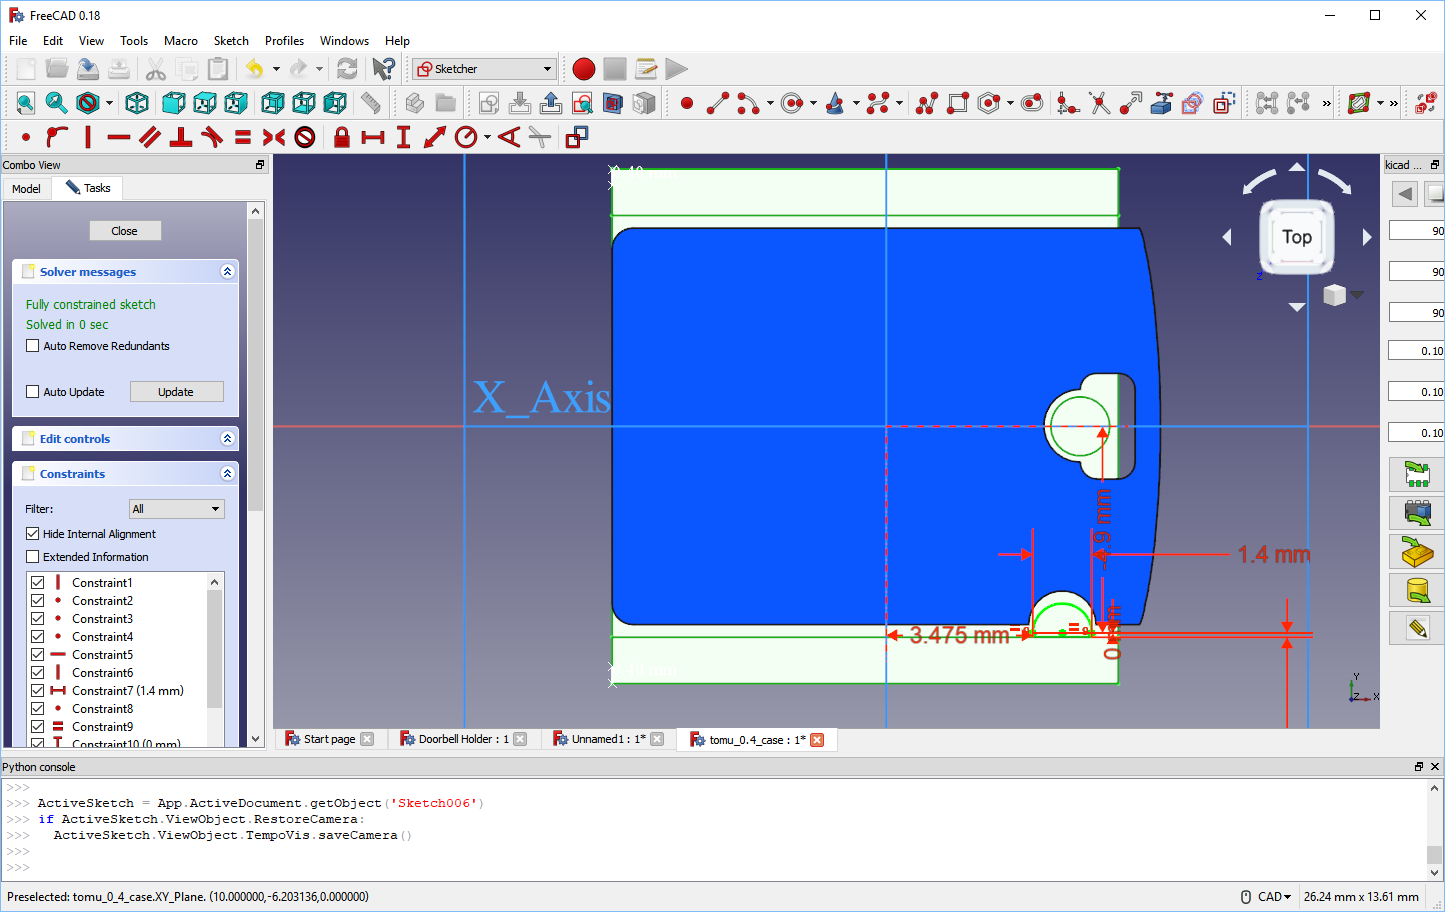
![Creating constraints on the first sketch]()
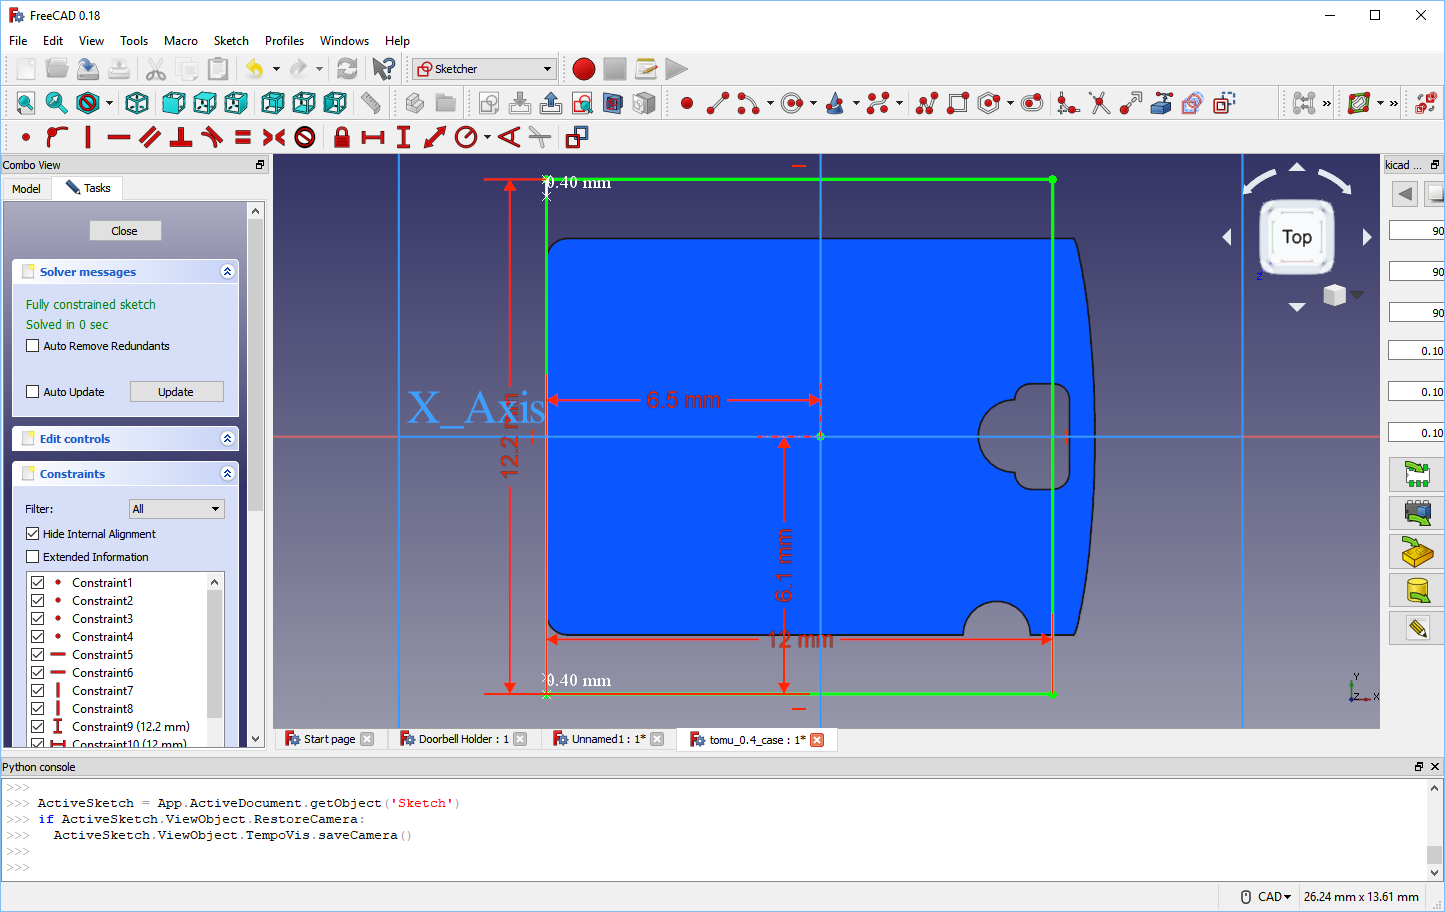
2) Create a sketch
![Creating constraints on the first sketch]()
2) Create a sketch
![Creating constraints on the first sketch]()
2) Create a sketch
![Creating constraints on the first sketch]()
2) Create a sketch
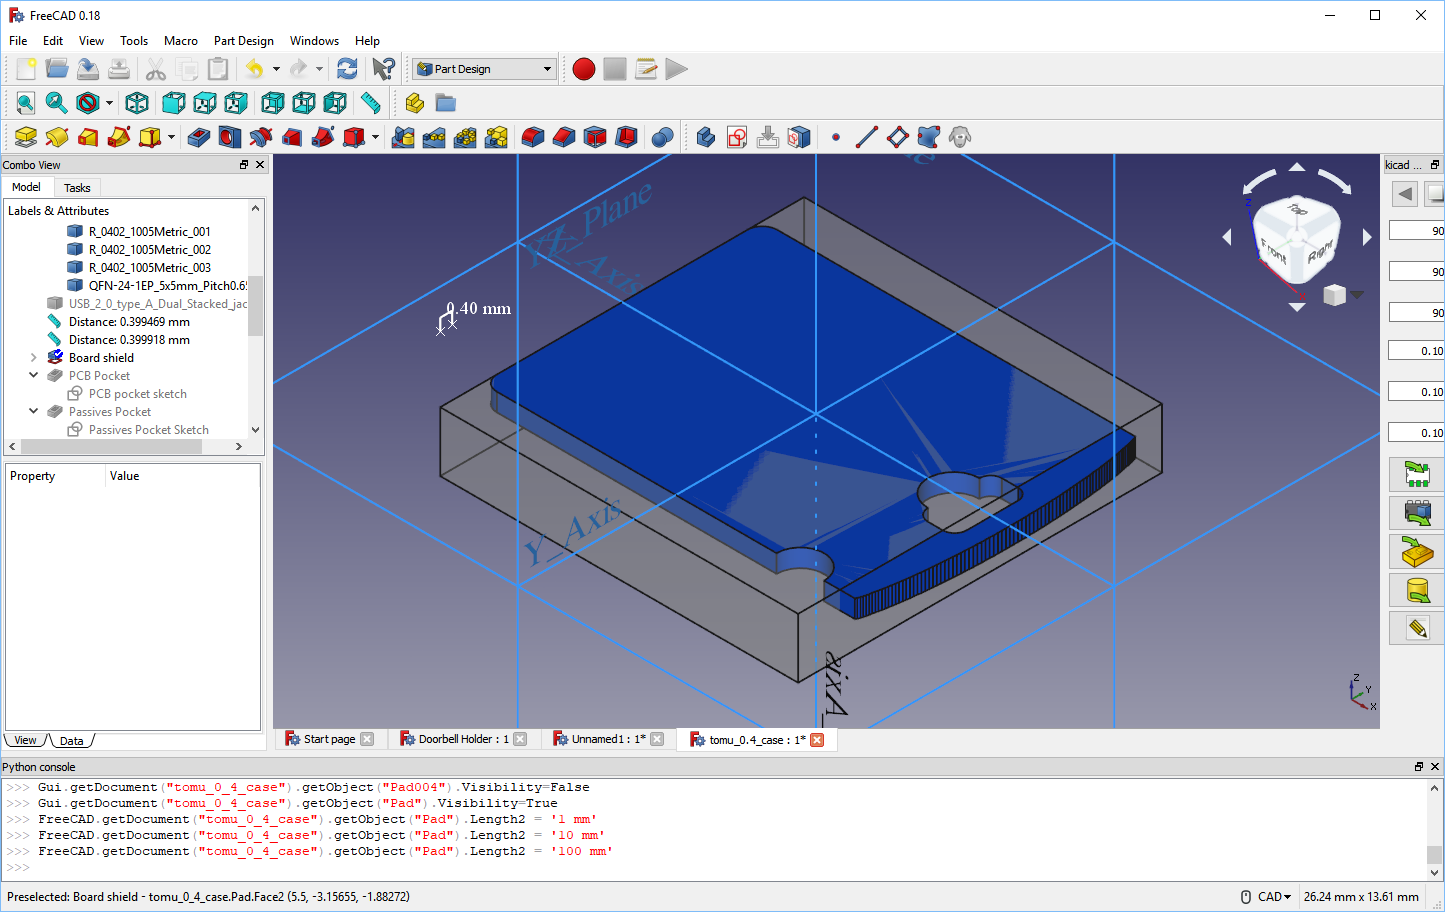
![Sketch done, starting pad]()
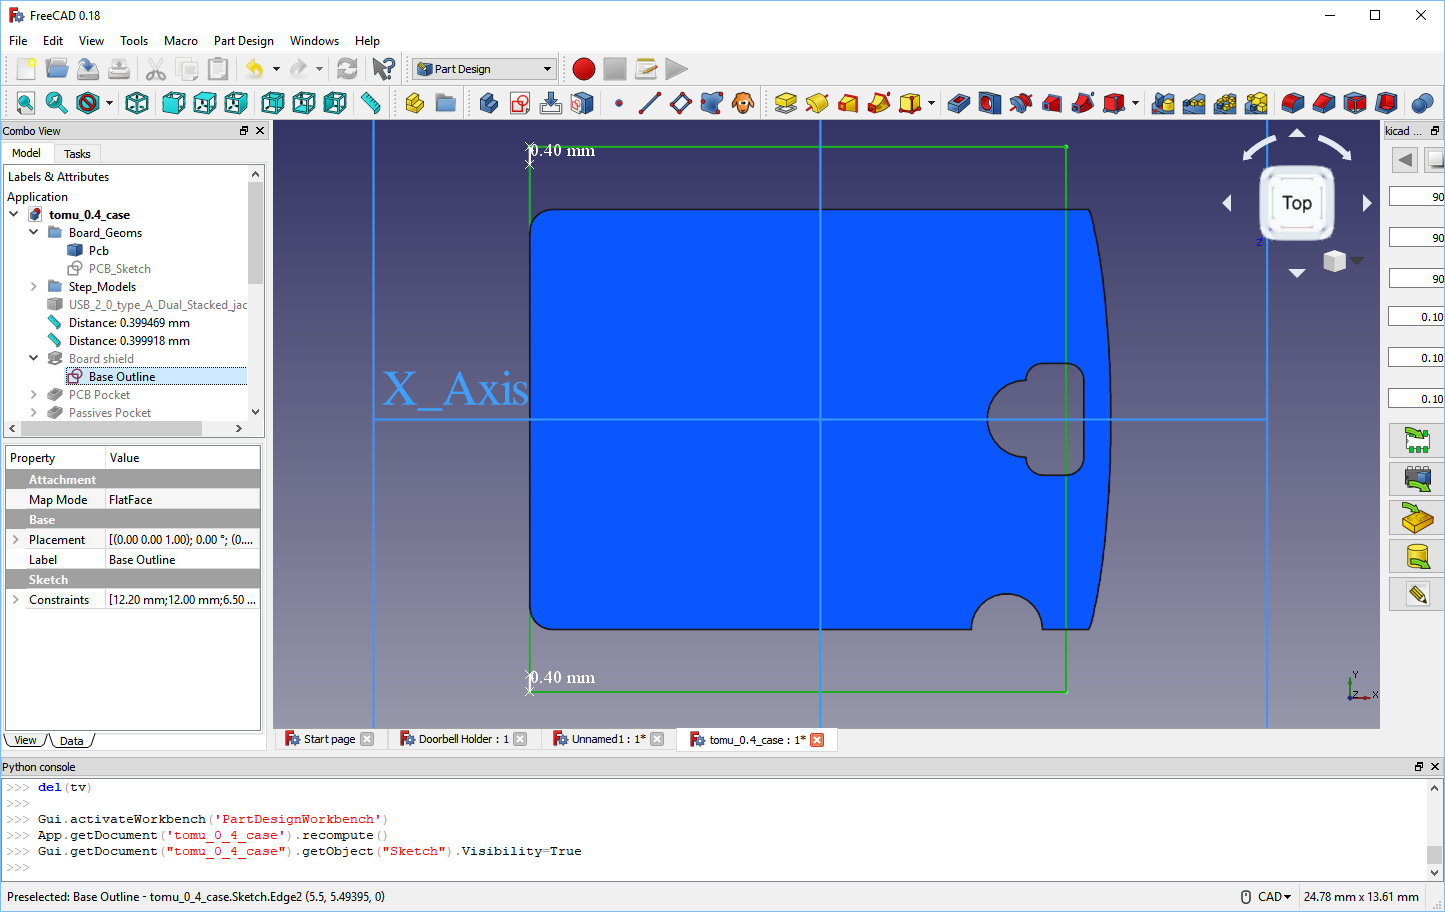
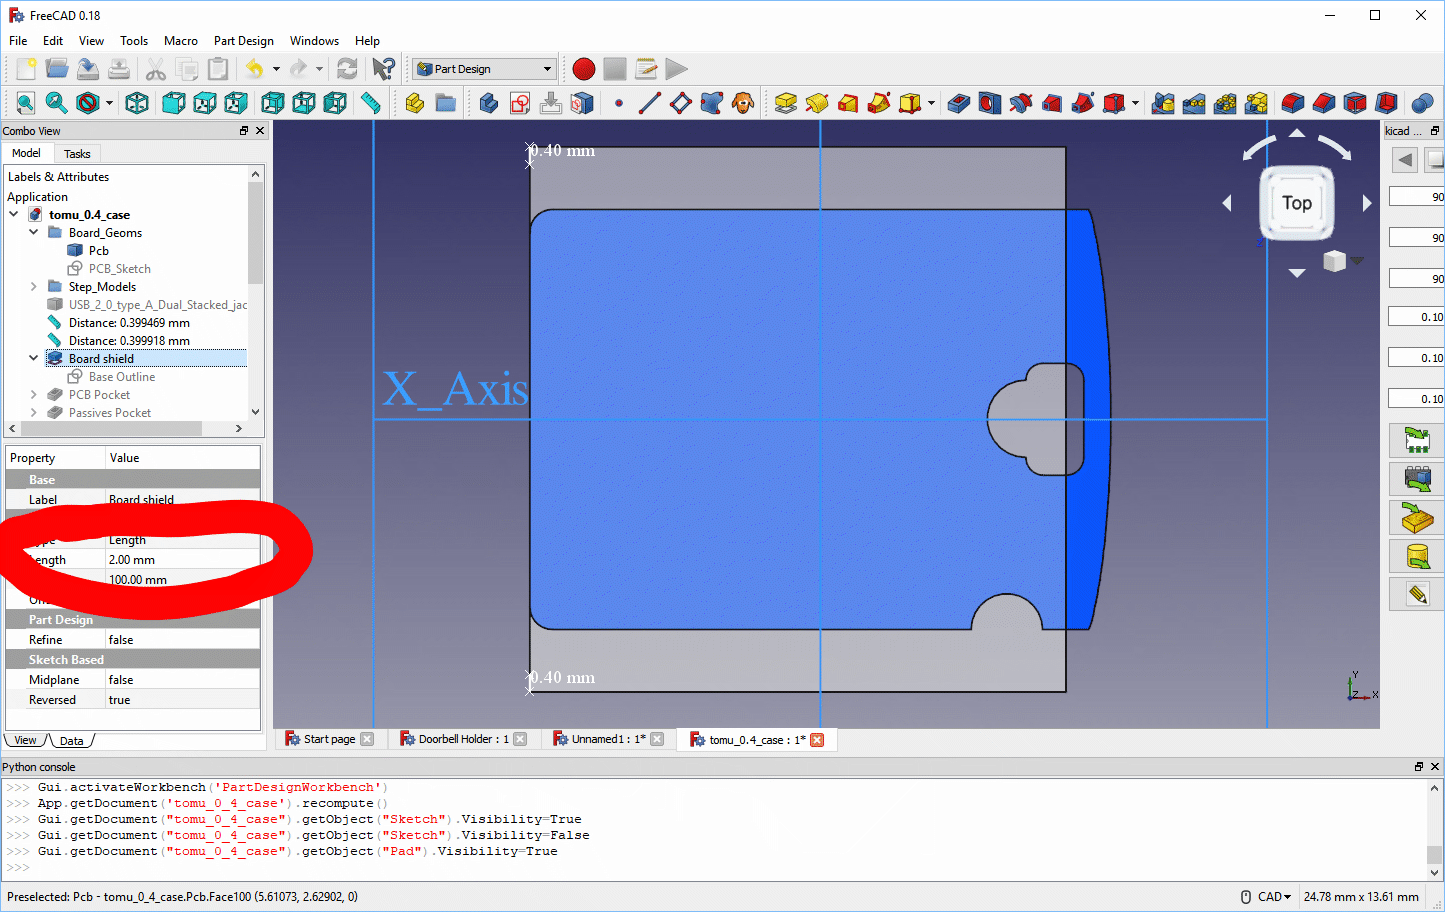
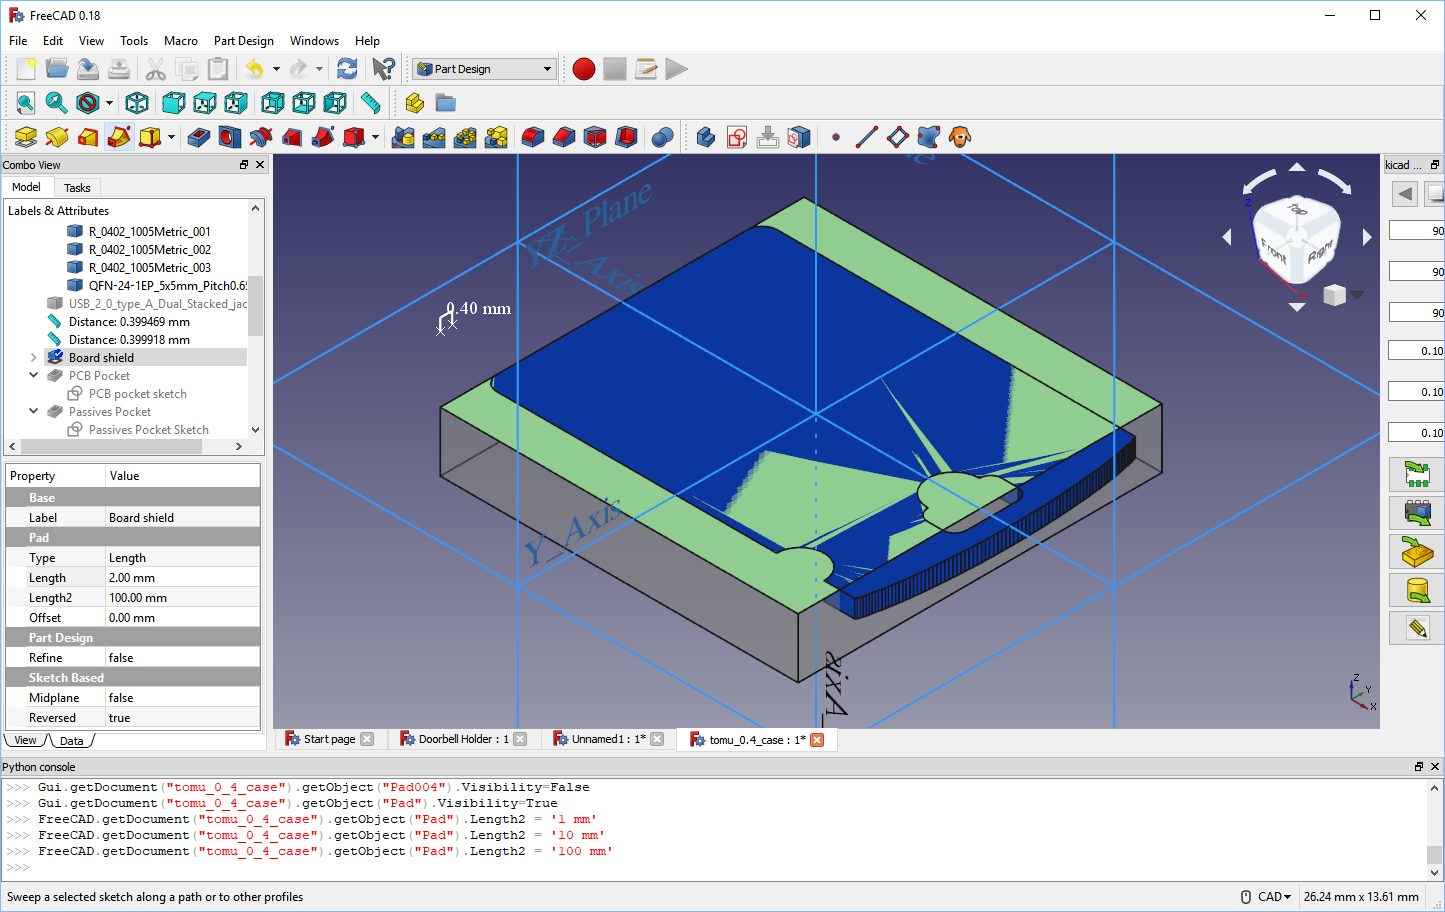
3) Pad the sketch
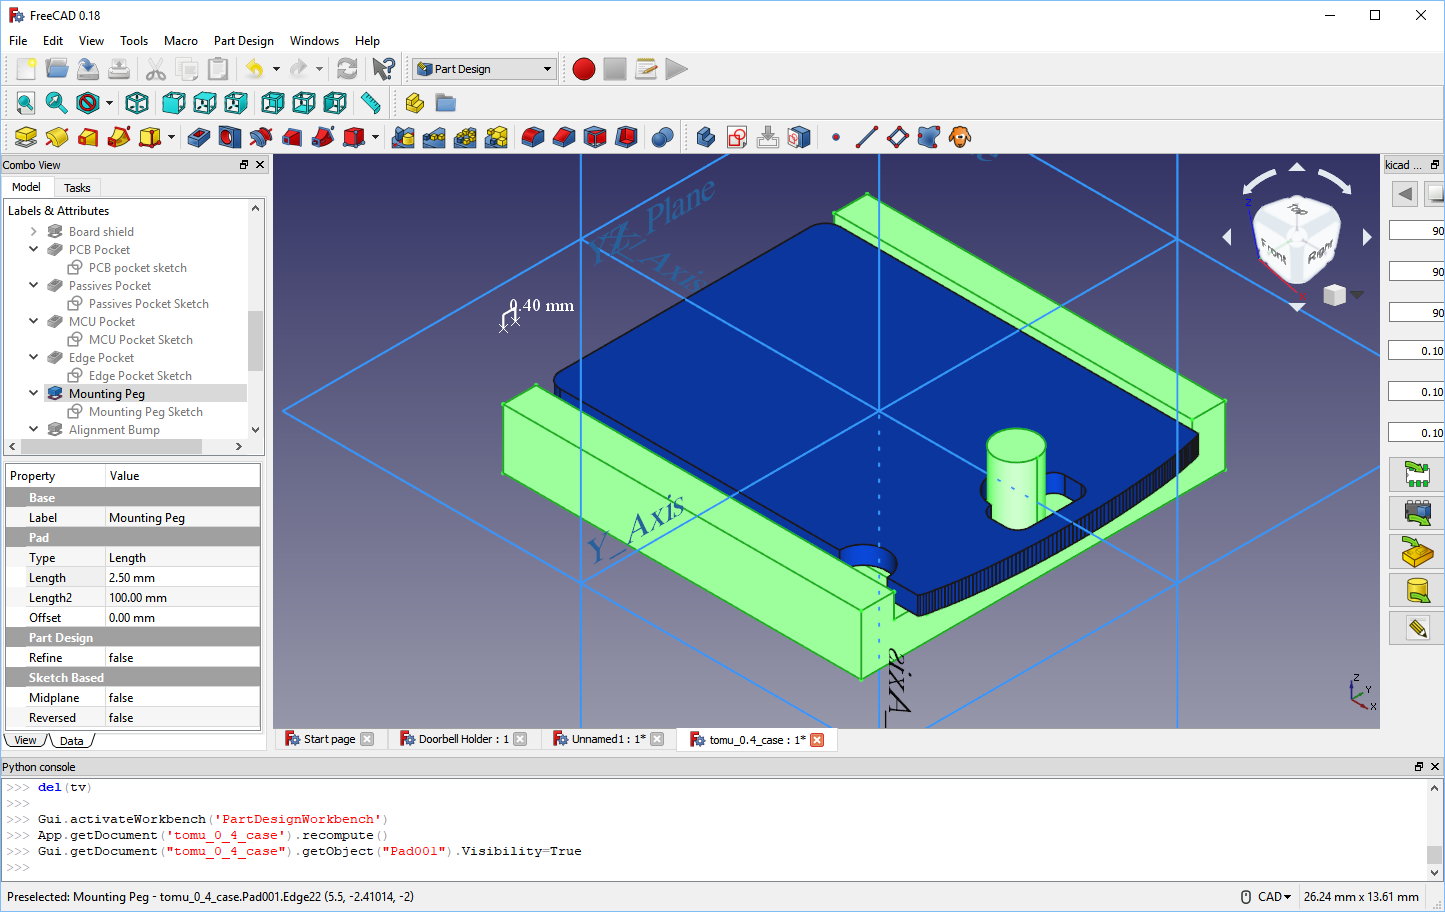
![Done with the pad]()
3) Pad the sketch
![Done with the pad]()
3) Pad the sketch
![Pad at an angle]()
4) Repeat as necessary
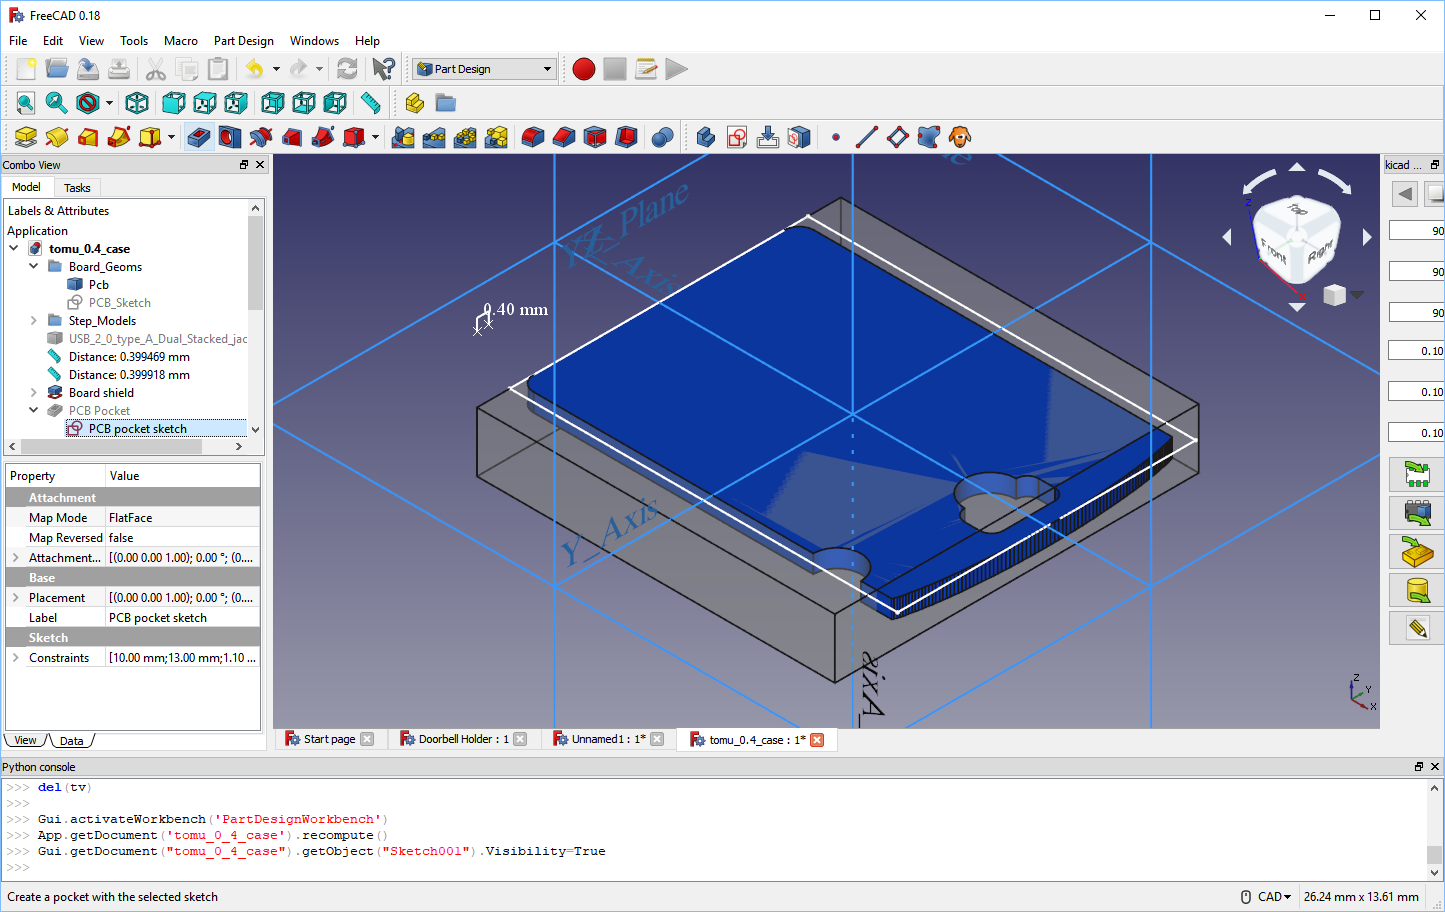
![Create sketch for pocket]()
4) Repeat as necessary
![Complete sketch for pocket]()
4) Repeat as necessary
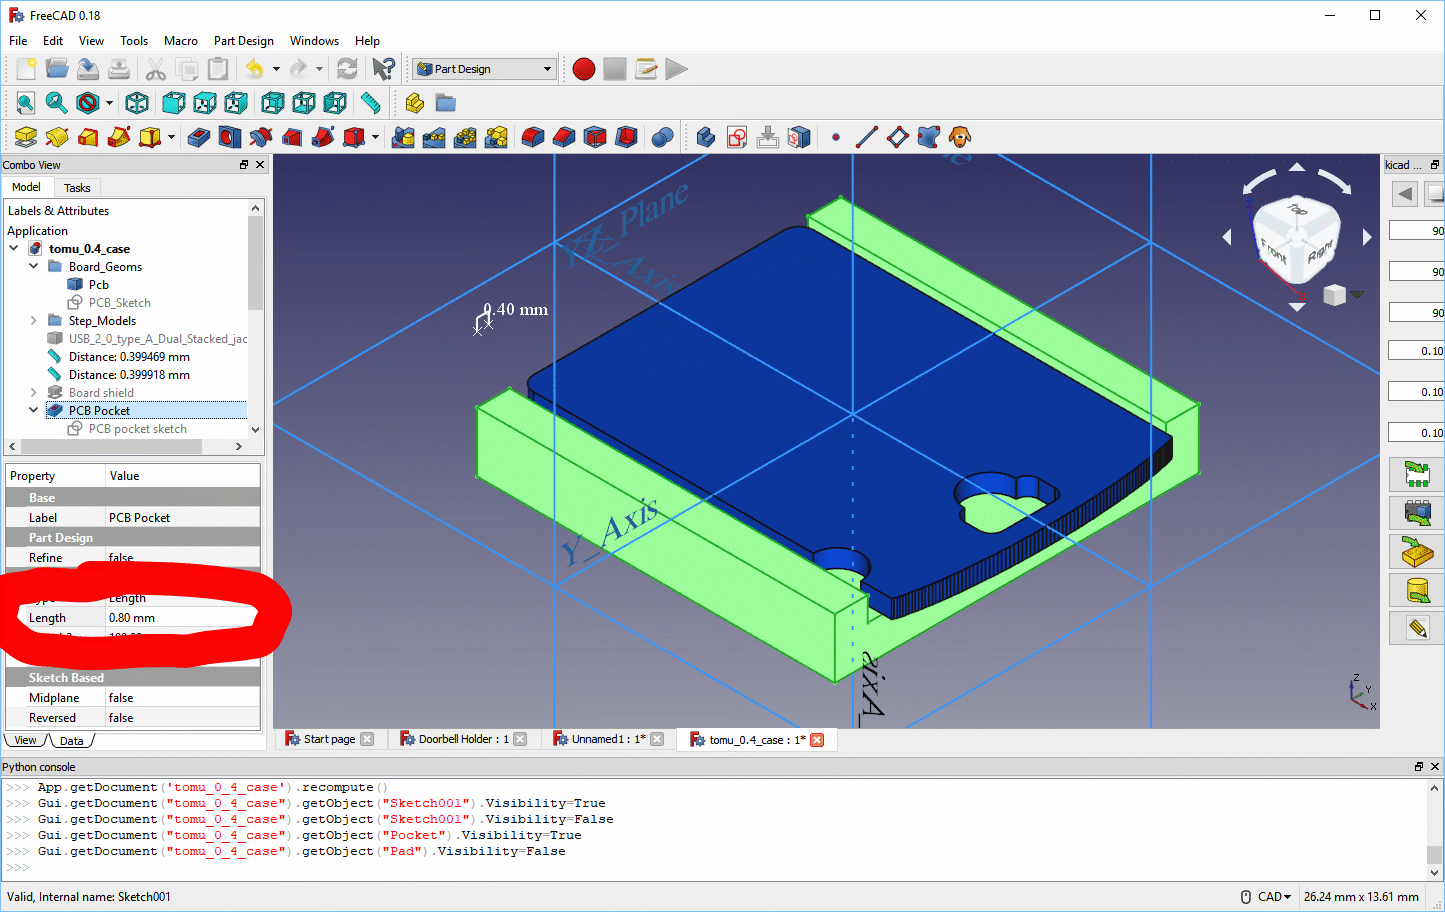
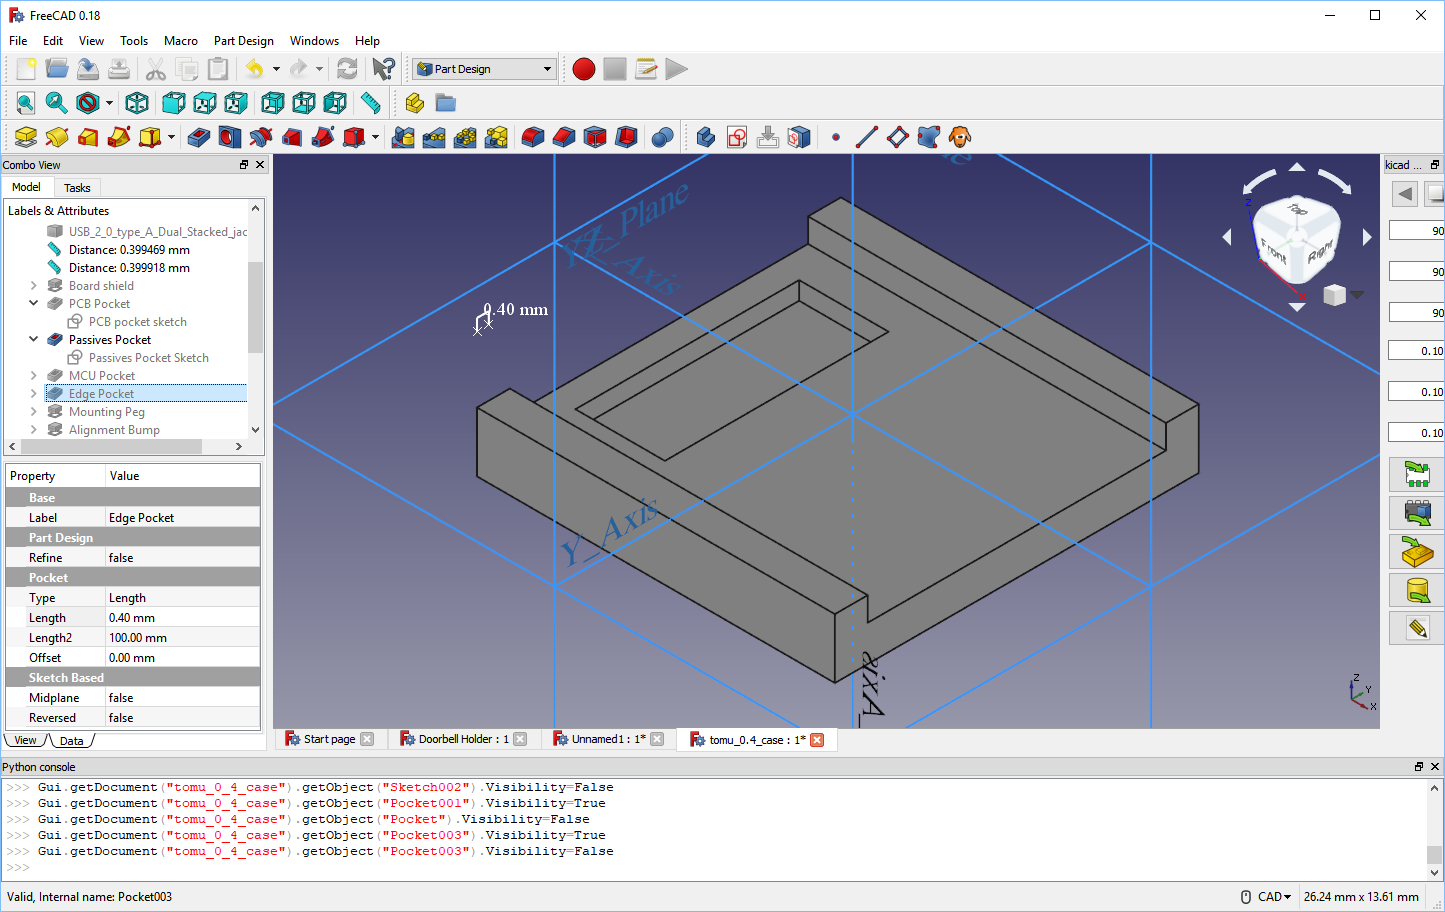
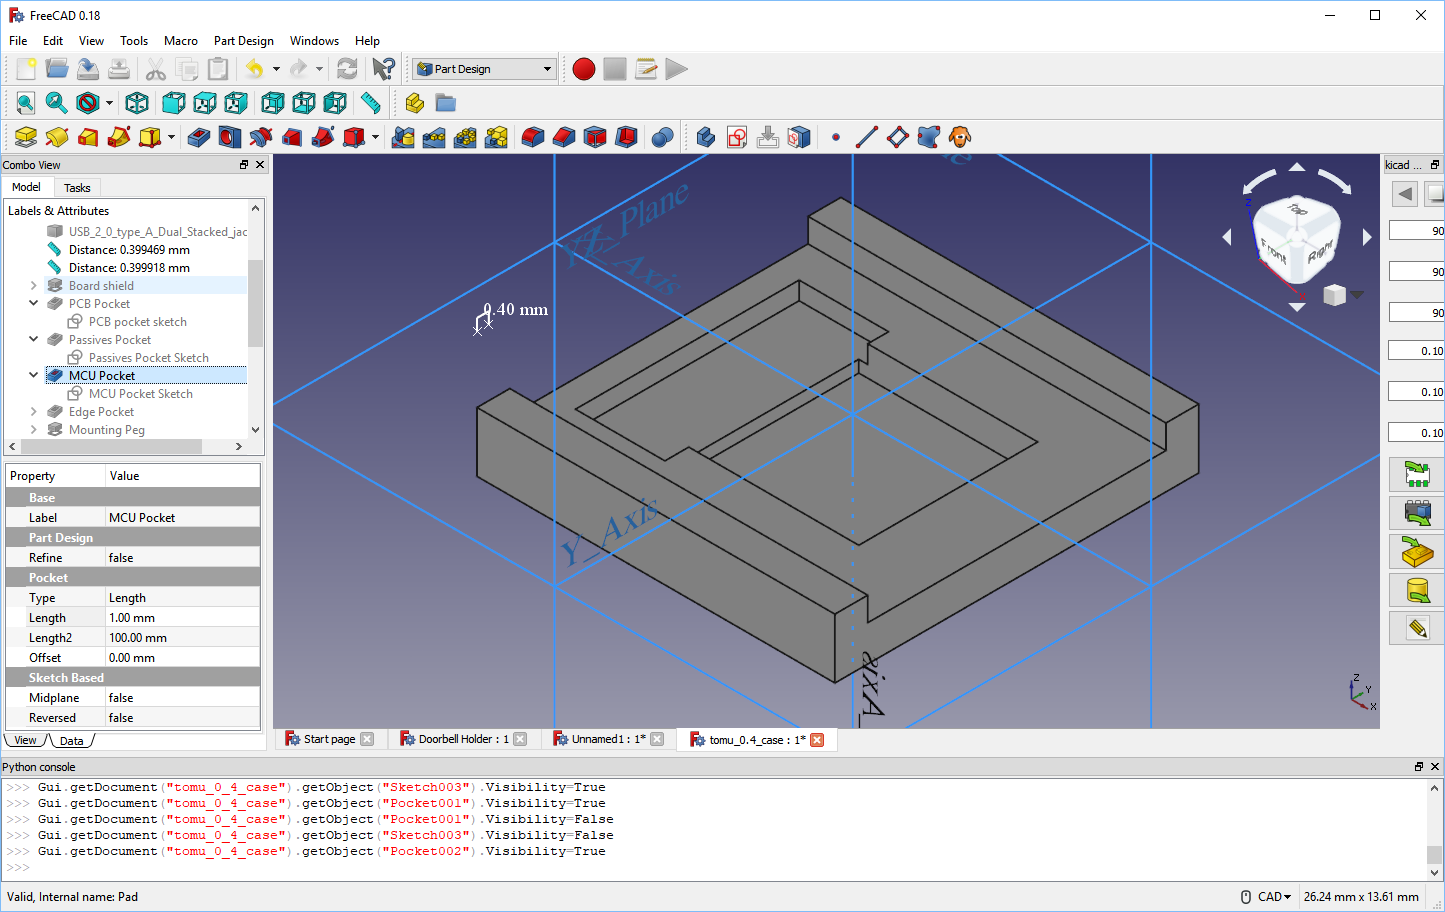
![Create a pocket]()
4) Repeat as necessary
![Create a pocket]()
4) Repeat as necessary
![Create a pocket]()
4) Repeat as necessary
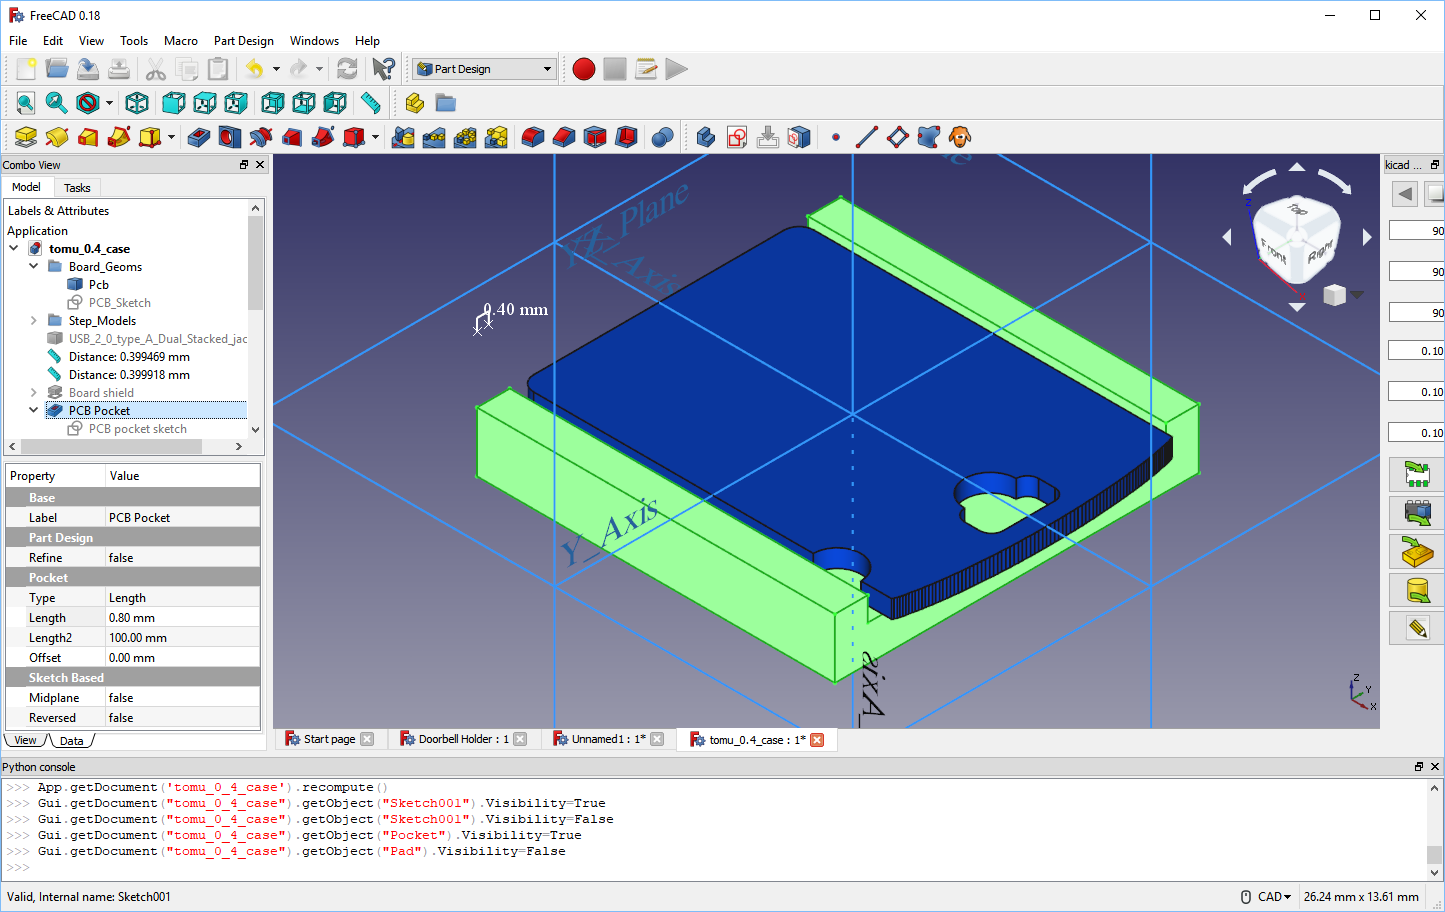
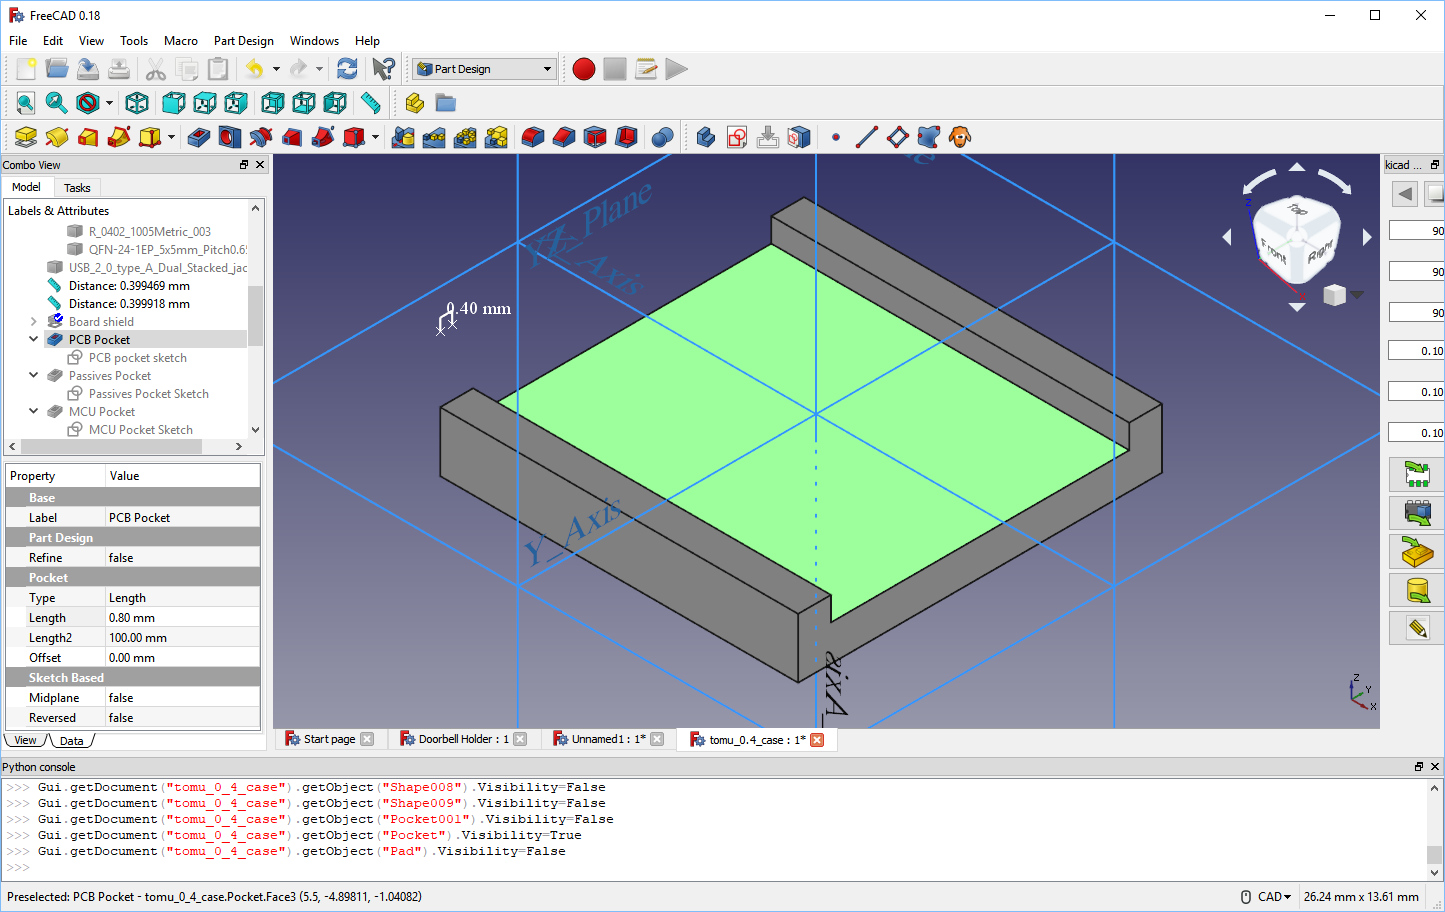
![Pocket with no PCB]()
4) Repeat as necessary
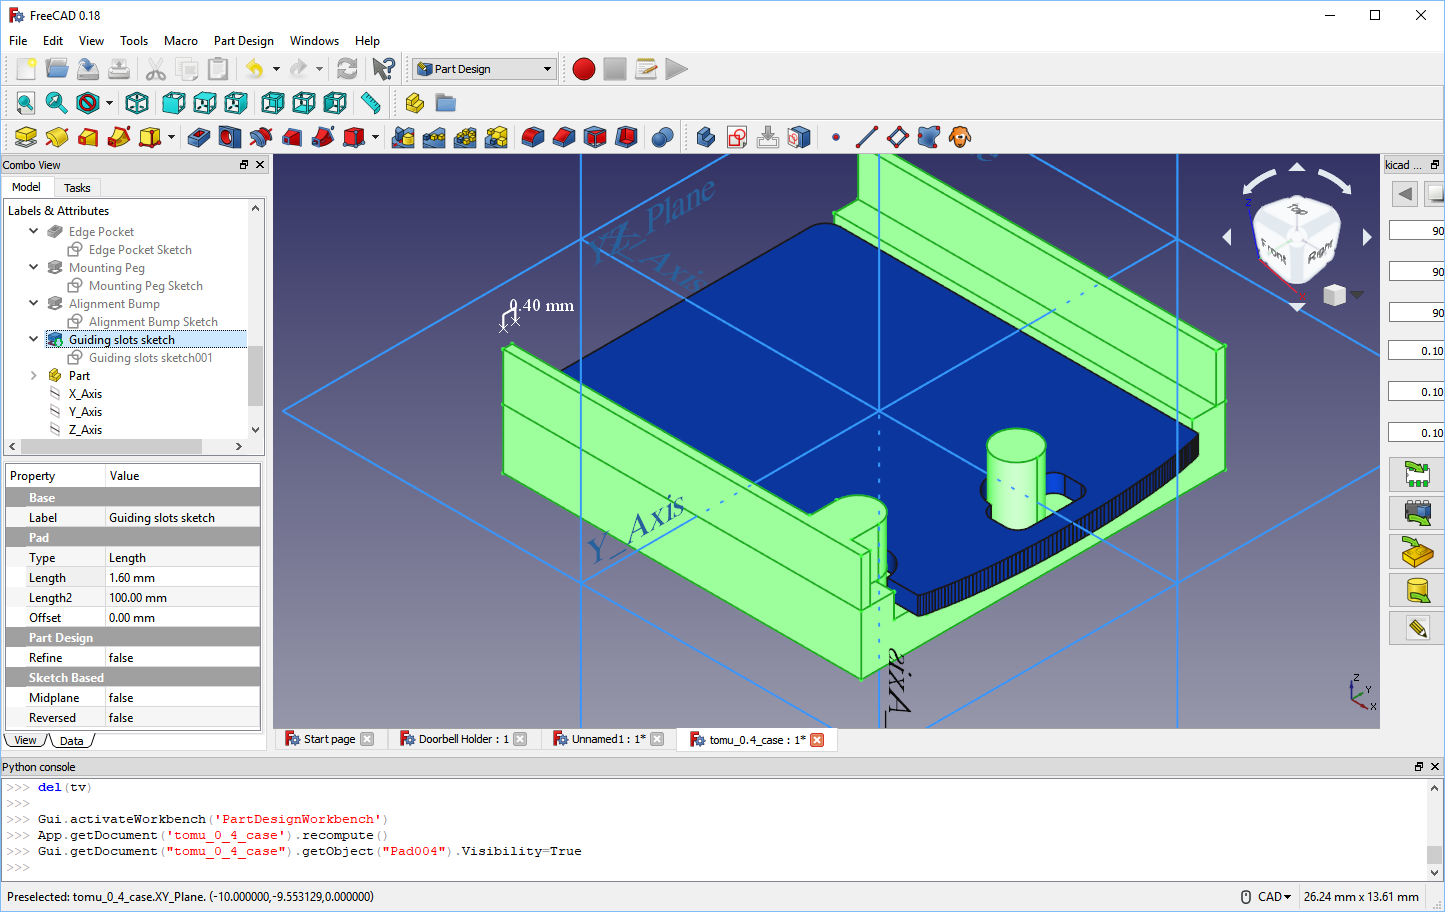
![Click on face for sketch]()
4) Repeat as necessary
![Pocket with no PCB]()
4) Repeat as necessary
![Pocket with no PCB]()
4) Repeat as necessary
![Pocket with no PCB]()
4) Repeat as necessary
![Pocket with no PCB]()
4) Repeat as necessary
![Pocket with no PCB]()
4) Repeat as necessary
![Pocket with no PCB]()
4) Repeat as necessary
![Pocket with no PCB]()
4) Repeat as necessary
![Pocket with no PCB]()
4) Repeat as necessary
![Pocket with no PCB]()
4) Repeat as necessary
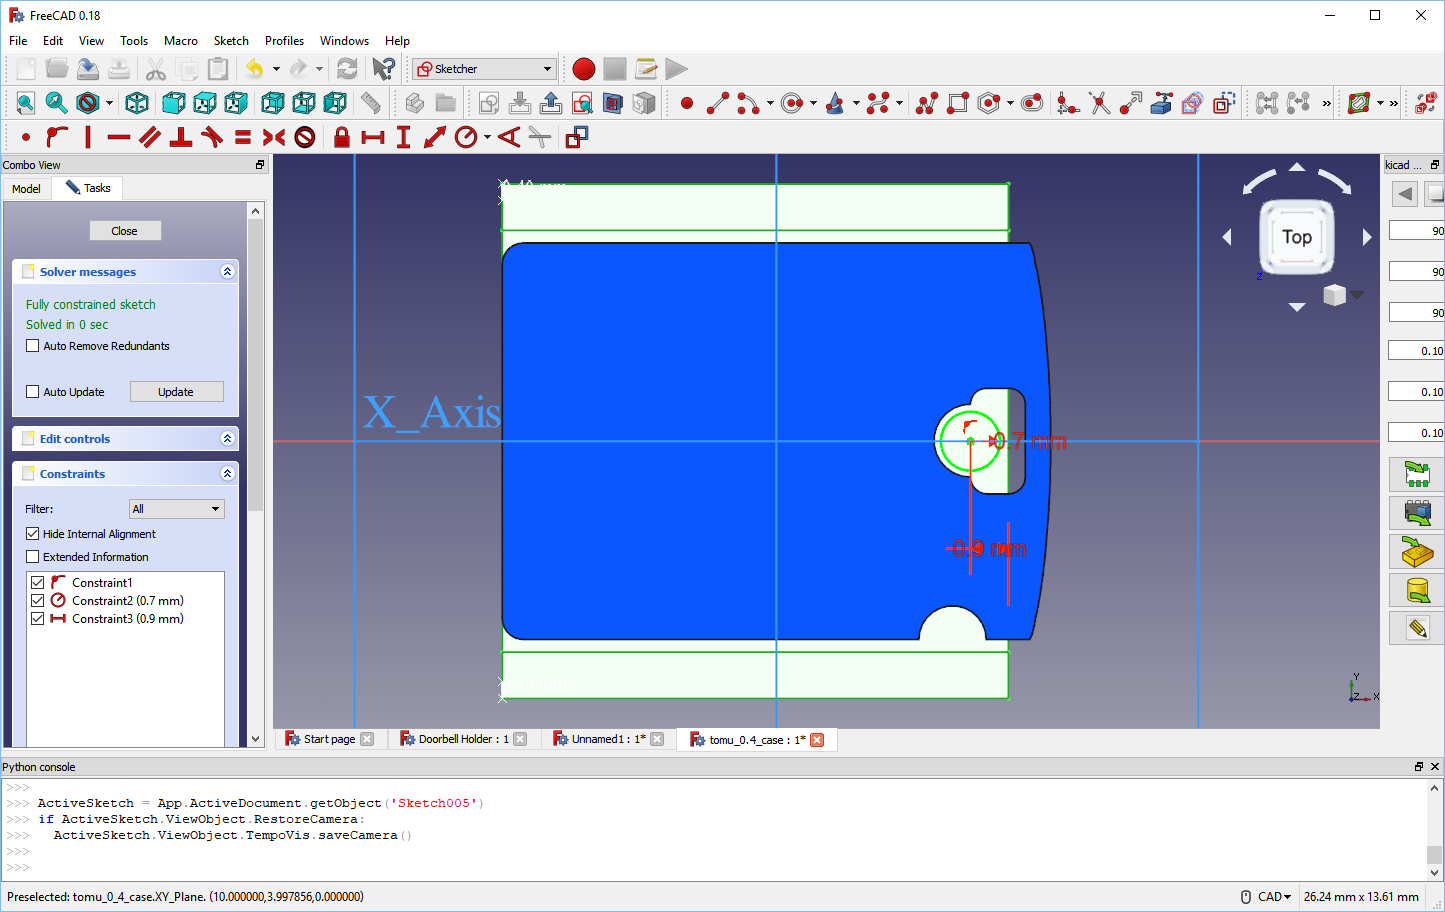
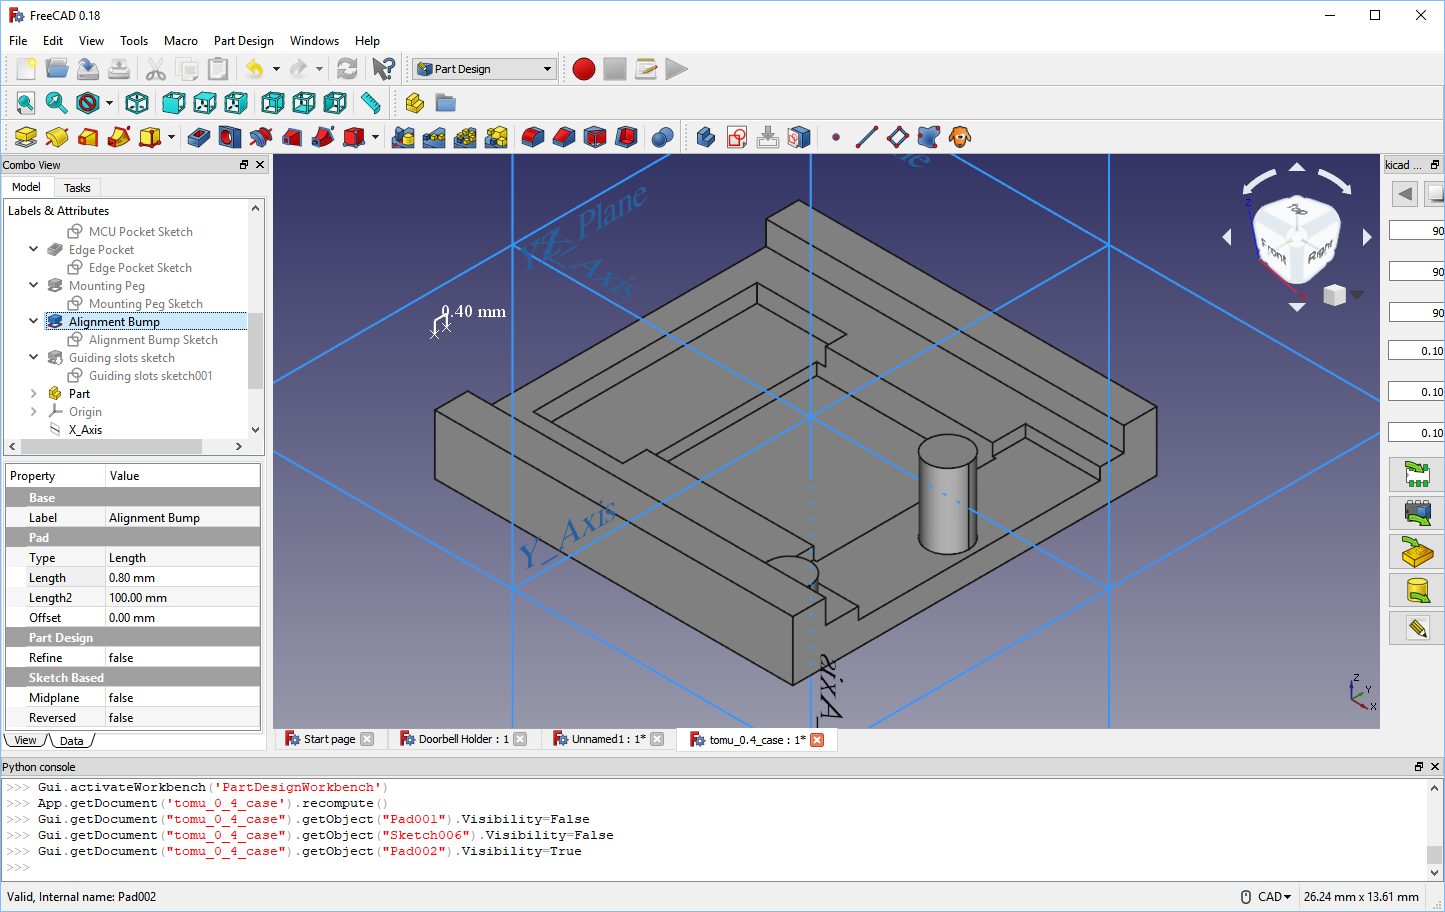
![Creating a pad for the alignment bump]()
4) Repeat as necessary
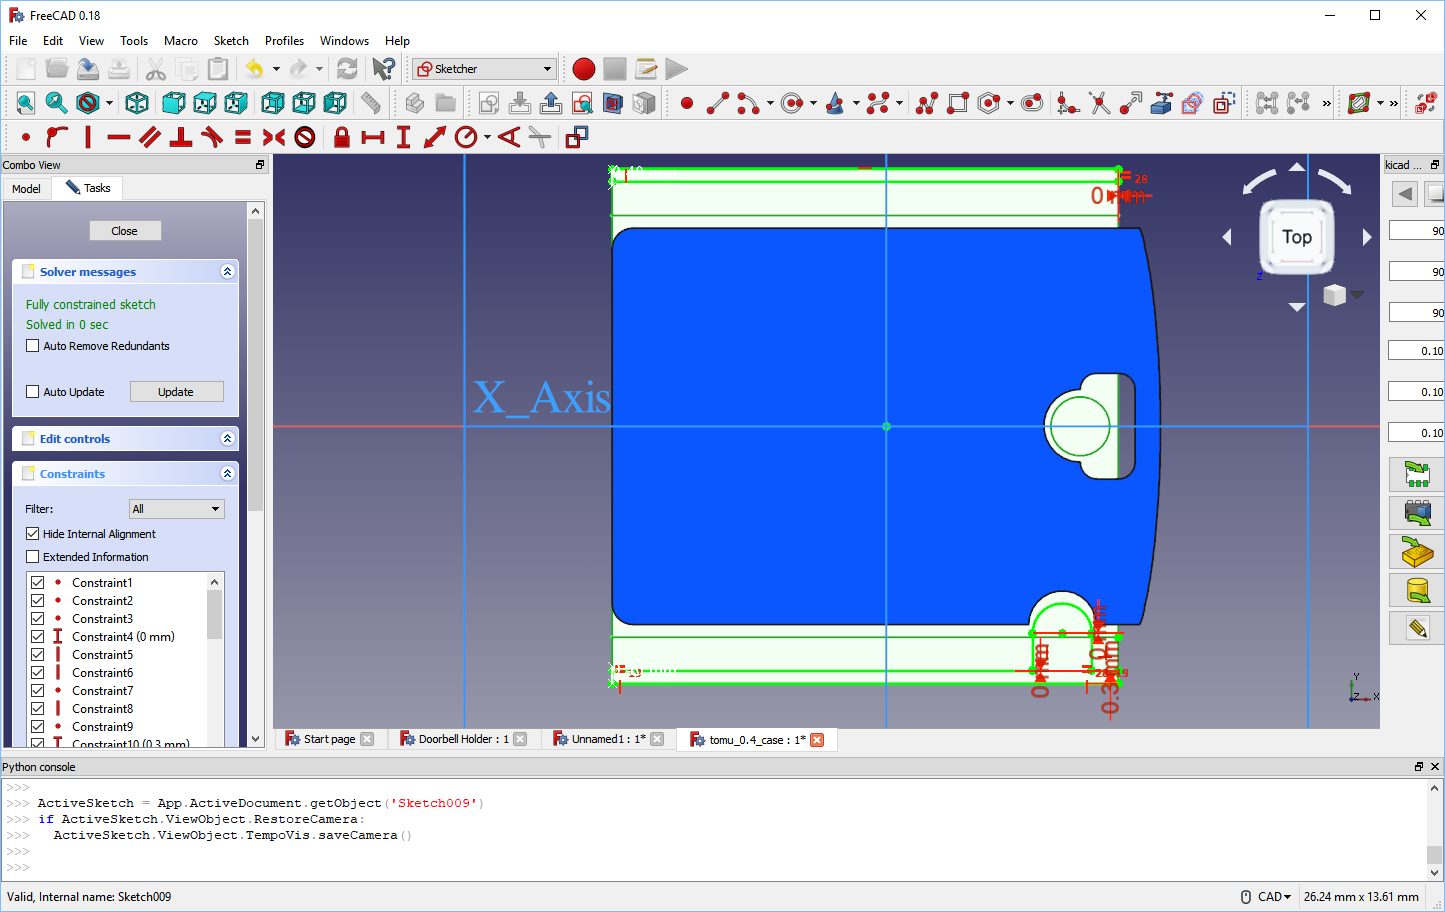
![Creating the sketch for the guiding slots]()
4) Repeat as necessary
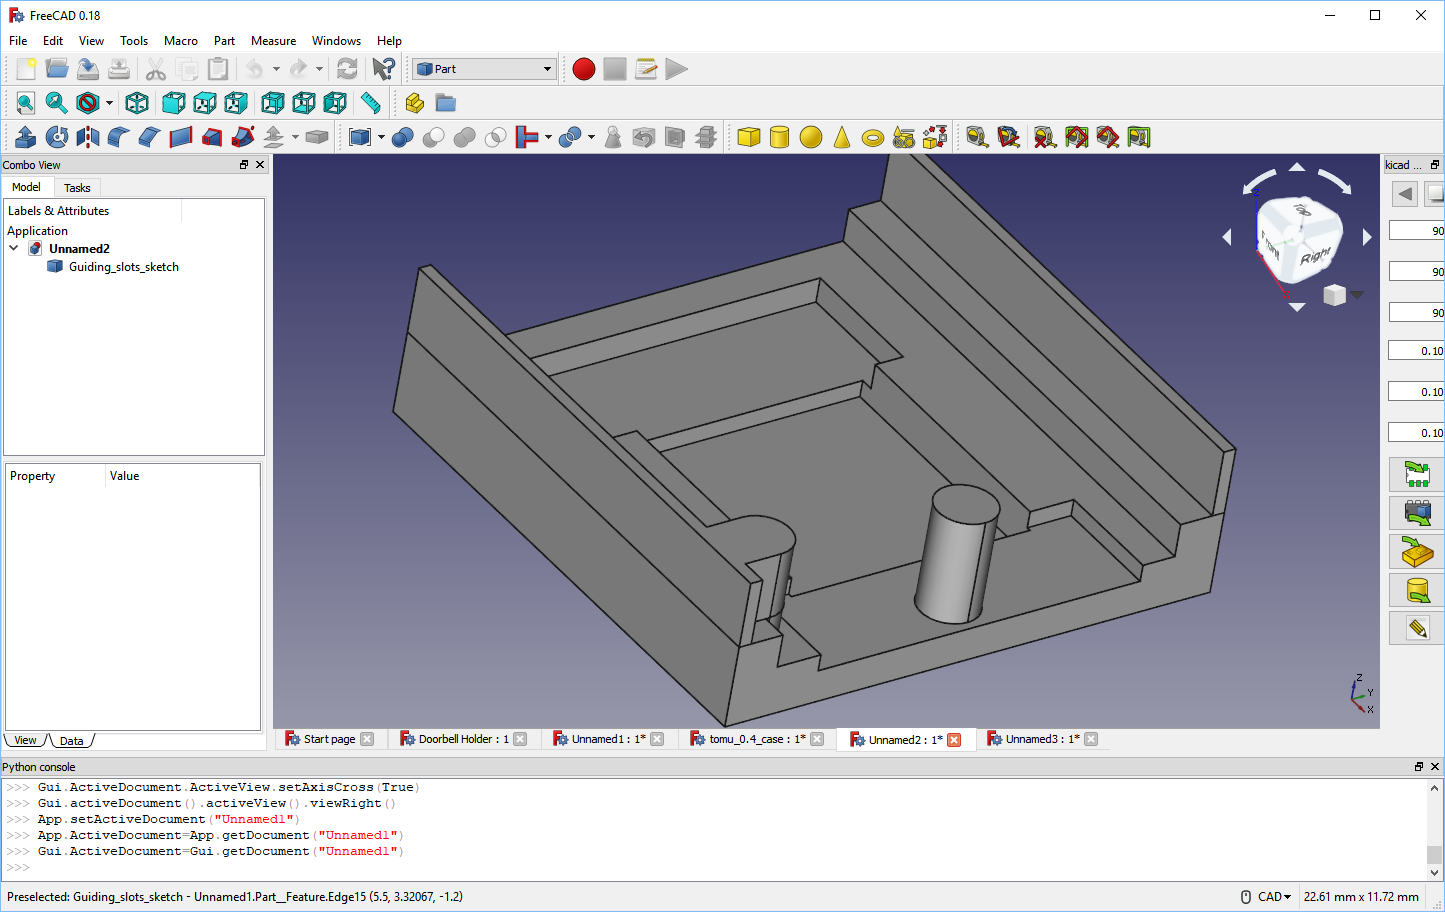
![Finished case without PCB]()
4) Repeat as necessary
![Finished case with PCB]()
5) Check with reference parts
![Test with models]()
Here's what we sent to the factory
![STEP model we sent to factory]()
And here's what they sent back
3D Printed Prototype
Cutting Steel
T0 Shot
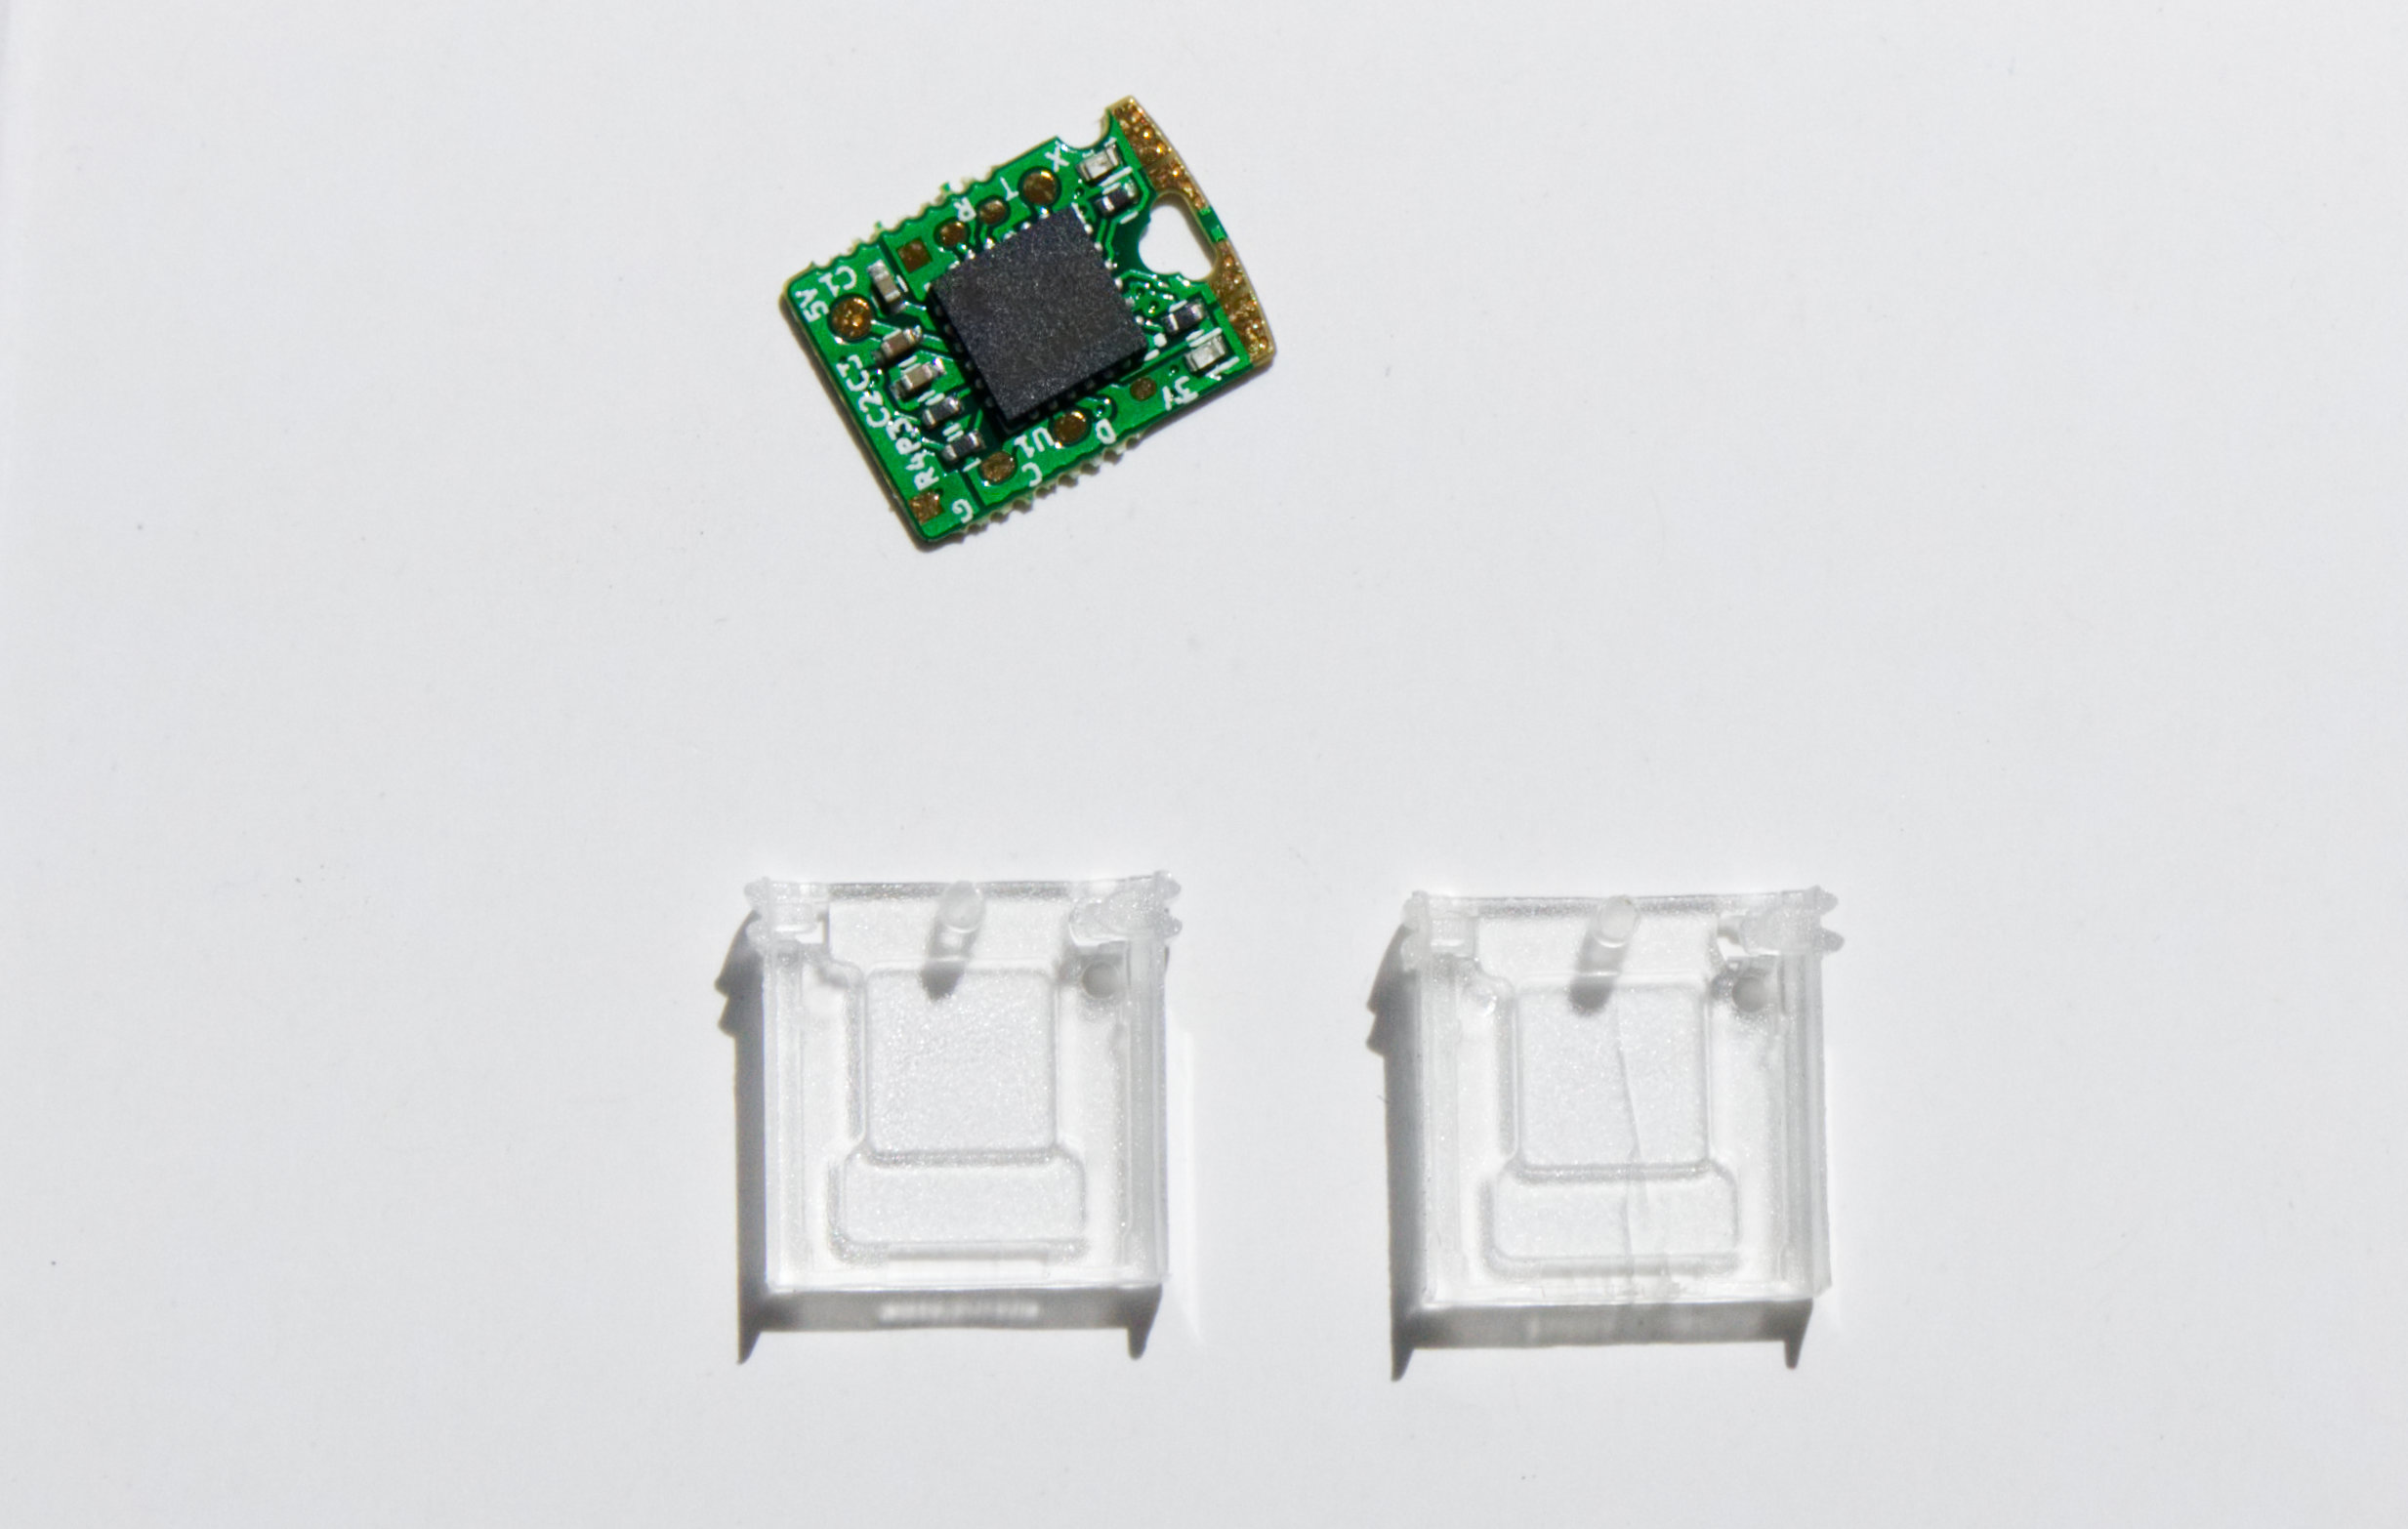
Finishing
Manufactured!
Real World Fun
And the problems you'll face
Clothes peg
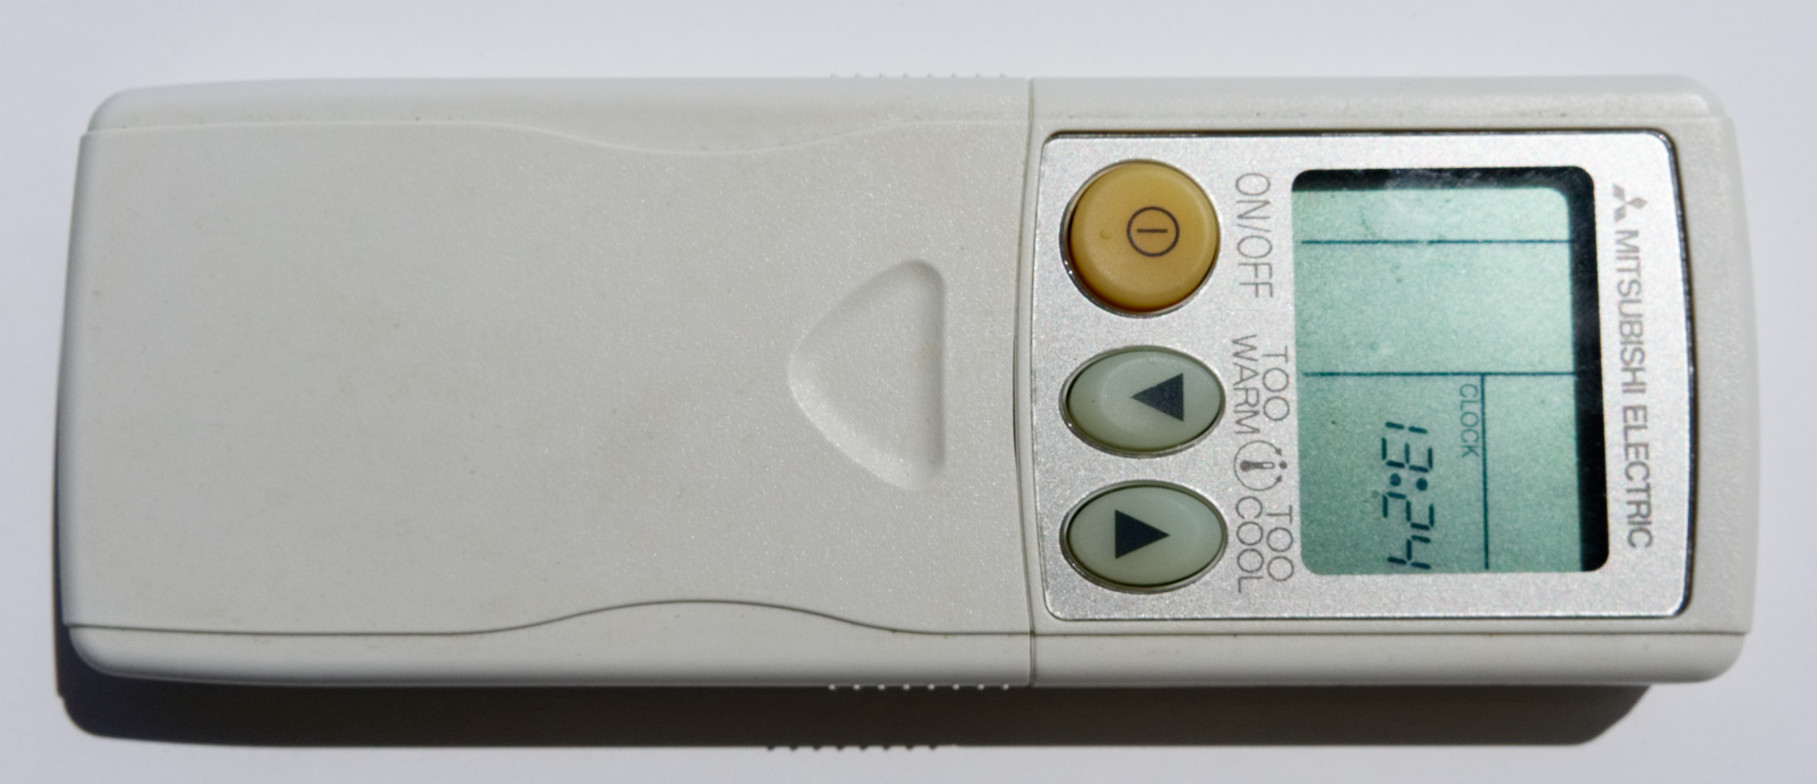
Aircon Remote (Front)
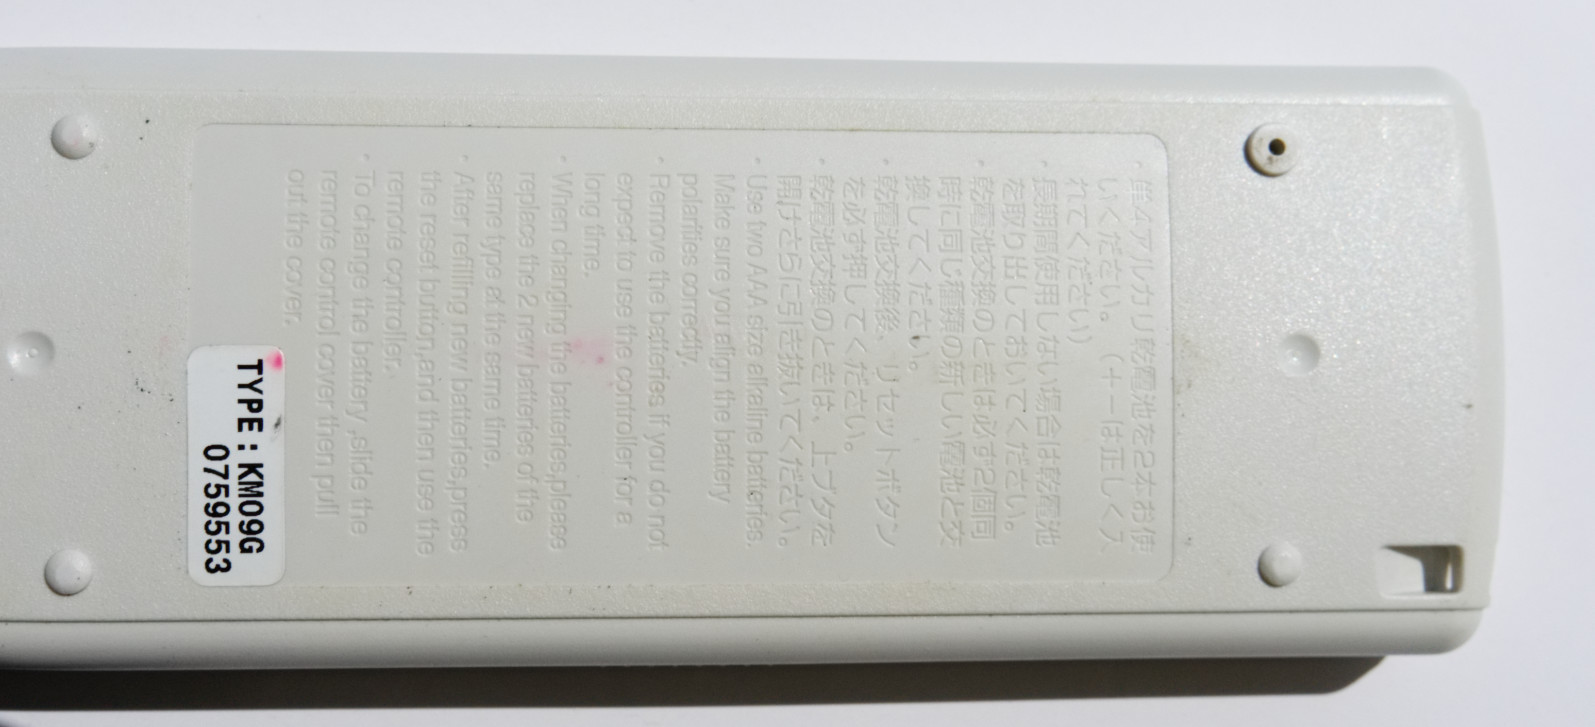
Aircon Remote (Back)
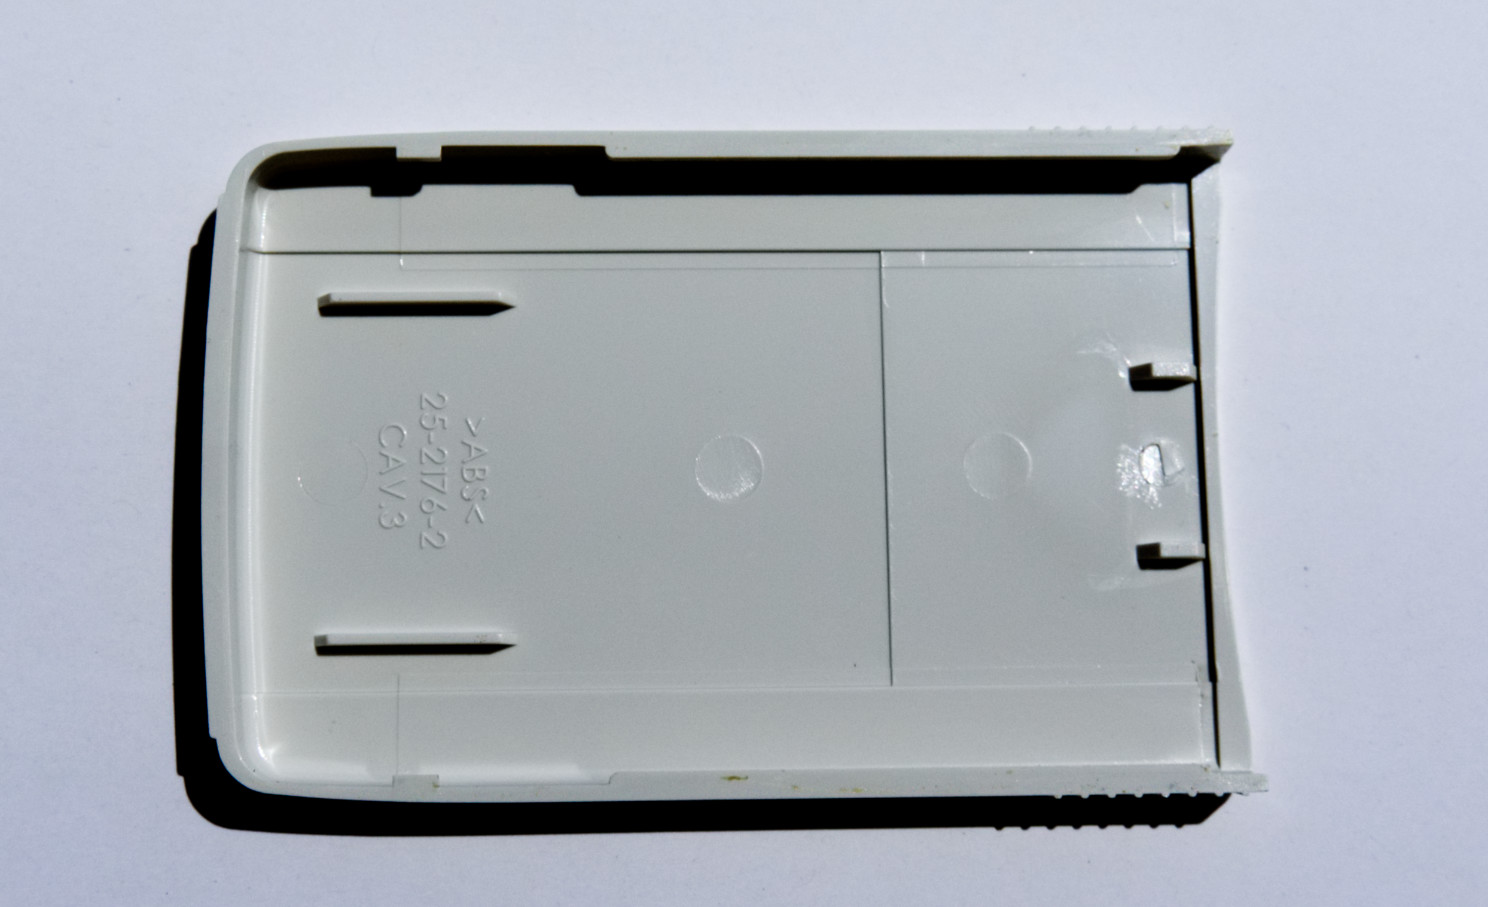
Aircon Remote (Front Cover)
Wine bottle opener
iPhone 3G


